1970 BMW 2800CS E-9 Rehab project

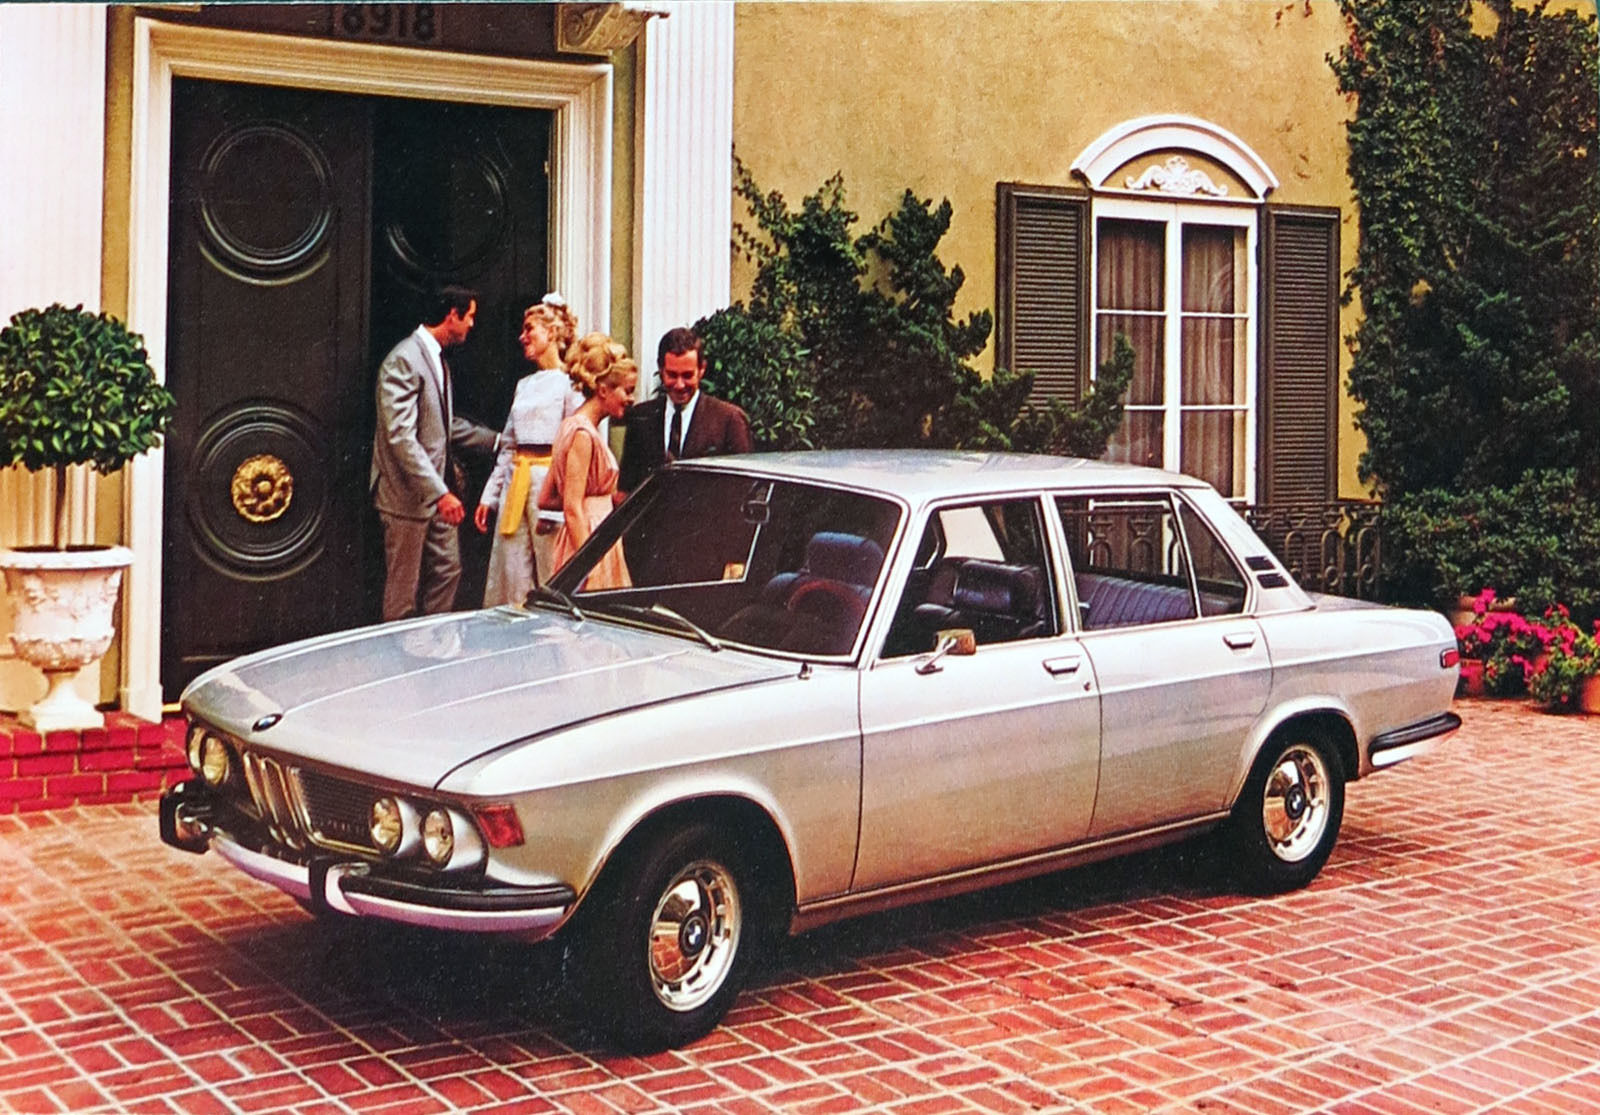
I’ve purchased a 1970 BMW coupe in reasonably good condition that I’m going to fix up. I’d like to do a full restoration, but that would require taking it all apart and add a lot of work, and I don’t have the resources for that. I’ve done that with a 1954 VW beetle, and I know what it takes to do it right. For now, I’m looking to get it in good running shape and make a daily driver out of it.
The E-9 bodies have a great number of places they rust and this one does have some serious issues, but fortunately, the front suffered a collision a while back and the entire front clip has been replaced. However, the rockers and doors are suffering from rust as is the right front passenger floor.
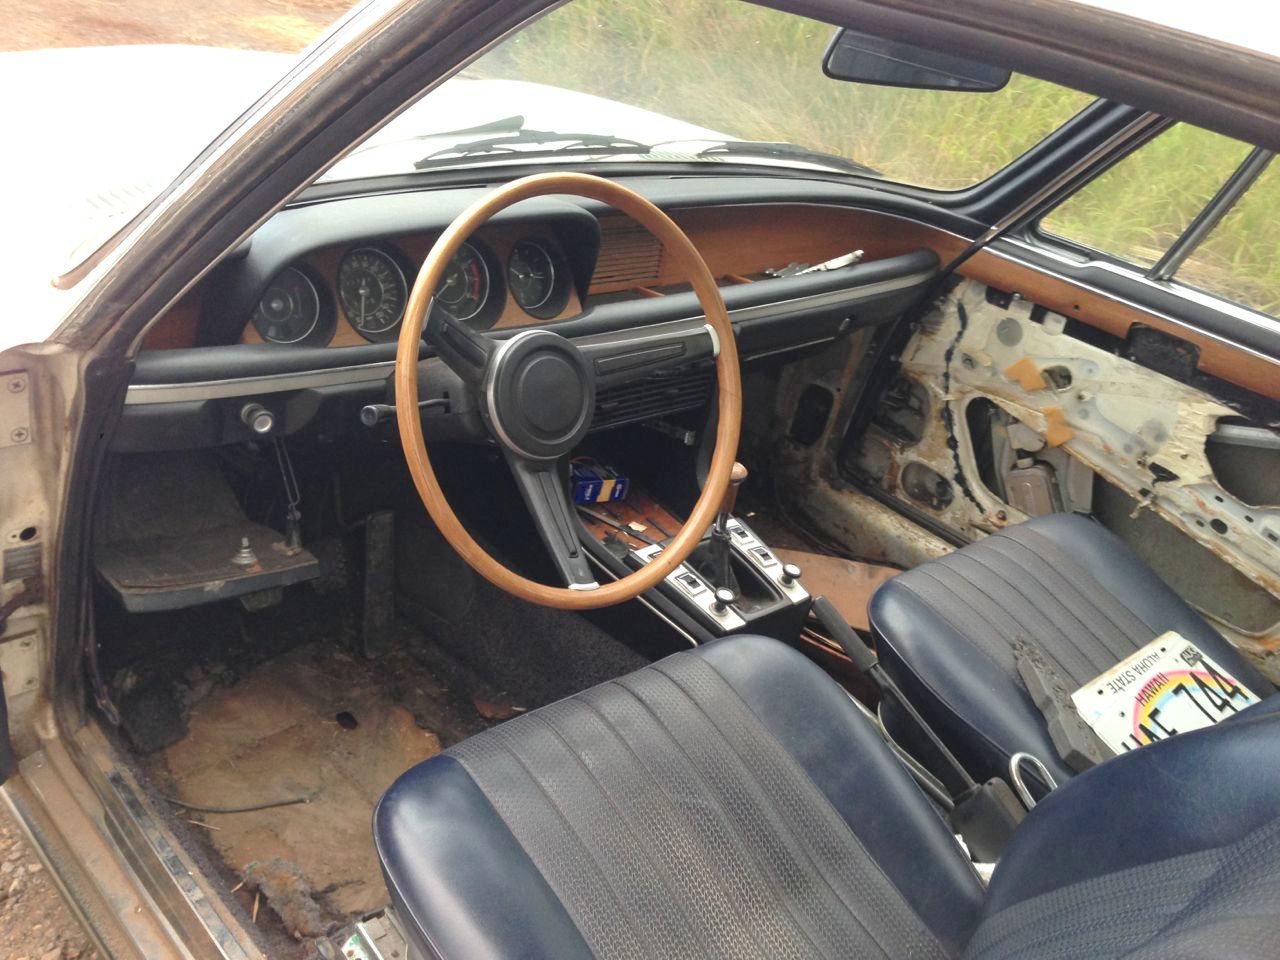
It has it’s original M30 engine and the interior is, other than the carpet, in excellent shape.

It has a number of issues, a leaky exhaust system, a gas smell in the trunk, soft and failing motor mounts, the upper front strut bearings need to be replaced, and the right front brake seems to grab a bit.
The mechanics will be simple to take care of. The rust is difficult and will require replacement of several body panels. The window frames, both front and rear are rusted under the rubber, so the windows will come out. I’ll have to be very careful not to break the glass. Rubber is still available, I believe. However, many parts for this car are no longer available. There are some sources for body panels, but as the panels I need to replace are not large or critical, I will be reproducing them myself. I have spent the money I would have spent on reproduction body panels and purchased shop tools instead. A TIG welder, bead roller and other metal forming tools.

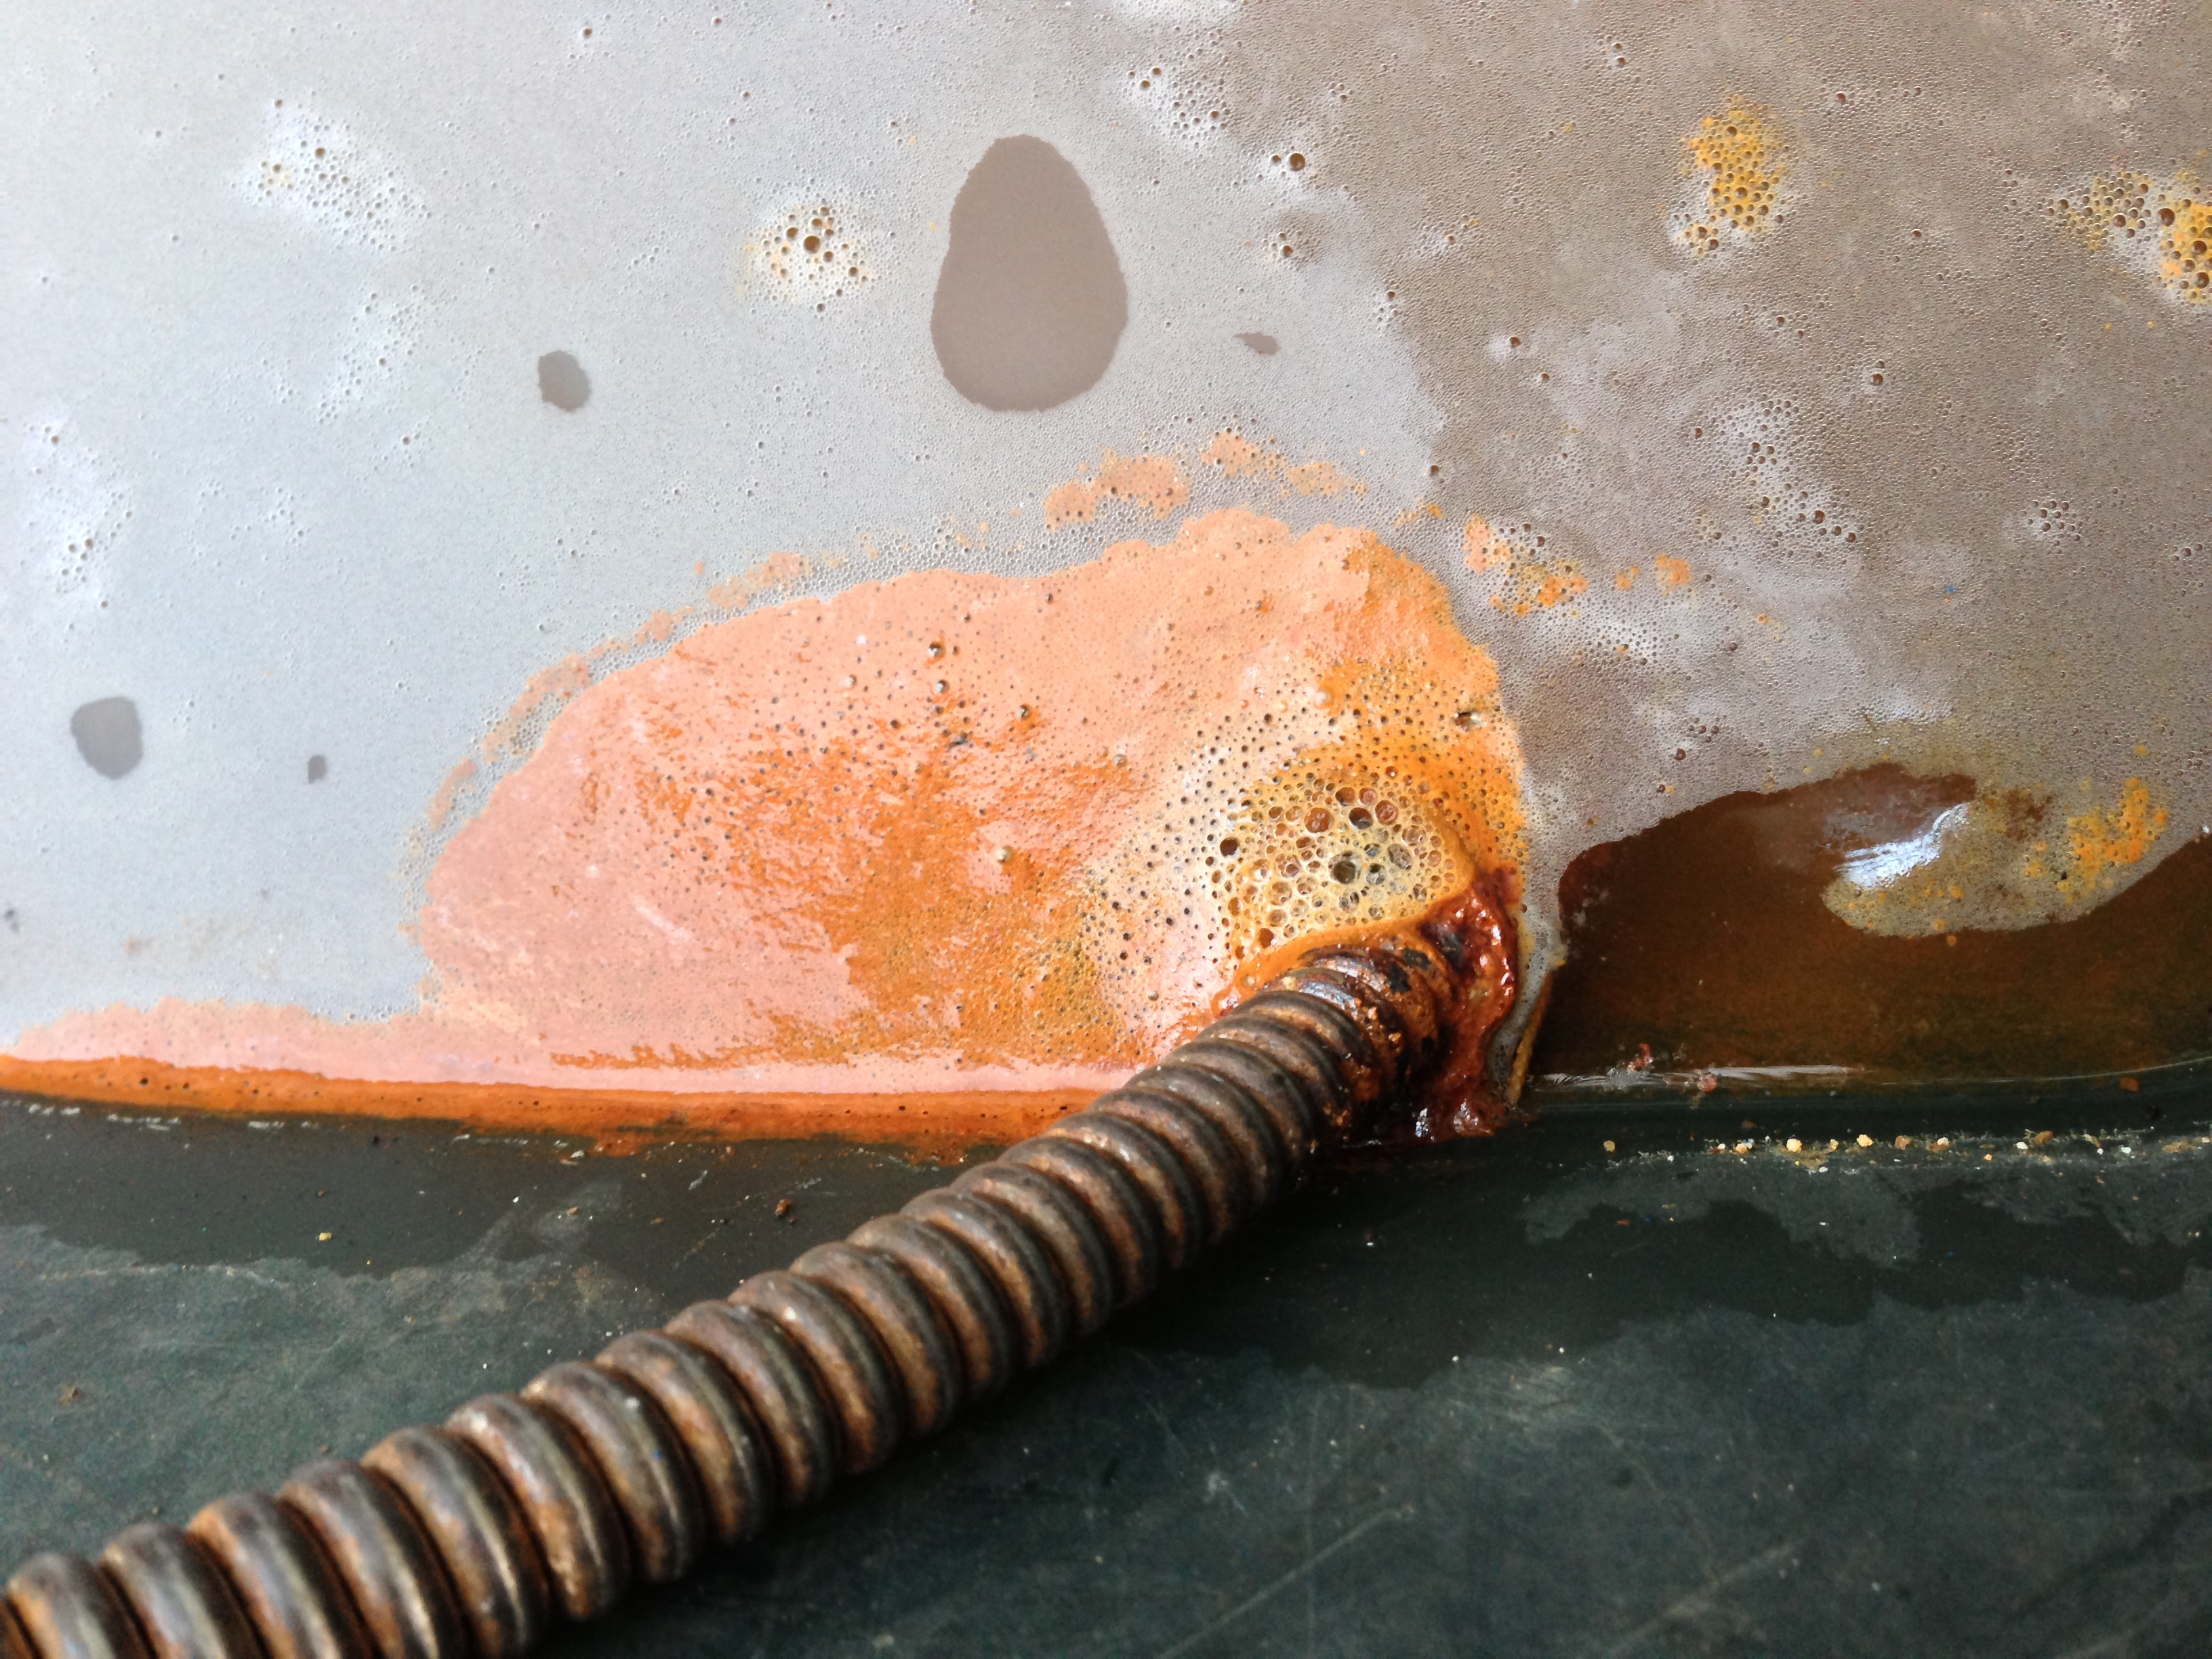
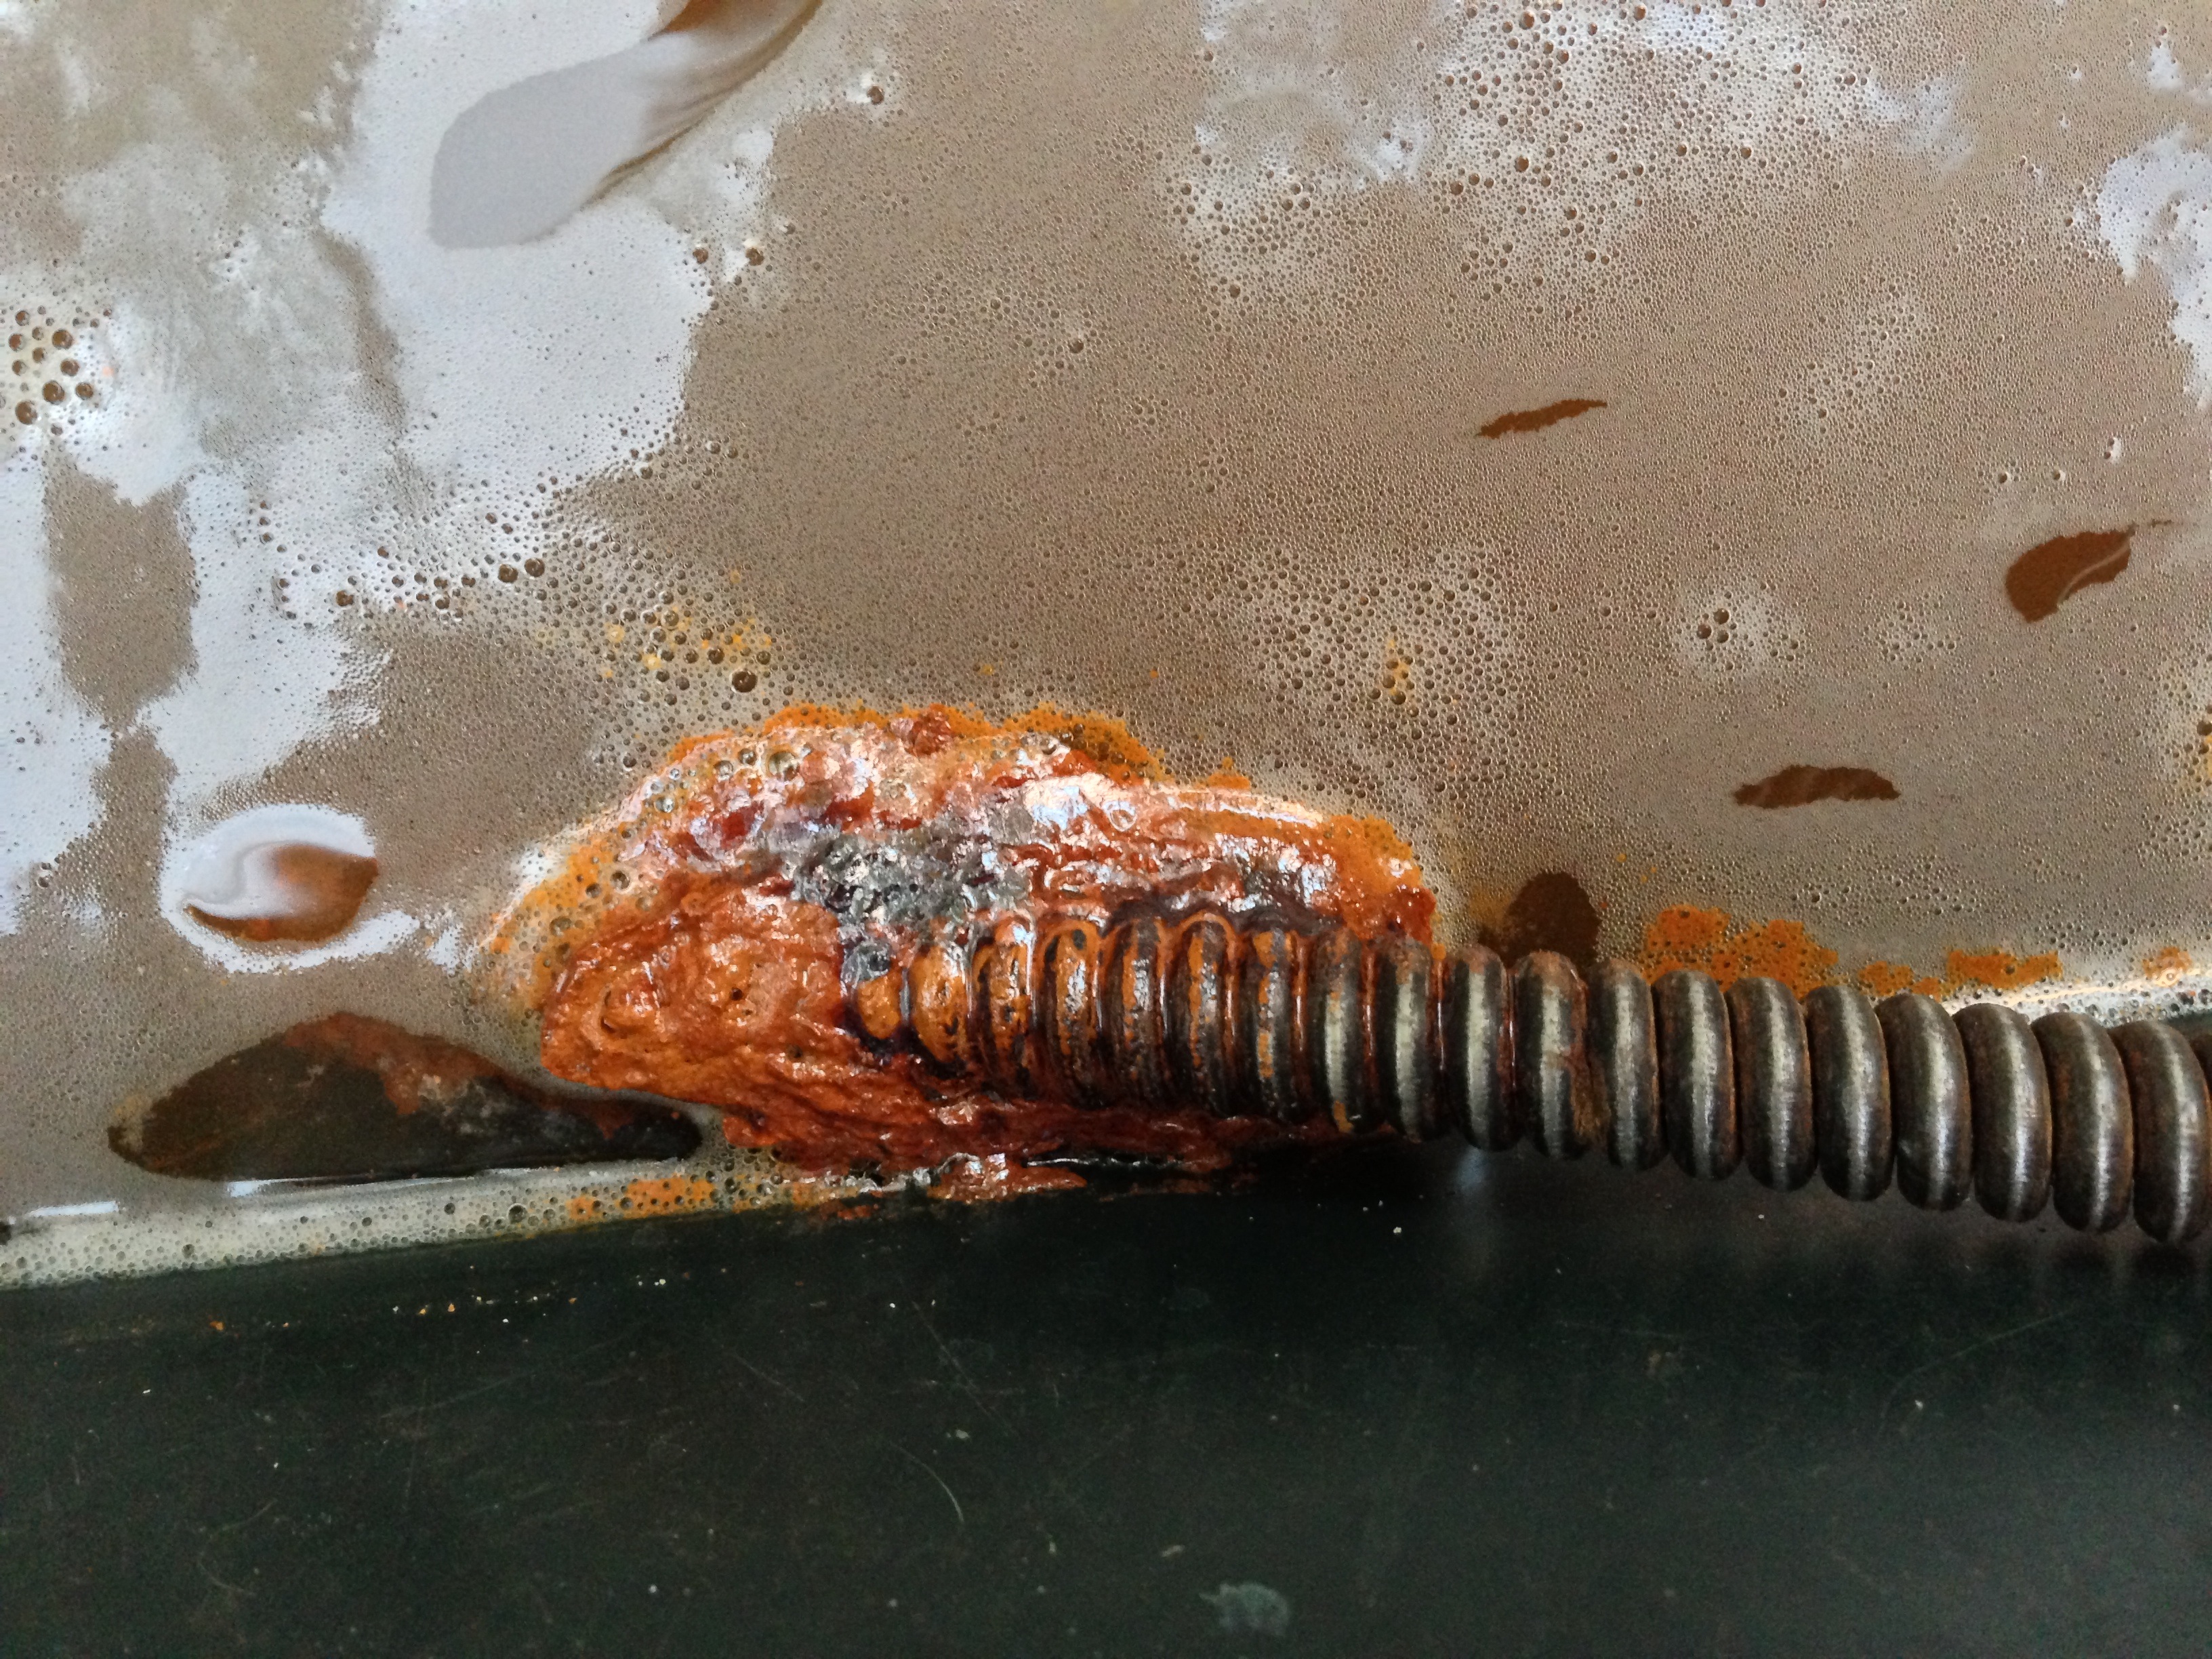
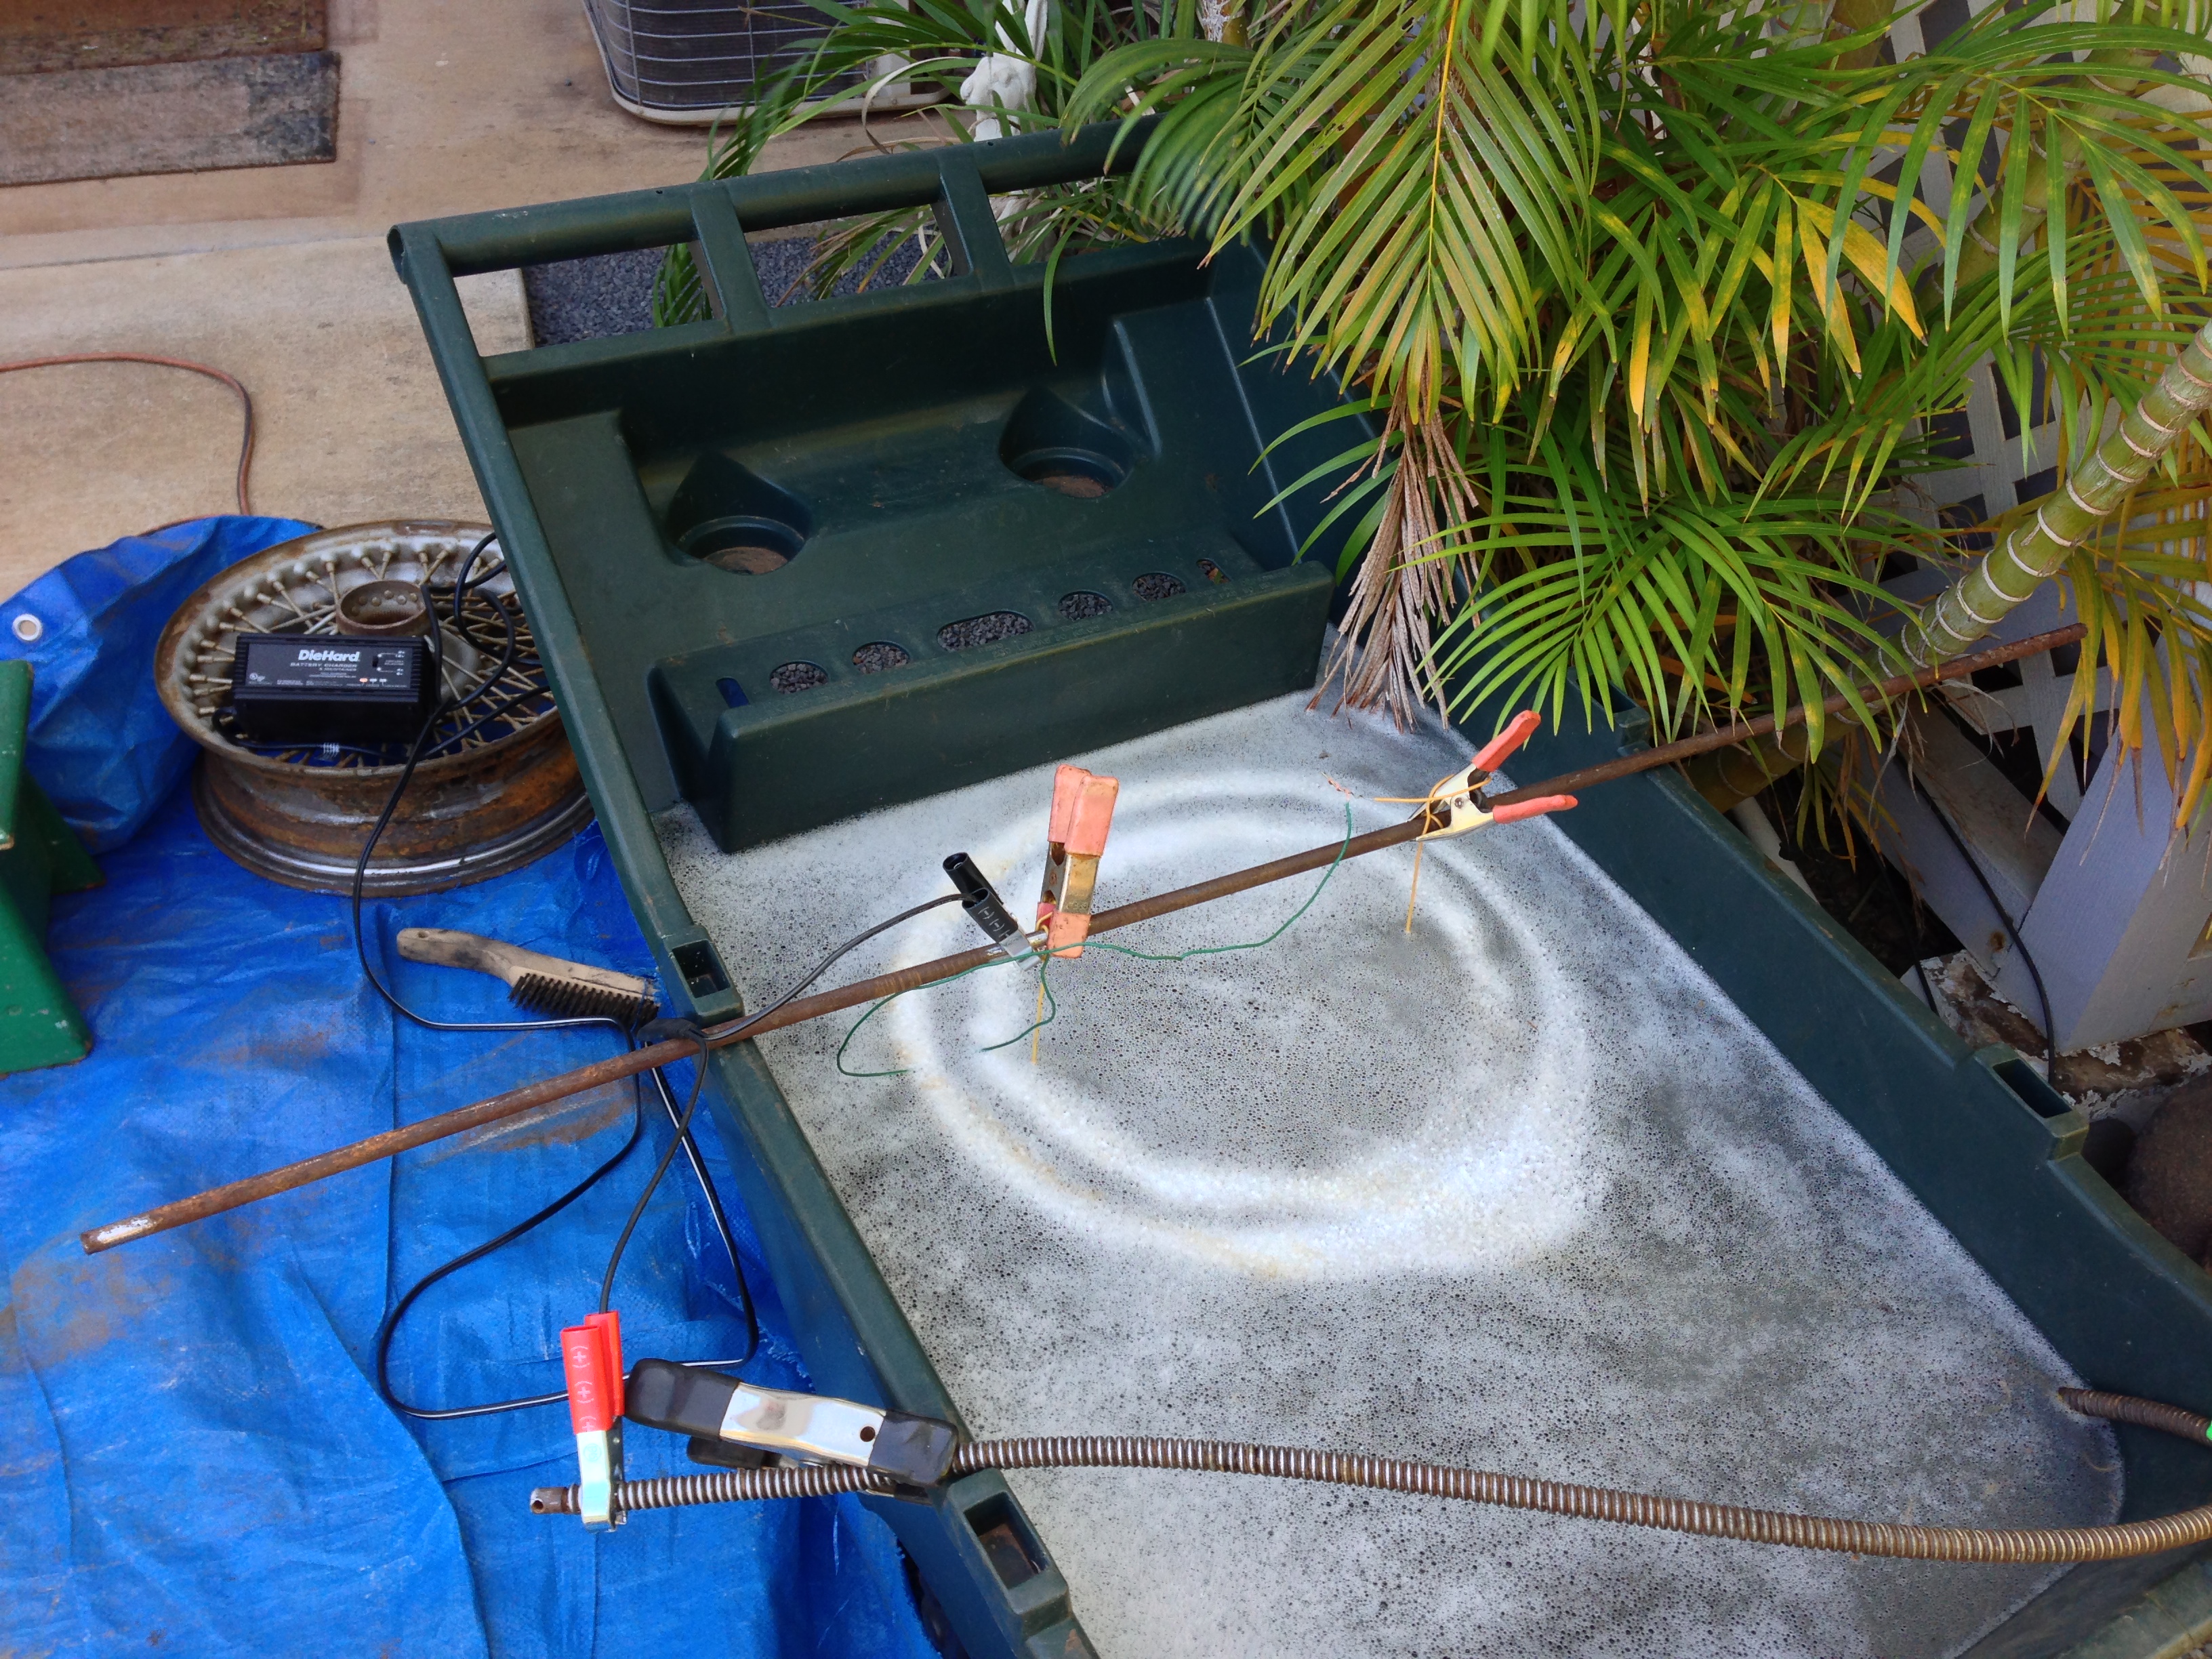
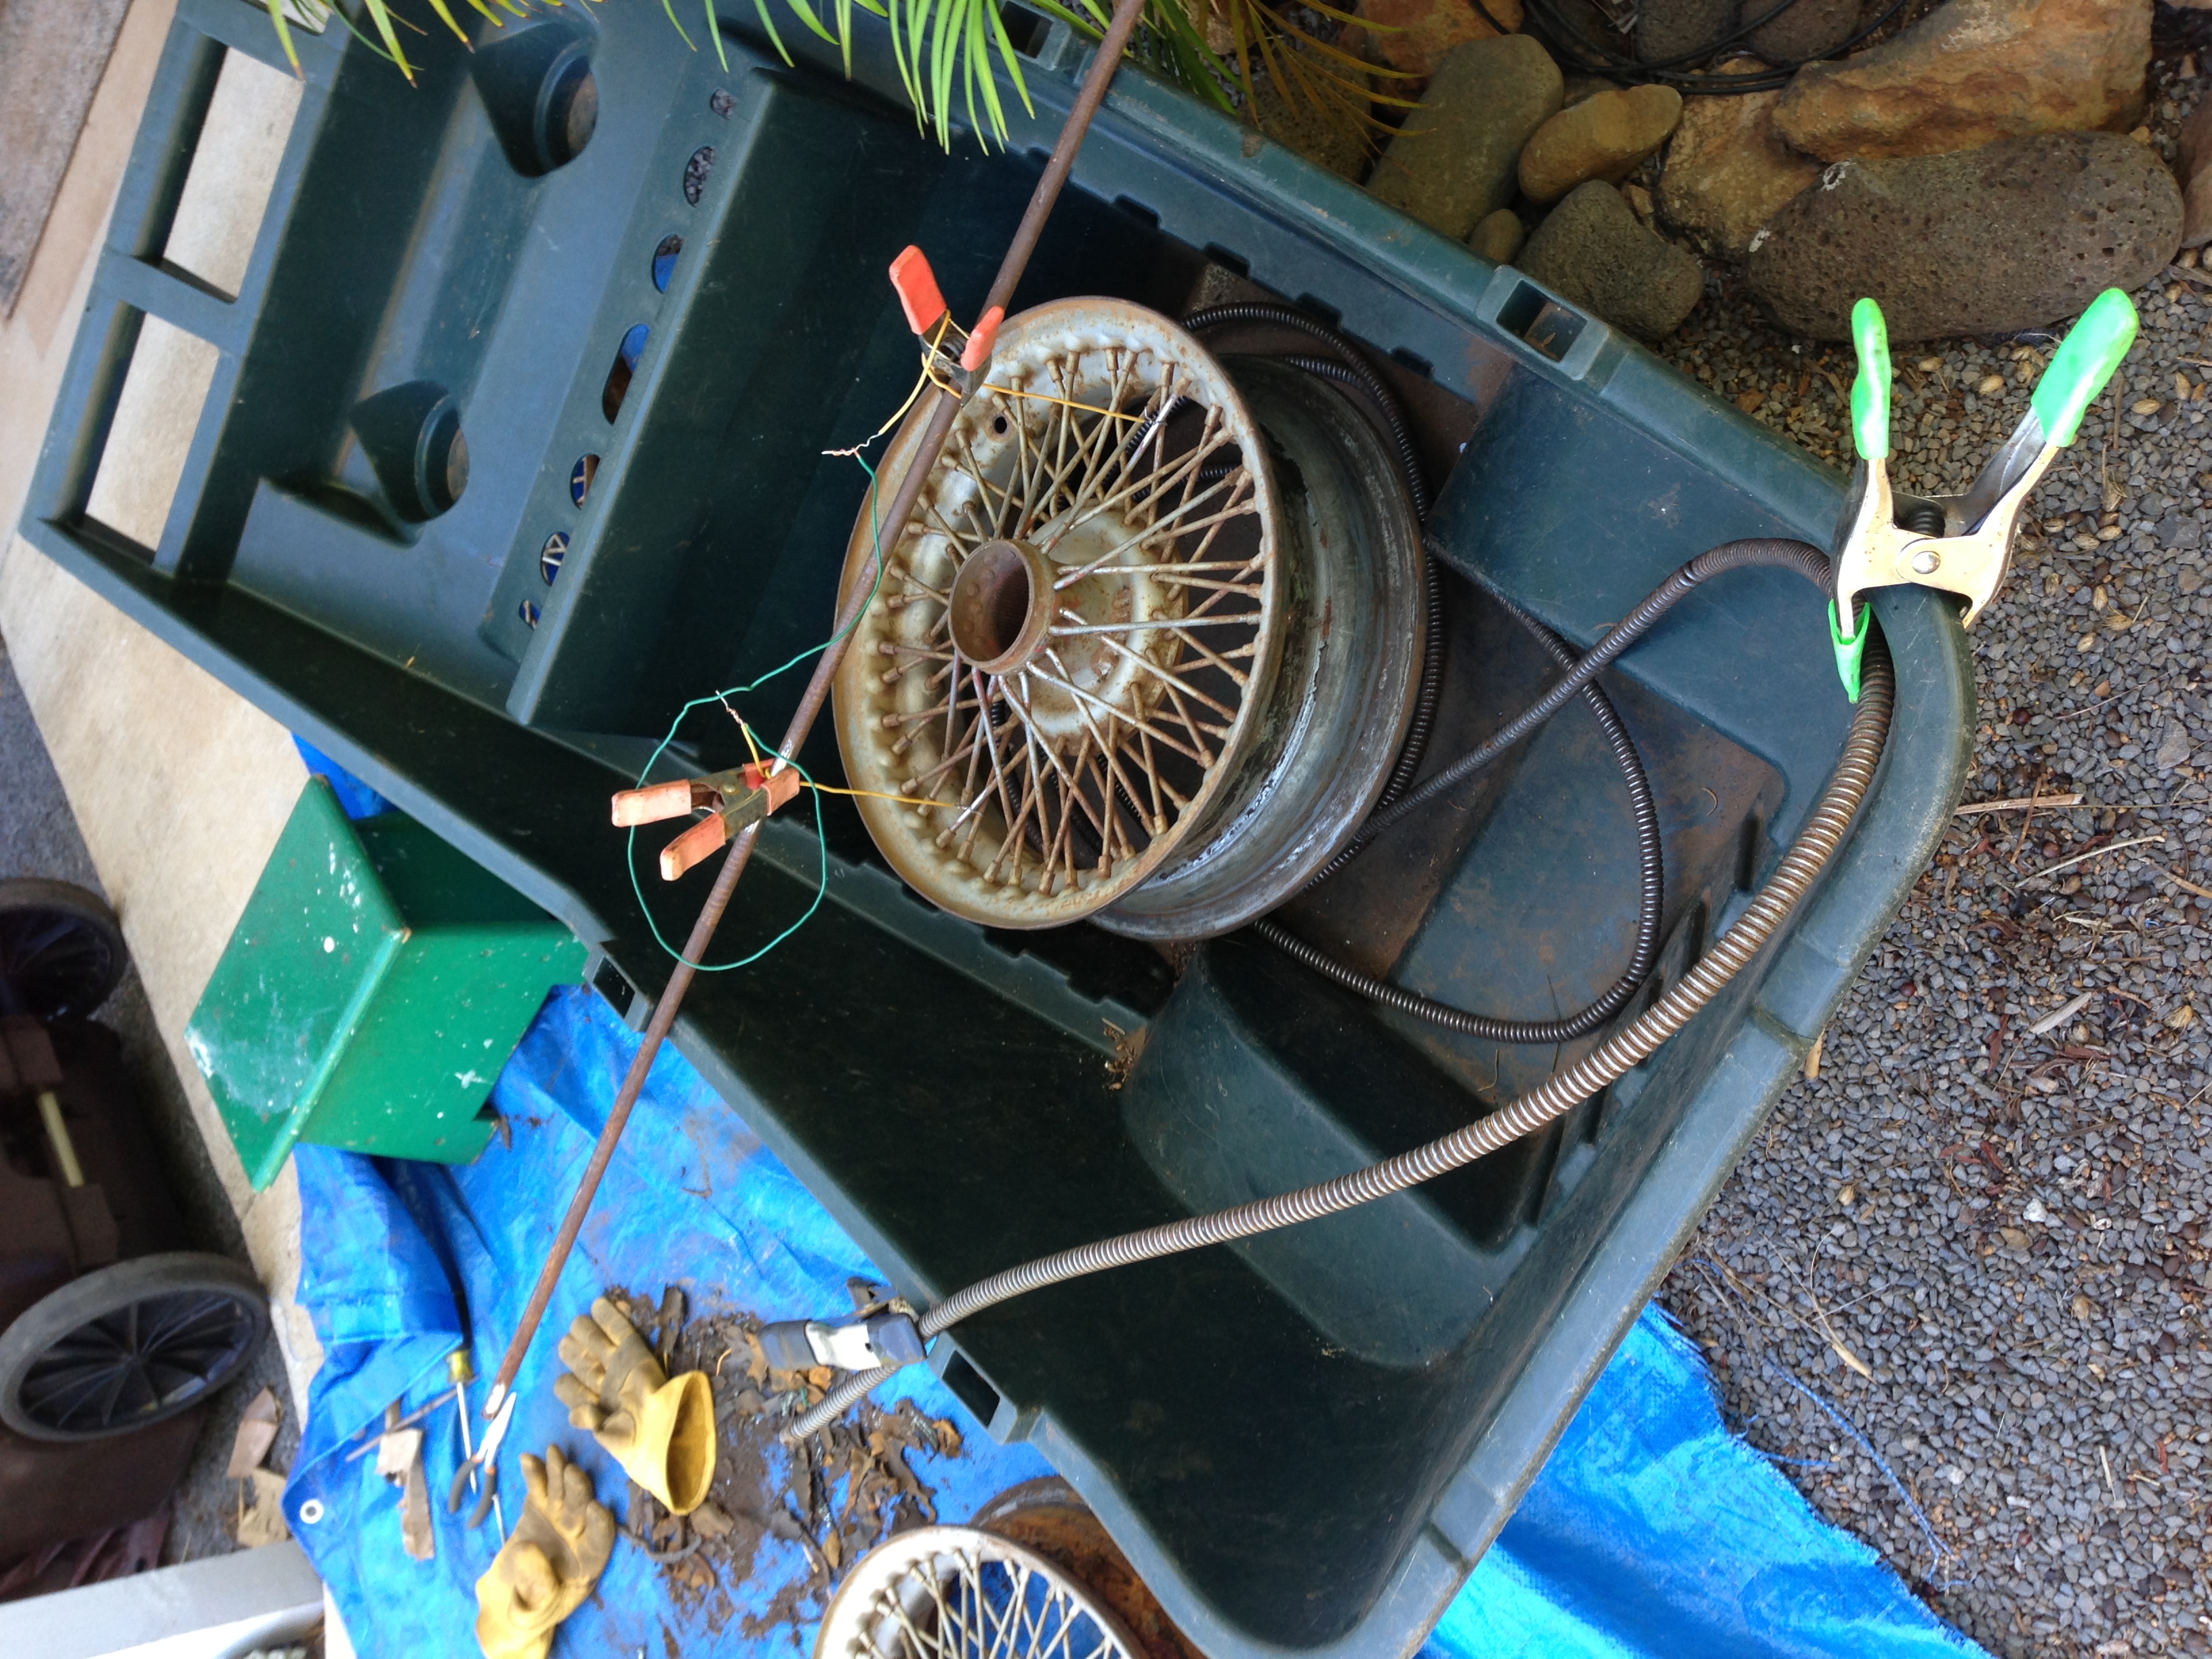
The car wasn’t running well when I bought it, part of the reason I got it for less than market value, and had been sitting for 3 years. I have gotten it running pretty well after disassembling the carbs, welding a hole in the gas tank and coating the inside with sealer and replacing the points with electronic ones which cured the intermittant firing issue it had. The rust is the other reason it was sold at a reduced price but this is something that I have experience with, having restored a 1954 VW Beetle with similar rust-through issues.

This won’t be an easy project, due to the way the body was constructed, but it’s very doable, so I invite you to follow along. I should be making good progress in the next few months and hope for it to be back on the road before the end of 2015.

IMG_7016

IMG_7030

IMG_7028

IMG_7014

IMG_7025

IMG_7007

IMG_7003

car drawing top and side p_094

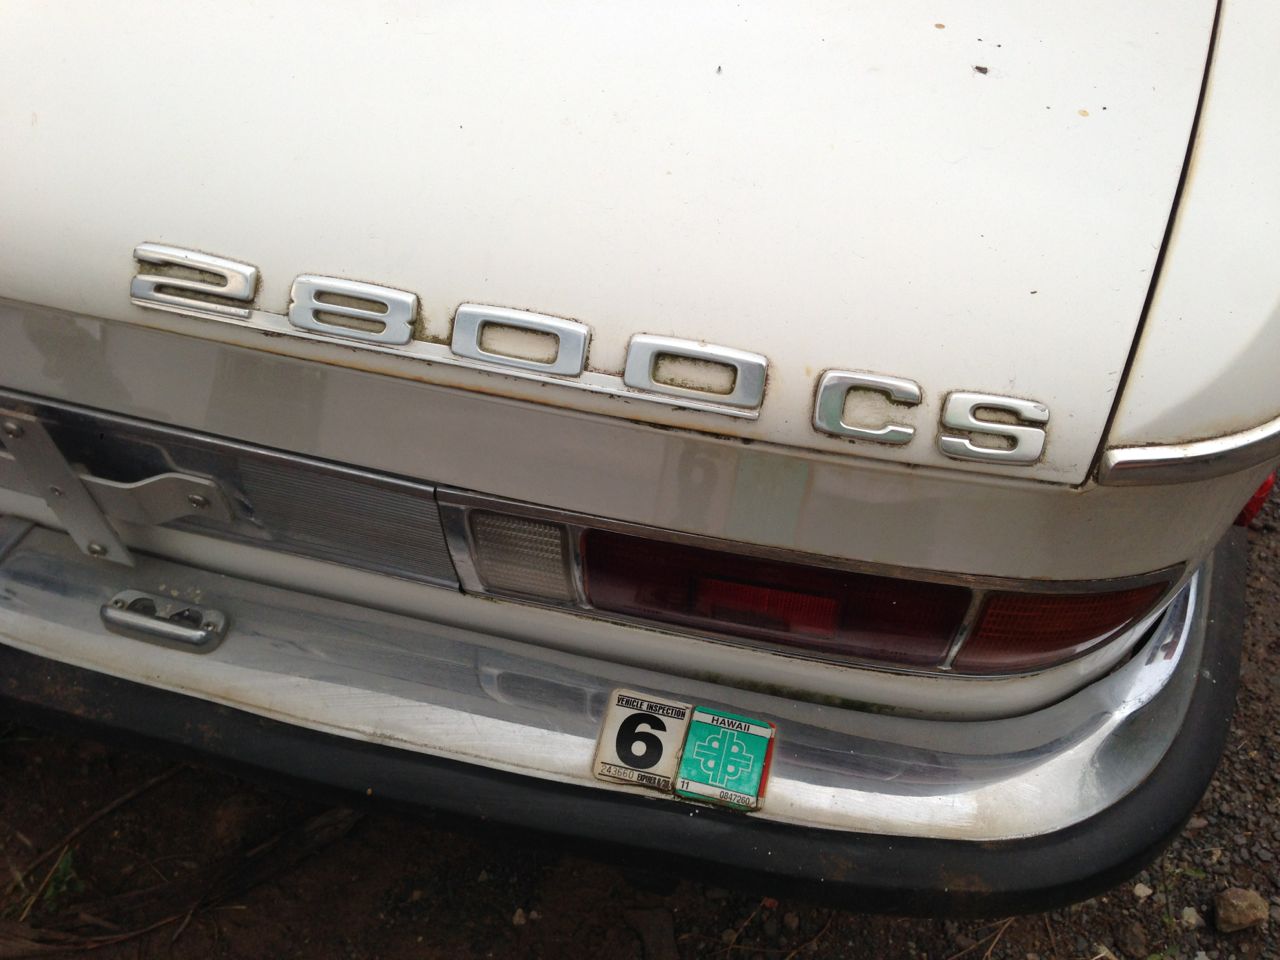
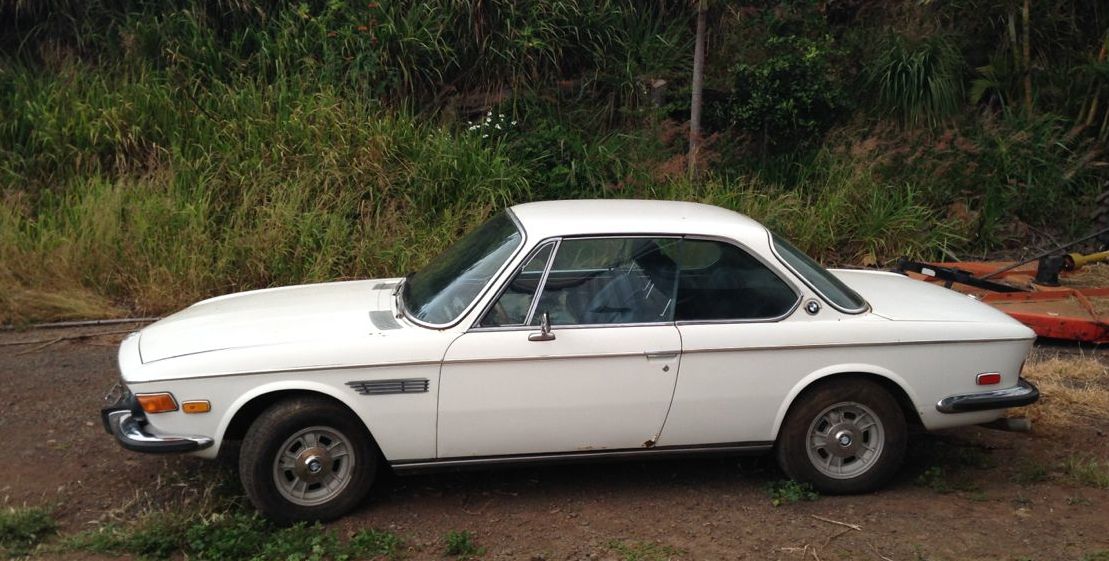
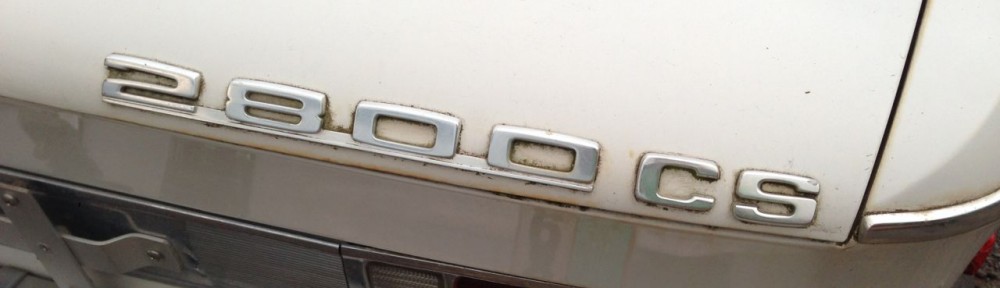
I purchased this 2800CS Sport Coupe on the island of Maui. It’s owner had bought it, sight unseen, from sellers on the Big Island of Hawaii. He was disappointed in the condition of the car, mainly because of the rust, but it also needed a carb rebuild. Then it started running very poorly and making a squeal when it did run. He let it sit for three years pondering just what to do while he was building his new house. Unfortunately, it seems he left it out in the rain, letting the rust get worse. Fortunately, he lived Kula at 3000 feet above sea level and away from the salt air that would have made short work of the steel that was exposed. I have seen a video of a man with a 1973 E-9 in Honolulu that he was trying to restore. The amount of rust in that car is truly frightening. He was ready to give up at one point, but had put so much work in that he continued on for a while further. The there was no further update to the progress after he had most of the bodywork done, a few years ago. I’ll post a link to his blog in the links section.
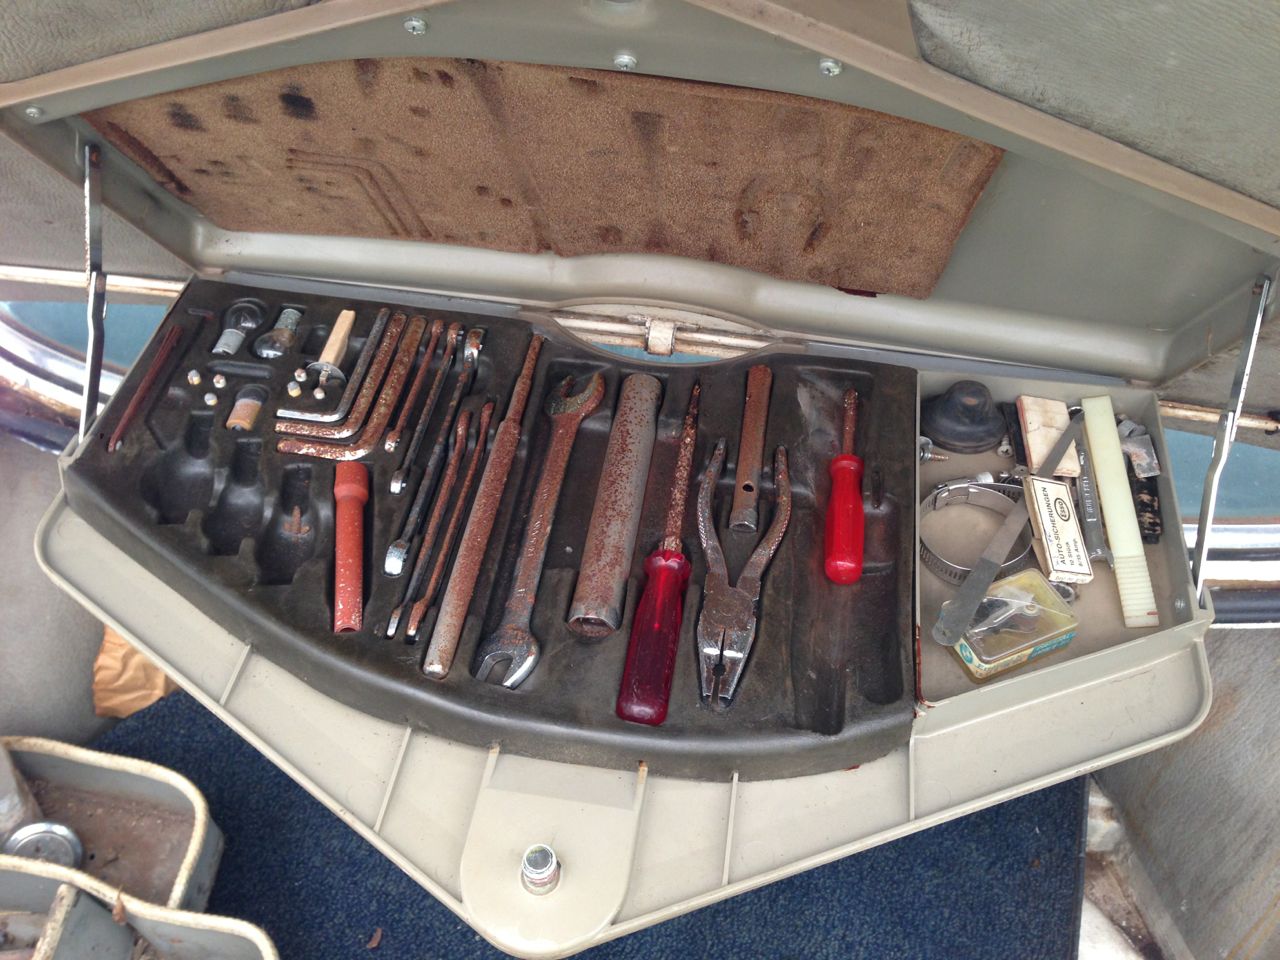
This car, while needing some welding to be back on the road, is nowhere near that bad. Some might consider it a donor for better cars, but I can’t afford a better car than this at the going rates for these. I have seen worse cars with asking prices of 3X what I paid for this. It is complete, down the the last tool in the tool kit and runs pretty well. It will live, I’ll make sure of that.
I did have to pay for shipment from Maui to my new home in Austin TX, but I’m still ahead of the game. I’ll have an awesome car that will bring me many years of joy for less than an 8 year old ‘ordinary’ car.

BMW dealer postcard back 2800CS new class

BMW E3 sedan factory postcard

Bring the rain

Ah, progress has been slow of late, though I can’t blame the weather. Well, Not much anyway. With the end of the year, the available daylight at the end of the work day is nonexistent and we have had a very wet winter. No complaints, we need the rain, but since my workspace is not well protected, work stops when it rains or gets dark.

The frame had short supports sticking out to the side to help support the cab and I’ve cut those off and welded them back on at the ends of the frame to allow for easier connection to the body work. I’ll also be able to use the flanges that were for the rear transmission mount for attachment. I’ve been waiting to start the bodywork until I have the frame fully painted.

I finally got a day when the wind was right, not much rain and I had the time to make a bit of a mess. I bought most of a gallon of POR-15 rust protective coating at a discount. The local paint shop had a damaged can they transferred to a new empty and marked it down quite a bit as it had been exposed to air and wasn’t quite full. POR is unusual paint, or coating as they prefer to call it, in that it hardens when exposed to moisture, in addition to flashing off it’s solvents. I painted the outside of the frame with a brush and black POR-15 and it leveled out to look quite smooth and professional. The gallon I bought wasn’t black, but instead was grey so its easy to see where the paint dripped out from the inside. Not the prettiest, but it won’t be very visible. I will have to touch up the front. POR isn’t UV protective, so it should be overcoated anyway. Since I live near the ocean and this frame is already 40 years old, I wanted to protect the inside as much as possible against corrosion.
Eastwood has a new product designed the inside of frames, but it’s a bit spendy at $20 for a can and I’m not sure I’d be able to get it shipped here because of shipping rules with aerosol cans. And I’d have to drill more holes in the frame which I’m not keen on.
It’s called POR-15 Rust Preventive Coating. http://www.eastwood.com/internal-frame-coating-w-spray-nozzle-qt.html

Now that I have the messy bit done and the coatings have cured, I’ll be moving the frame to the covered protection of the back lanai, or porch for those not from the islands. I hope to get the basic frame of the bodywork done fairly quickly. I’ll be able to get the position of the engine and seats figured out and thus the spacing for the rear suspension and drive shaft placement. It’s all been theoretical until now.
I did find that the frame is just at my limit for single handedly moving it about. My lower back complained the next day about the stress placed on it hoisting and turning the frame. It’s easy enough to move with a dolly at the moment, but when I add the bodywork, it will have to be moved on small trucks. I have to do some careful measuring, I’ve been counting of being able to turn the build on its side to get out the door and back around to the garage when the frame building is done, but it will be very close.

Morgan side view line drawing

Perhaps I’ll just have to get everything set, begin the body build and only weld in the lower half. Then I can more easily move the build to the garage and complete it there. There’s another project currently in that space, so it will have to be completed and the vending machines moved out to their retail locations before that happens.

Back in a new bin

I’ve had a bit of a setback, the wheelbarrow has sprung a leak while working on the second wheel. I drained it and scraped out the several cups of rust in the bottom. Searching for a suitable replacement took me to several places in town. A 17 gallon bin from the discount store was not big enough to fit the wheel and clear the cable I’m using for the anode. I found a proper sized tub at the local farm supply store. Twenty Five gallons in size and made of 100% recycled plastic for a modest $21. Yay.
I set up the second wheel in the new bin and reconnected the battery charger. Unlike the first time when the ammeter showed a 6 amp draw, this time it only showed a 3 amp draw. Perhaps because I didn’t add as much of the OxyClean as before. Anyway, the process continued, although a bit more slowly. After leaving it in the bin overnight, I pulled the rim out and gave it a look. It was pretty clean considering the extent of the corrosion that was under the inner tube. About 20% of the rim still had corrosion on it.
I scrubbed the rim with a wire brush and hosed off the grey iron oxide. Not much of the red rust remained, but there was some left. Most of what remained had been turned into a black/grey form of iron oxide. Some parts of the wheel looked as clean and bright as brand new, other parts show substantial surface pitting. Since I’ll be running inner tubes, I’m not so concerned about absolute perfection of the rim. I believe that it will be quite satisfactory. I’m not sure how much the power will cost to derust all my wheels, but at 38 cents per KwH, it’s not insignificant. Still, it won’t be a deal breaker.
I’m thinking about paint options, what type of primer, what color to paint the wheels. I have a color scheme in mind, more on that later.

Bubble, bubble, toil and trouble…

Wheel 1 after cleaning inside rim

Apologies to Will Shakespeare…

I let the wheel stay in the electrolysis wheelbarrow for several days. The bubbles continued and then gradually tapered off to nothing. The battery charger’s indicator showed little current flow. Examining the wheel showed that the majority of the paint had softened and a good deal of the rust was gone. The side that was up did have more rust than the down side so I’ll flip the wheel over and give it another day or two in the bath.
A majority of the paint washed off with a hose and a wire brush got a good deal of the rest. The rust was mostly gone in some spots and the wheel looks pretty good. If only I had more wheels as good as this one. I’ll finish this one and start on the next best wheel. Not a bad start.

A fizzy bit in the bin

I’m trying to clean up the wire wheels I got last week so I can get them painted. I had the tires dismounted and was sad to find that there was considerable rust inside the rims. Tubeless tires make a good seal with the rim and keep out the environment, as long as there is air in them of course. Wire wheels require tubes, and don’t always seal against the rim perfectly. Water can also sneak in via the spokes.
At least one of rims has substantial metal missing by the valve hole due to rust. It makes that one a backup spare only. I have one that is in really good shape, albeit I found it has a broken spoke. So I only need one more good one from the remaining five to get up and running. I was hoping to have two complete wheel sets, but that remains to be seen.
To clean up the rust, I initially figured I’d get the wheels sand blasted clean. I’m having a bit of trouble finding someone who can provide that service. If I do, I’m afraid it will cost more than what the wheels cost. I have already shelled out $72.50 to get 4 tires dismounted and discarded. Yes, services on the island cost more than on the mainland. So I try to do what I can myself.
I found a video on YouTube that describes removing rust via electrolysis. There are a number of videos but the basics are the same. It looks easy enough and I have all the materials needed. A big plastic container, a battery charger and sodium carbonate, aka OxyClean. Some electrical wire, wire brushes and sandpaper should be all I need.
I removed the remaining rubber ring around the inner part of the wheel and the knocked off the largest rust bits. I suspended the wheel in the plastic wheelbarrow with the electrical wire and filled it with 25 gallons of water with the disolved OxyClean. I had recently pulled a 15 foot length of plumber’s snake from the dumpster near work so I coiled that up in the bottom to act as the anode. One video mentions that the derusting action is more or less line of sight, so I think that means I’ll have to flip over the wheel to get the other side clean. I may also have to loop the snake along the sides of the wheelbarrow to get the inner part of the rim clean, the part where the ends of the spokes are and the tire mates.
I’ve had the current on for about an hour and am seeing some bubbles, so believe that I’m getting some action. I’ll probably have to leave it at least overnight since the battery charger is a maintenance type with an output of two amps. We’ll see how it looks tomorrow.