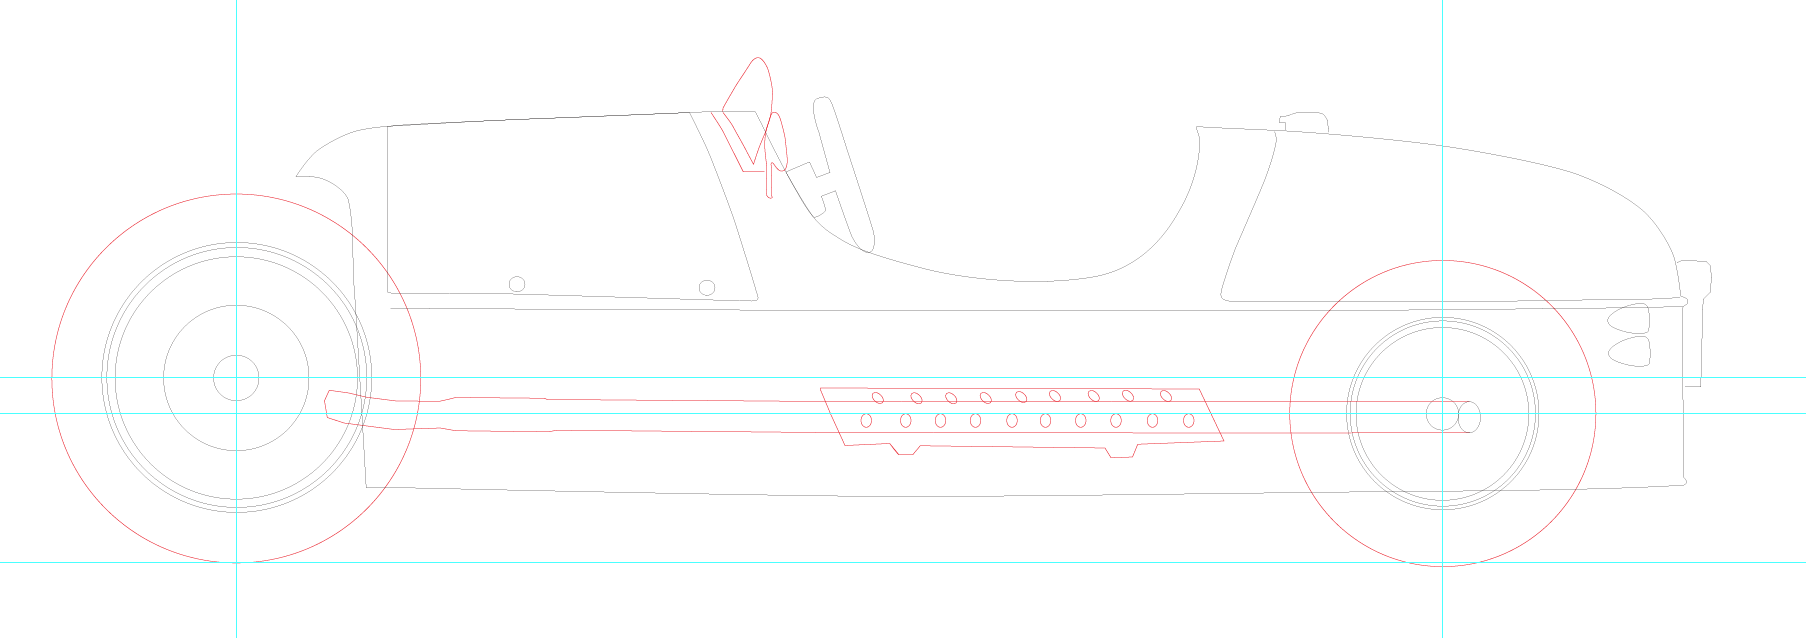
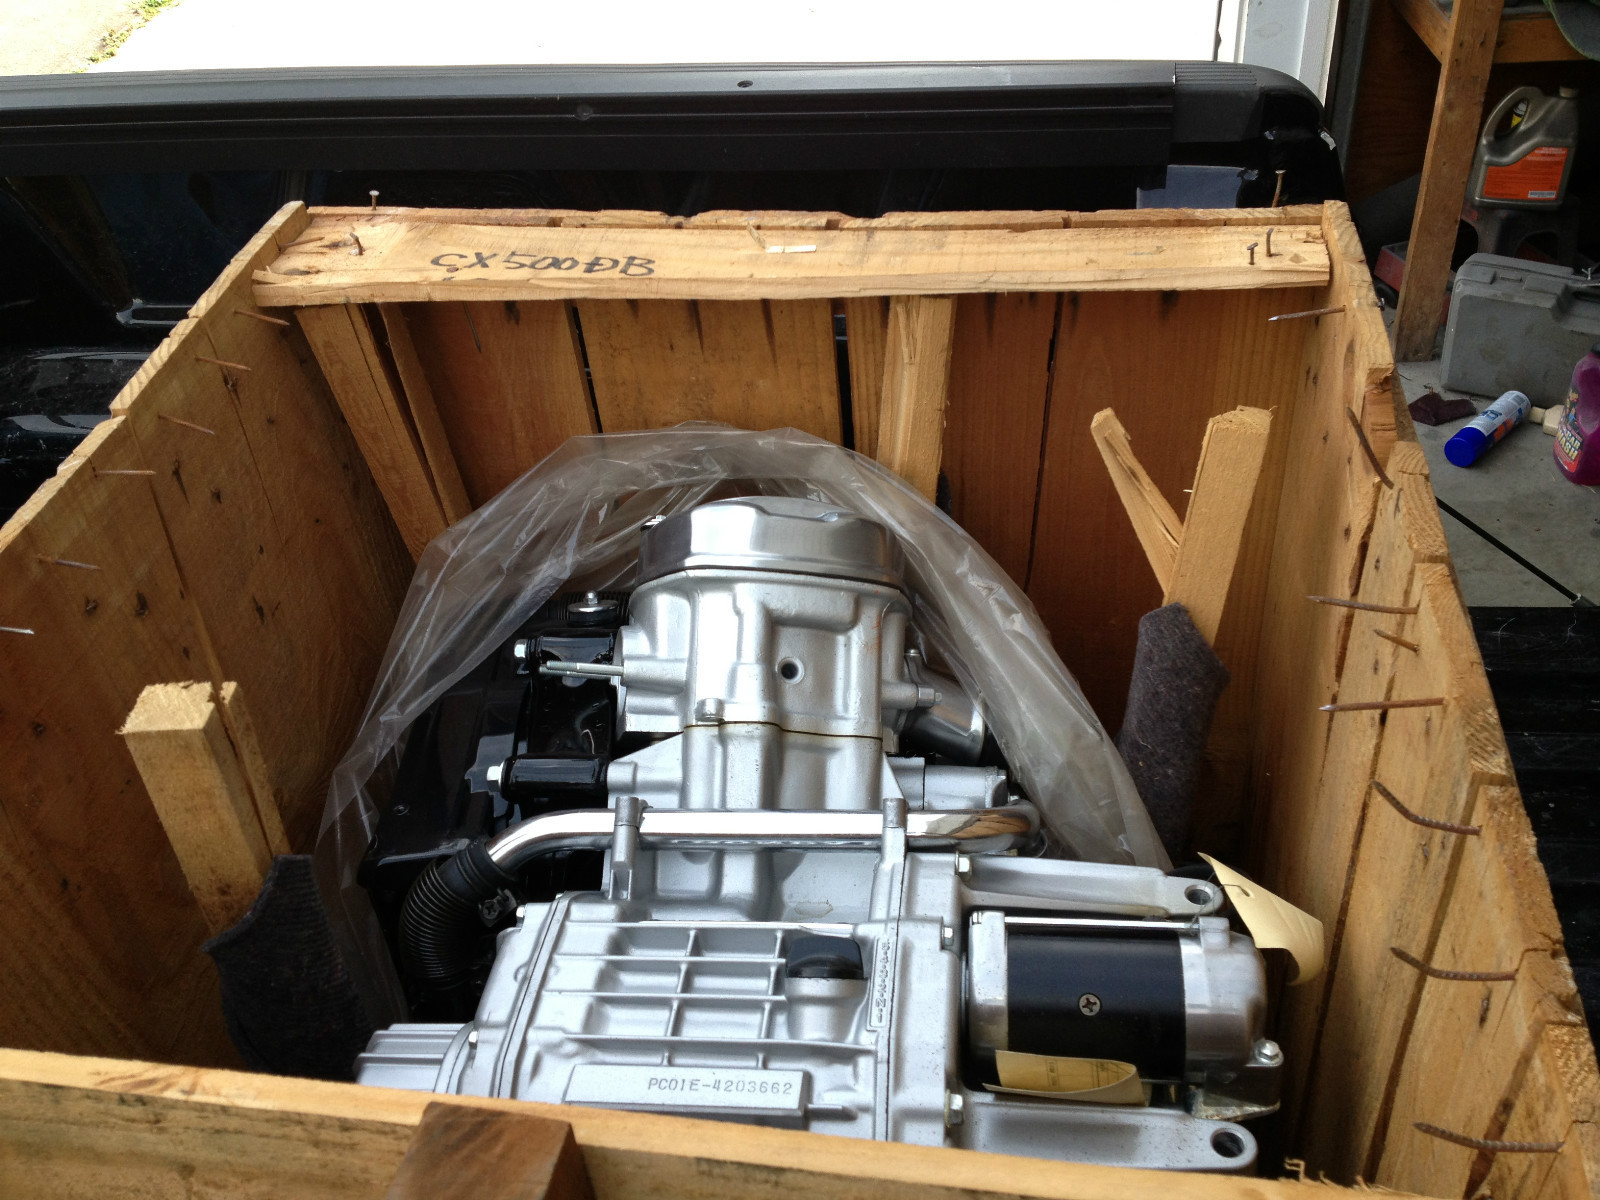
I’ve made the move back to the mainland and brought most of the project with me. I had to leave the CX650 engine behind but brought the New Old Stock CX500 engine with me.
Texas law states that you can’t combine automobile and motorcycle parts in a vehicle. Probably due to too many VW trikes failing due to poor construction.
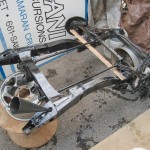
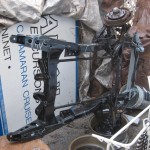
I’ll have to rethink my project and begin anew. Although I liked the torsion bar suspension of the Datsun truck frame, it’s heavy and not quite suited for the project.
I’m in a smaller space and the three wheeler project will have to wait till I get things setup for this project.
Category Archives: Goals
Back in gear
I’ve been a bit busy with work and some house related chores so the build progress has been minimal. I’ve decided to have the steering rack shortened by a shop that does such work and is familiar with the process. That will mean shipping the rack to and from the mainland once I pick the appropriate machine shop.
As of yet, I haven’t found that vendor.
A lot of the build decisions hinges on the placement of the motor, and that will be determined by the placement of the steering rack, so this is a critical step. Once I have it shortened, I’ll be able to create the mount points to attach it to the frame.
Other parts have been trickling in, such as LED tailights from Speedway Motors.
http://www.speedwaymotors.com/1937-Ford-LED-Tail-Light-Assembly,25334.html
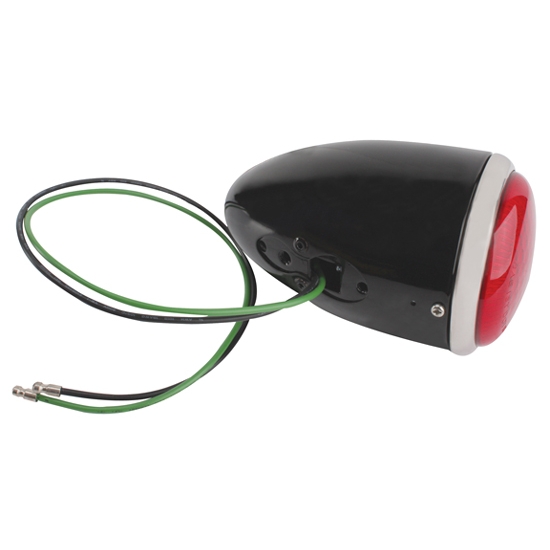
I’m a long way from needing those, but it’s good to get parts once I’ve decided on what I need. Speedway has a huge amount of parts, mostly for racing and American street rods, but there are some useful things for me there as well.
The build progress should pick up a bit as the summer progresses, I have a nicely running Miata to get me to work and I think the Volvo’s issues are resolved. Once the clutch is replaced in the other convertible, all will be good, leaving more build time.
Bring the rain
Ah, progress has been slow of late, though I can’t blame the weather. Well, Not much anyway. With the end of the year, the available daylight at the end of the work day is nonexistent and we have had a very wet winter. No complaints, we need the rain, but since my workspace is not well protected, work stops when it rains or gets dark.
The frame had short supports sticking out to the side to help support the cab and I’ve cut those off and welded them back on at the ends of the frame to allow for easier connection to the body work. I’ll also be able to use the flanges that were for the rear transmission mount for attachment. I’ve been waiting to start the bodywork until I have the frame fully painted.
I finally got a day when the wind was right, not much rain and I had the time to make a bit of a mess. I bought most of a gallon of POR-15 rust protective coating at a discount. The local paint shop had a damaged can they transferred to a new empty and marked it down quite a bit as it had been exposed to air and wasn’t quite full. POR is unusual paint, or coating as they prefer to call it, in that it hardens when exposed to moisture, in addition to flashing off it’s solvents. I painted the outside of the frame with a brush and black POR-15 and it leveled out to look quite smooth and professional. The gallon I bought wasn’t black, but instead was grey so its easy to see where the paint dripped out from the inside. Not the prettiest, but it won’t be very visible. I will have to touch up the front. POR isn’t UV protective, so it should be overcoated anyway. Since I live near the ocean and this frame is already 40 years old, I wanted to protect the inside as much as possible against corrosion.
Eastwood has a new product designed the inside of frames, but it’s a bit spendy at $20 for a can and I’m not sure I’d be able to get it shipped here because of shipping rules with aerosol cans. And I’d have to drill more holes in the frame which I’m not keen on.
It’s called POR-15 Rust Preventive Coating. http://www.eastwood.com/internal-frame-coating-w-spray-nozzle-qt.html
Now that I have the messy bit done and the coatings have cured, I’ll be moving the frame to the covered protection of the back lanai, or porch for those not from the islands. I hope to get the basic frame of the bodywork done fairly quickly. I’ll be able to get the position of the engine and seats figured out and thus the spacing for the rear suspension and drive shaft placement. It’s all been theoretical until now.
I did find that the frame is just at my limit for single handedly moving it about. My lower back complained the next day about the stress placed on it hoisting and turning the frame. It’s easy enough to move with a dolly at the moment, but when I add the bodywork, it will have to be moved on small trucks. I have to do some careful measuring, I’ve been counting of being able to turn the build on its side to get out the door and back around to the garage when the frame building is done, but it will be very close.
Perhaps I’ll just have to get everything set, begin the body build and only weld in the lower half. Then I can more easily move the build to the garage and complete it there. There’s another project currently in that space, so it will have to be completed and the vending machines moved out to their retail locations before that happens.
- Frame ready for paint pour
- Pouring done, a bit messy
- A must have when using auto paints
- What to do with old engine oil? If it’s from Harviestoun, you drink it. Mmmm.
Some progress
I’ve had some progress since the last post. I purchased steel for the frame and had it sent over from Honolulu. It was twice the cost of purchasing the steel on the mainland but half the cost of the local provider.
Harbor Freight had a small Argon bottle for my MIG welder so I’ve purchased that. Unfortunately, when it arrived, I was told by the local welding gas supplier that they wouldn’t exchange it for a full bottle since it didn’t have a Argon sticker on it. Fabulous. I’ll have to purchase a new one, at local prices at that.
I’ll use the MIG welder to make an English Wheel for practice and to give me another way to make the fenders and radiator cover. Harbor Freight supplied the lower anvils and a Ford bearing will become the upper bearing. A wrecked Honda CBR600 will donate it’s rear fork for the English Wheel frame. It won’t be a very big English Wheel, but it will work for my needs.
I’ve found a New Old Stock Honda engine on Ebay. Its a CX500, smaller than the CX650 engine I have, but I wanted to have a spare engine on hand since they are not easy to come by here. It’s due in by ship, at a significant cost later this week. I’ll keep it as a spare, since the CX650 engine is 30% larger. Maybe it will be the seed for a second build if my first, $25 engine runs like a champ.
Now I’m prepping the donor Datsun 620 frame for primer and a rebuild of the front end. I have a lot of brake issue to deal with. Drums or discs?
A giant leap forward
I’ve been hanging back a bit in buying part and materials for the build because I haven’t been sure the engine is in good order. The weather was beautiful this weekend so I made the time to diagnose the engine’s condition.
Major concerns centered on the upper end of the engine. I’d already looked in a few of the inspection ports and seen that the oil had kept the inside well lubed. However, it had been sitting for an unknown period of time with at least one set of valves open to the weather, although it did have exhaust pipes and carburetors attached fortunately. What was the inside of the cylinders like? Do the valves still seal?
I drained the oil and pulled the oil pan off the bottom of the engine. I examined the residue in the oil pan and found nothing alarming in the small amount that was there.
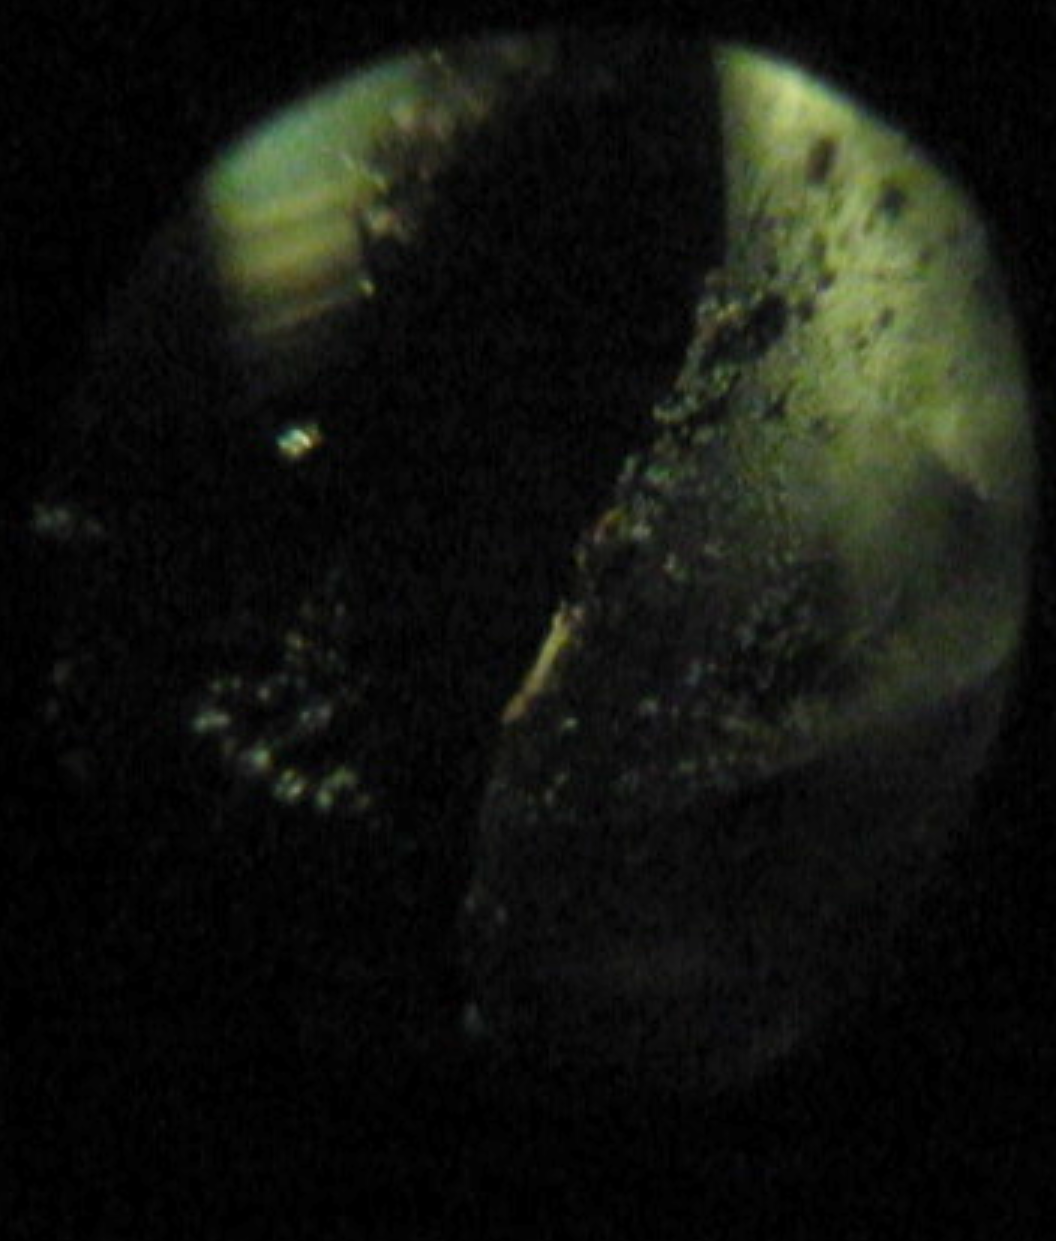
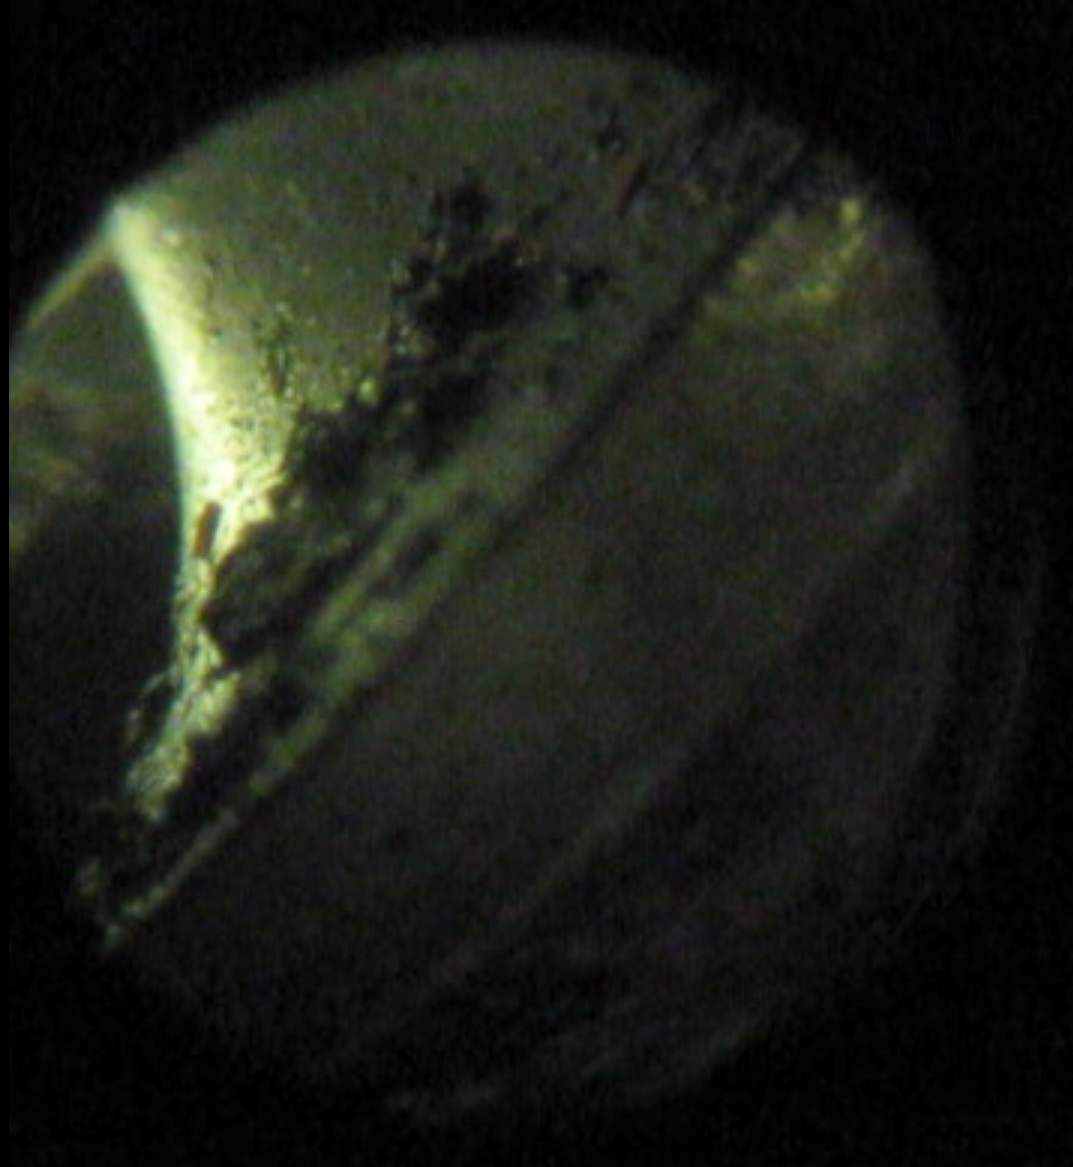
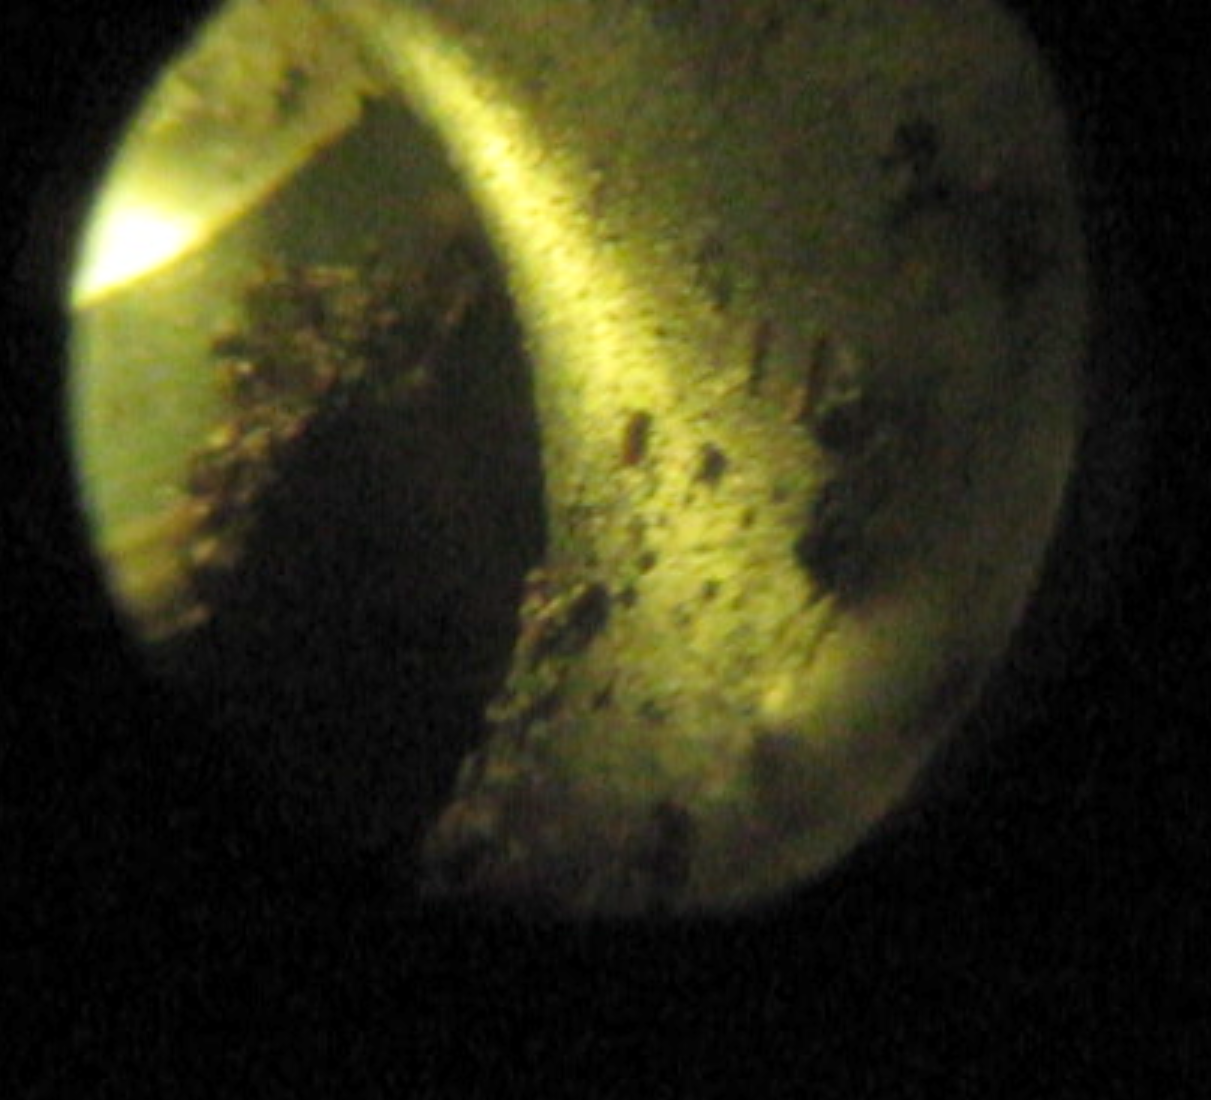
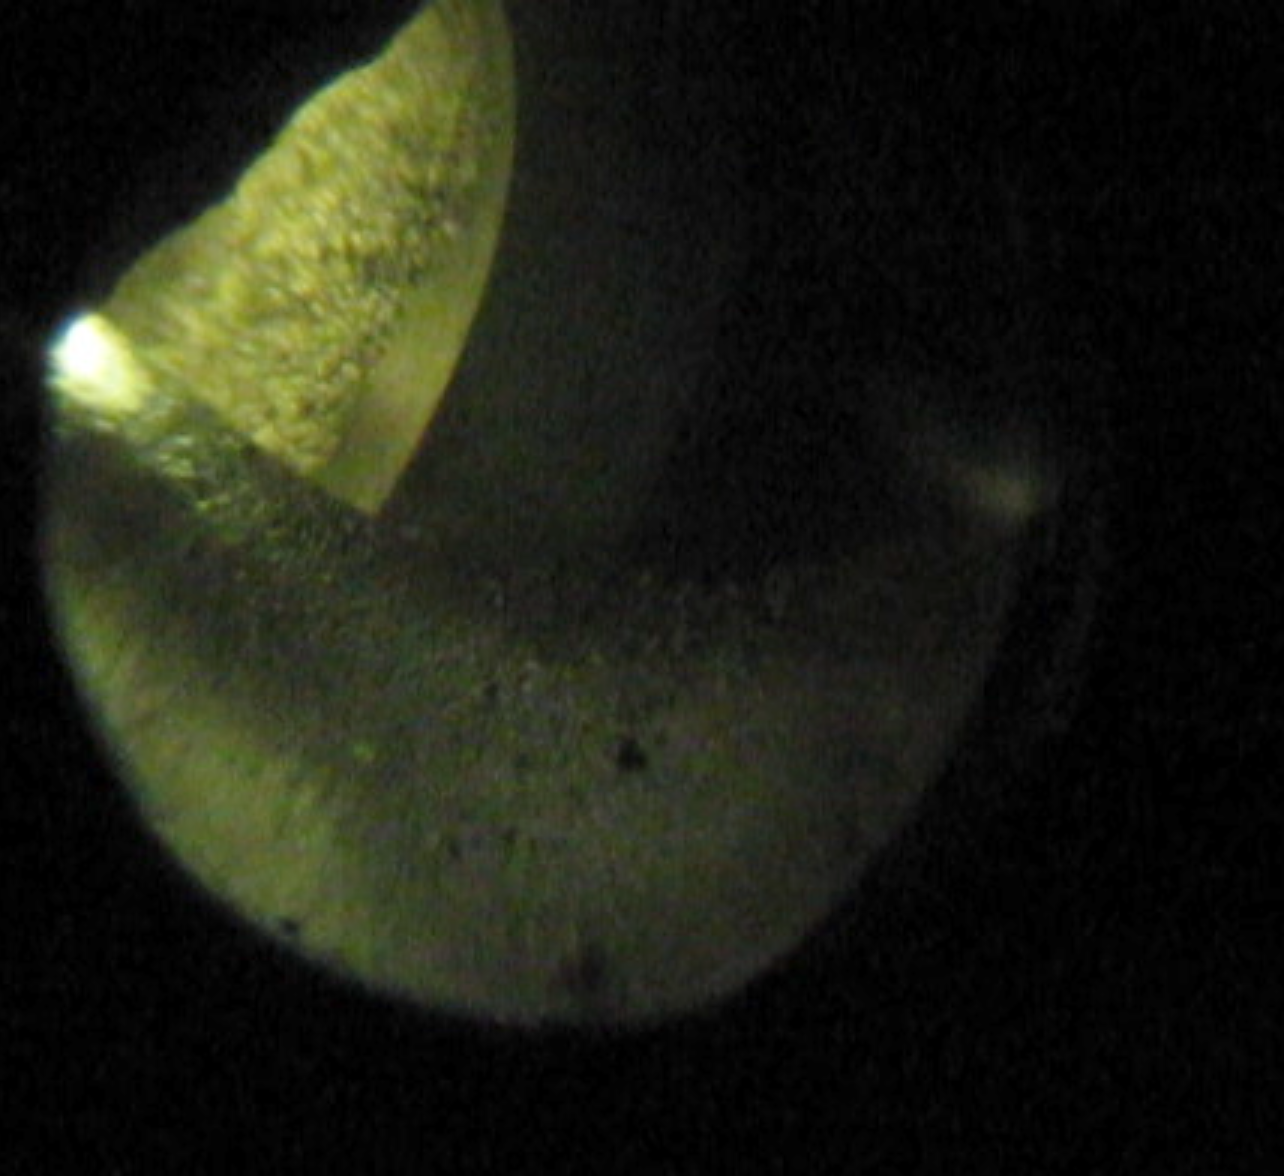
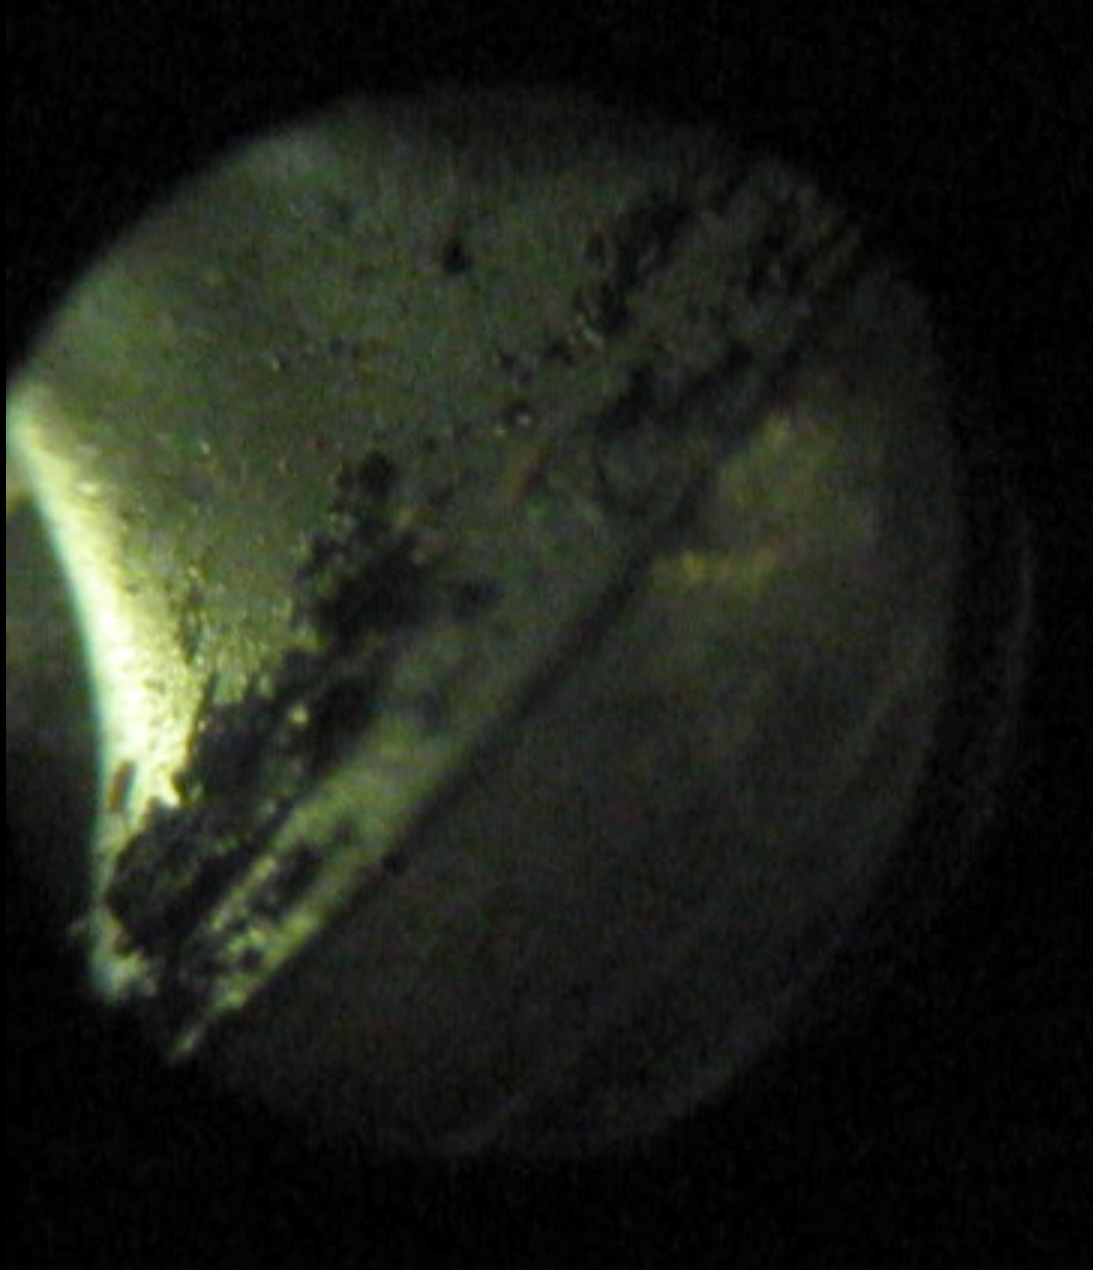
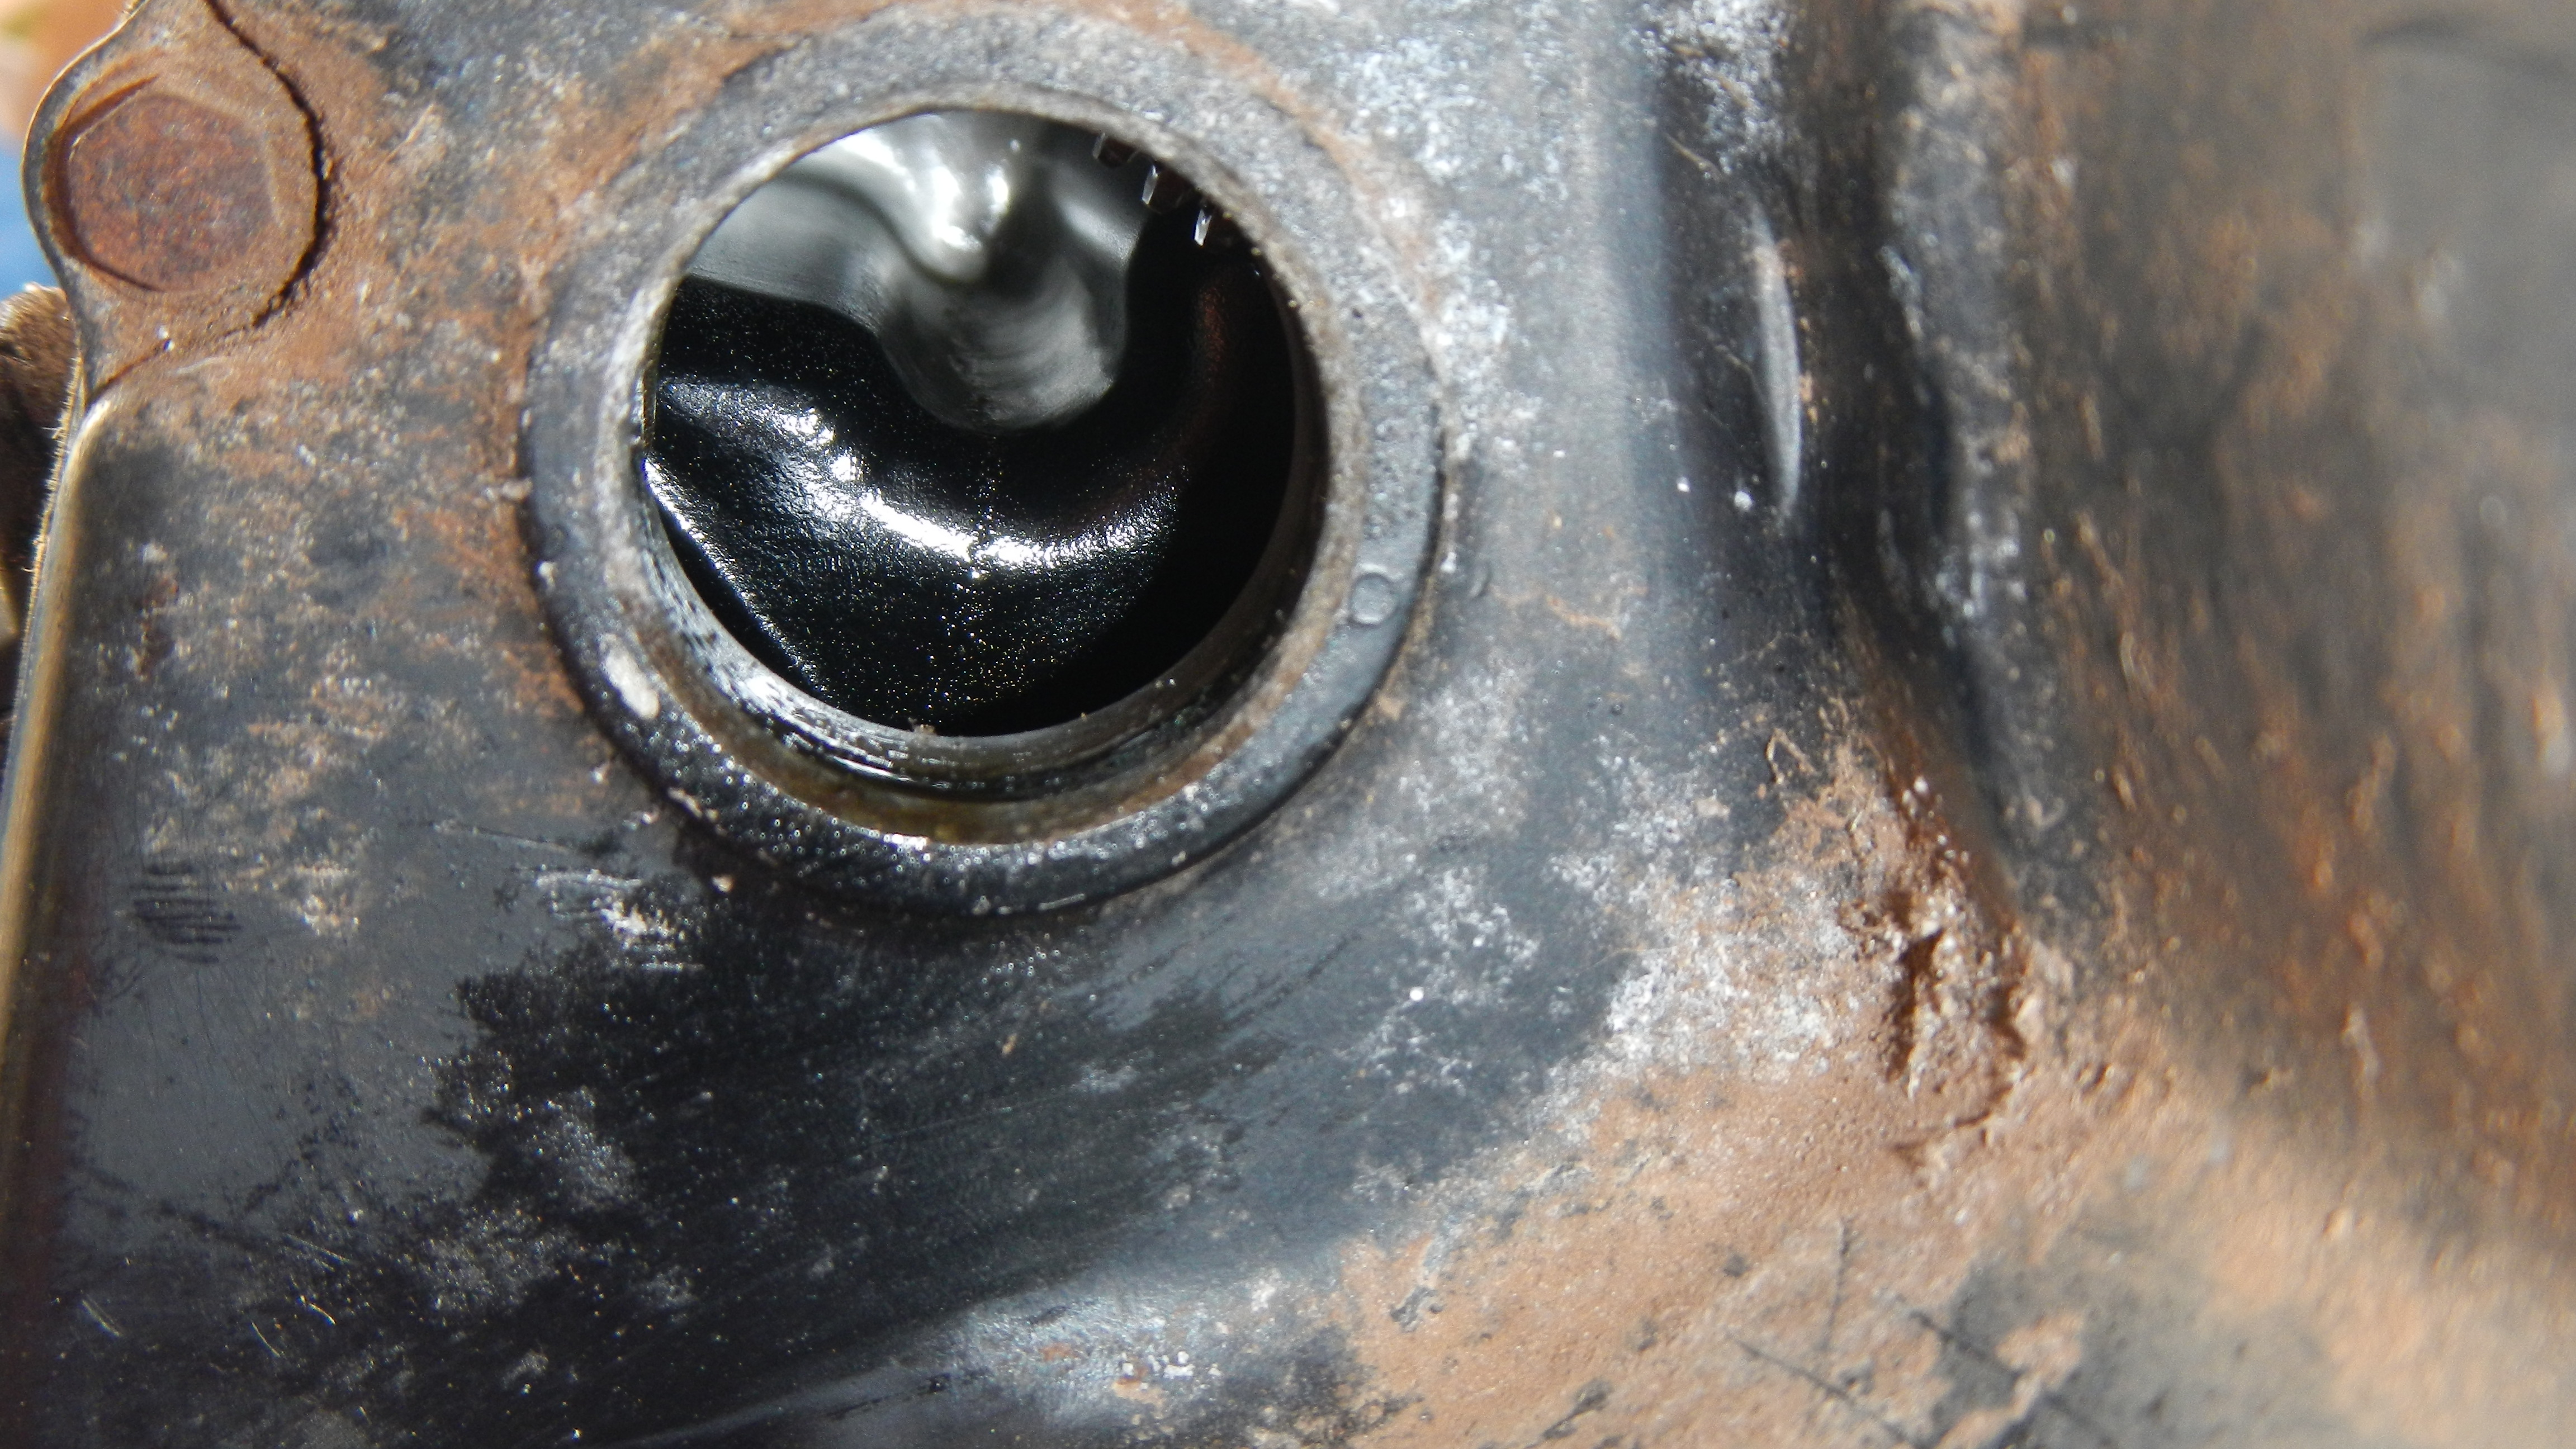
Turning the engine over with a 17mm socket on the timing gear on the front, I could feel that the pistons moved up and down smoothly. Excellent. But what about the cylinder walls and the valves? I have a rigid ureteroscope made for looking into your bladder, that was thin enough to put through the spark plug hole and could look at the cylinder walls and valves. I don’t have the light source that passes light out the end, but I put an LED on the tip and shined a strong flash light into the open ports on the heads to light up the valves.
Good news! The intake valves all look good, although there was a fair amount of dirt on them. The sealing surfaces all look good. The sealing surfaces for the exhaust valves are darker and it was hard to tell if they were as uniform, but I didn’t see any great issues. I did see a small amount of spotting and pitting at the low side of the right cylinder where some water must have gotten in. And some small bits of scoring as well. Not good news, but not horrible either. I’ve elected to press forward and simply scope the engine from time to time to check that this issue stays minor.
 |
 |
 |
 |
 |
 |
 |
 |
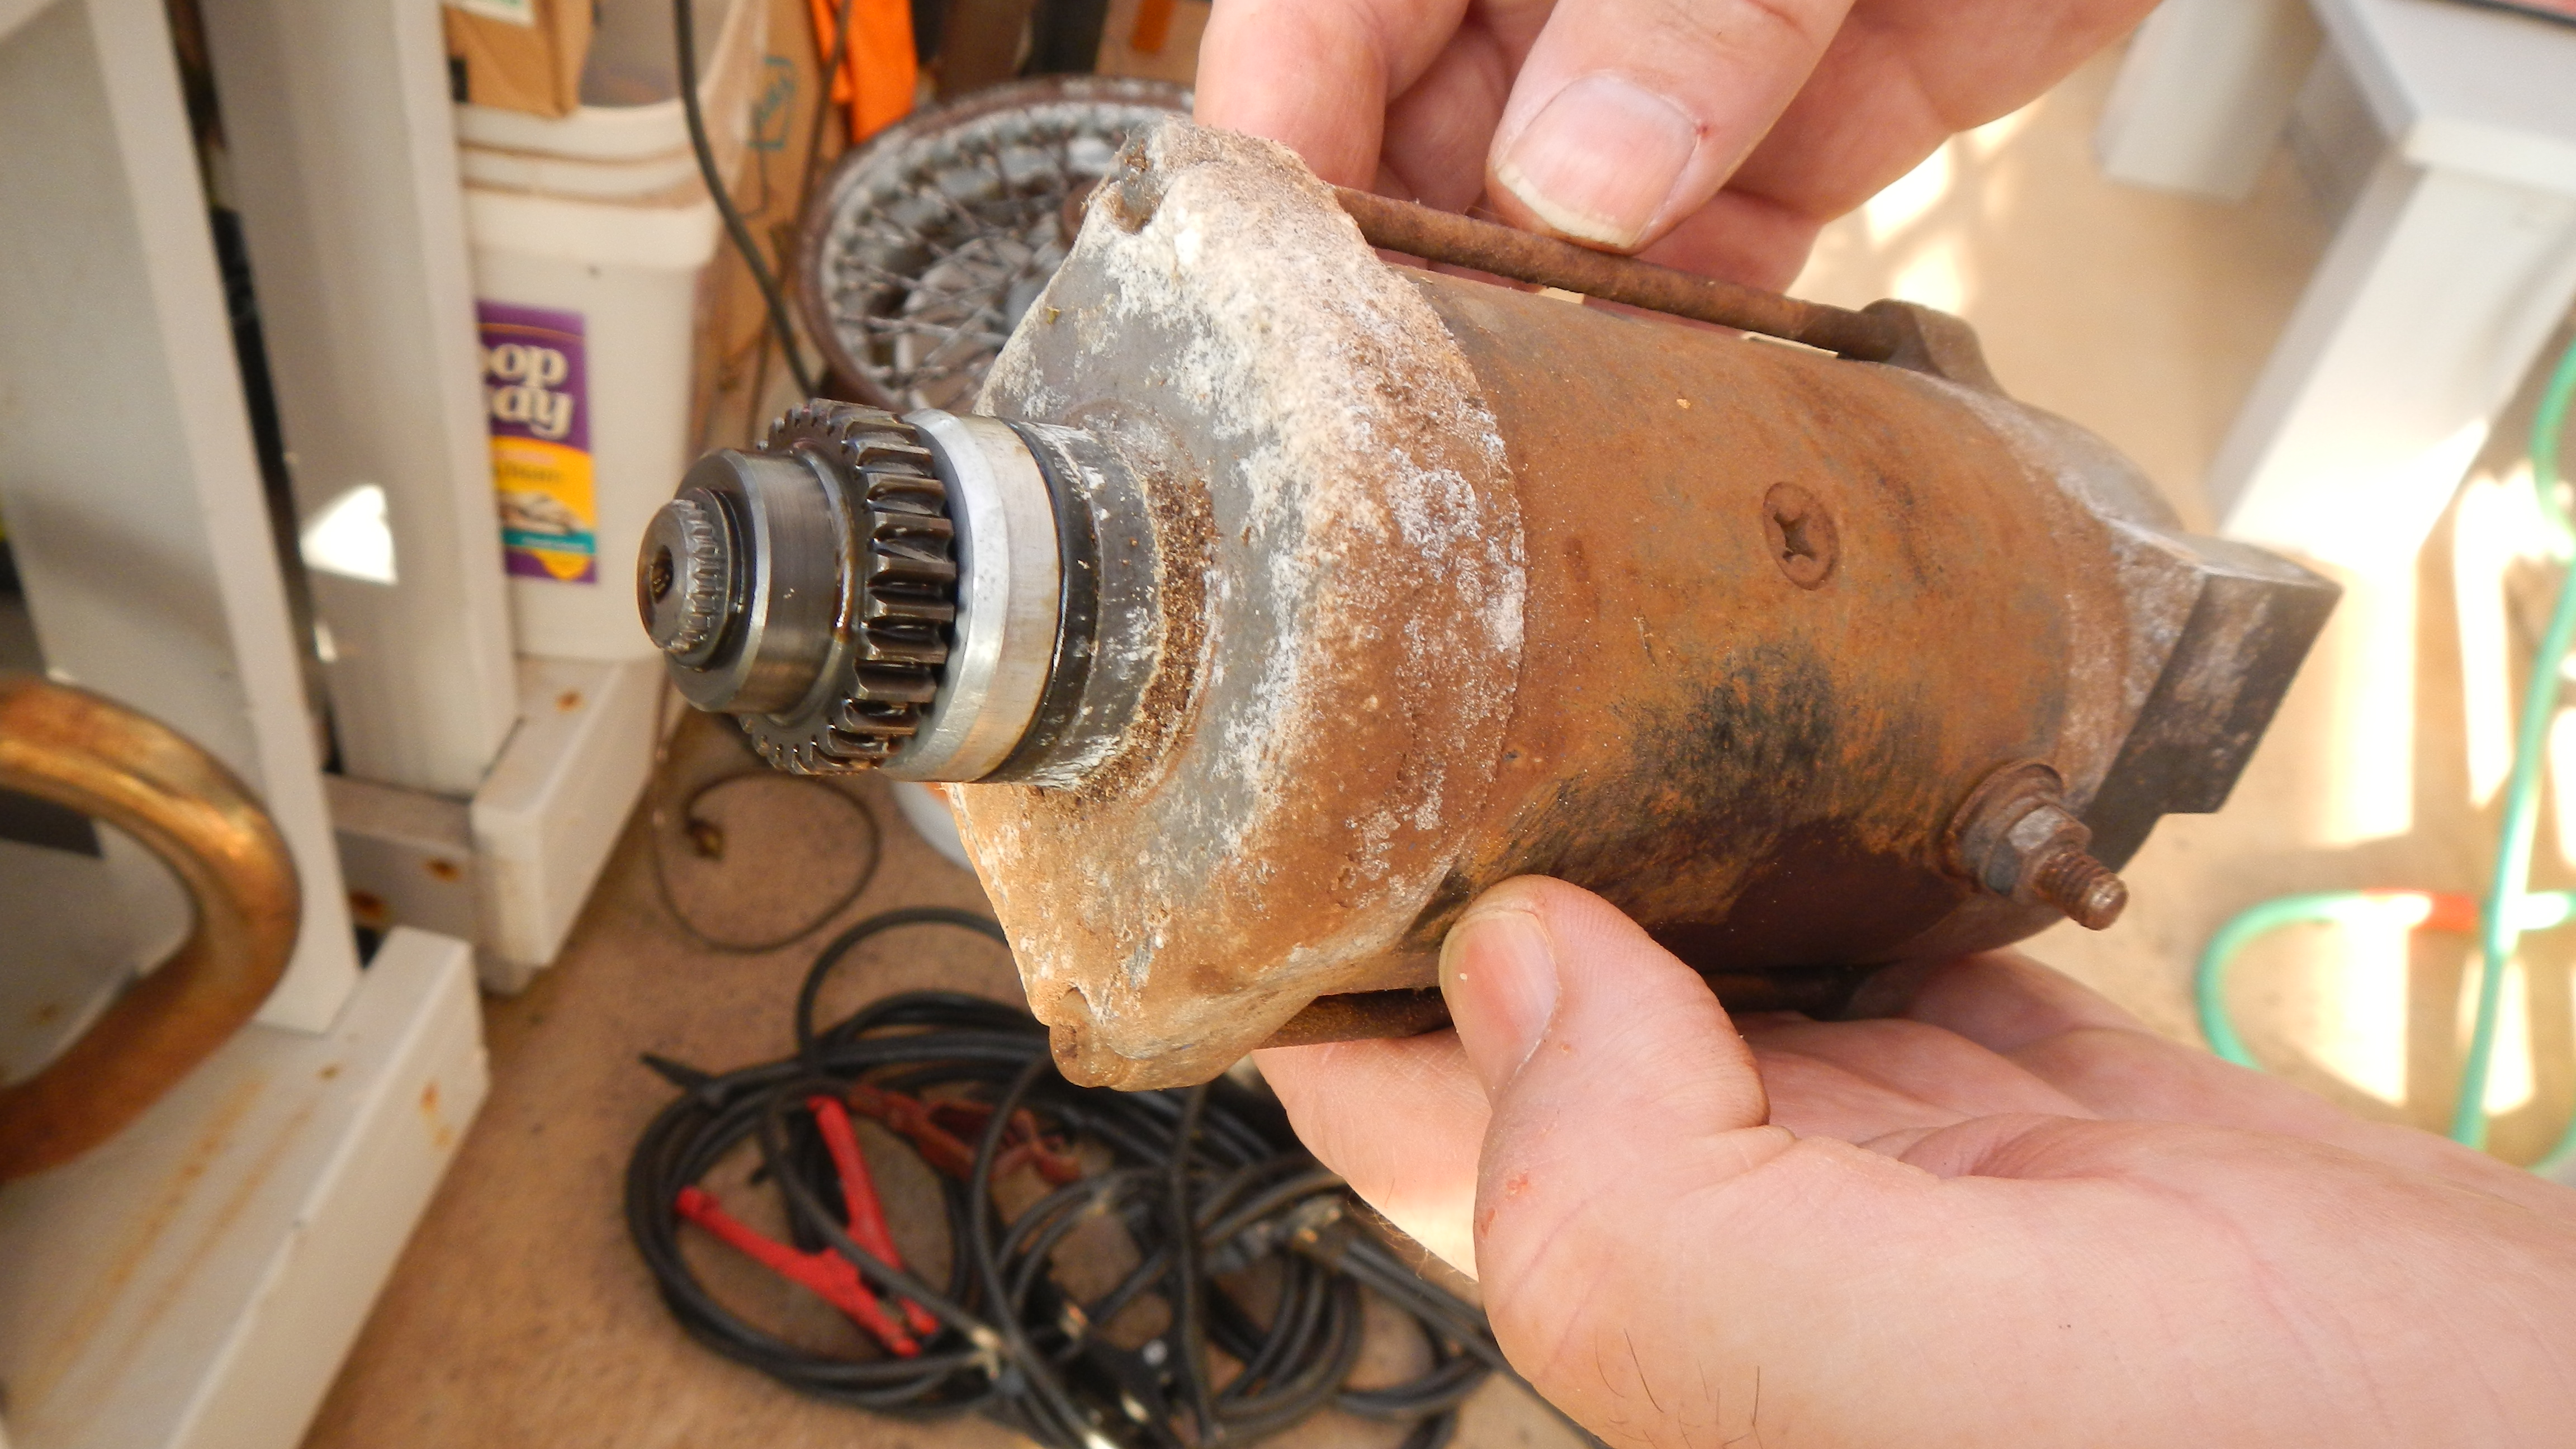
I took a couple of photos and videos through the scope. I also planned to run a compression test to see if I get a good seal. Pulling out a good battery and jumper cables, I applied power to the starter, but no joy. I was not rewarded with anything but a couple of sparks. I unbolted the starter and had to pry and jiggle it to get it out because of the corrosion holding it in. Applying power again got the same response, sparks but no spin. I grasped the gear end and found it binding, but able to turn with some force. After several turns, it seemed to work free, so I applied power and was rewarded. It spun up under power and made a nice hum. Back into the engine it went and I applied power again. The engine turns over nicely with no spark plugs installed. I didn’t want to stress the engine since it had no oil. I did put some oil in the cylinders to lube the rings. I was unable to run a compression test because of the small size of the spark plug hole. My tester doesn’t have the correct size fitting, so I’ll have to get one of those when I’m in town.
So far, good news. I’m looking forward to starting work on the frame now, though I can’t forget to make time to clean and rebuild the carbs.

