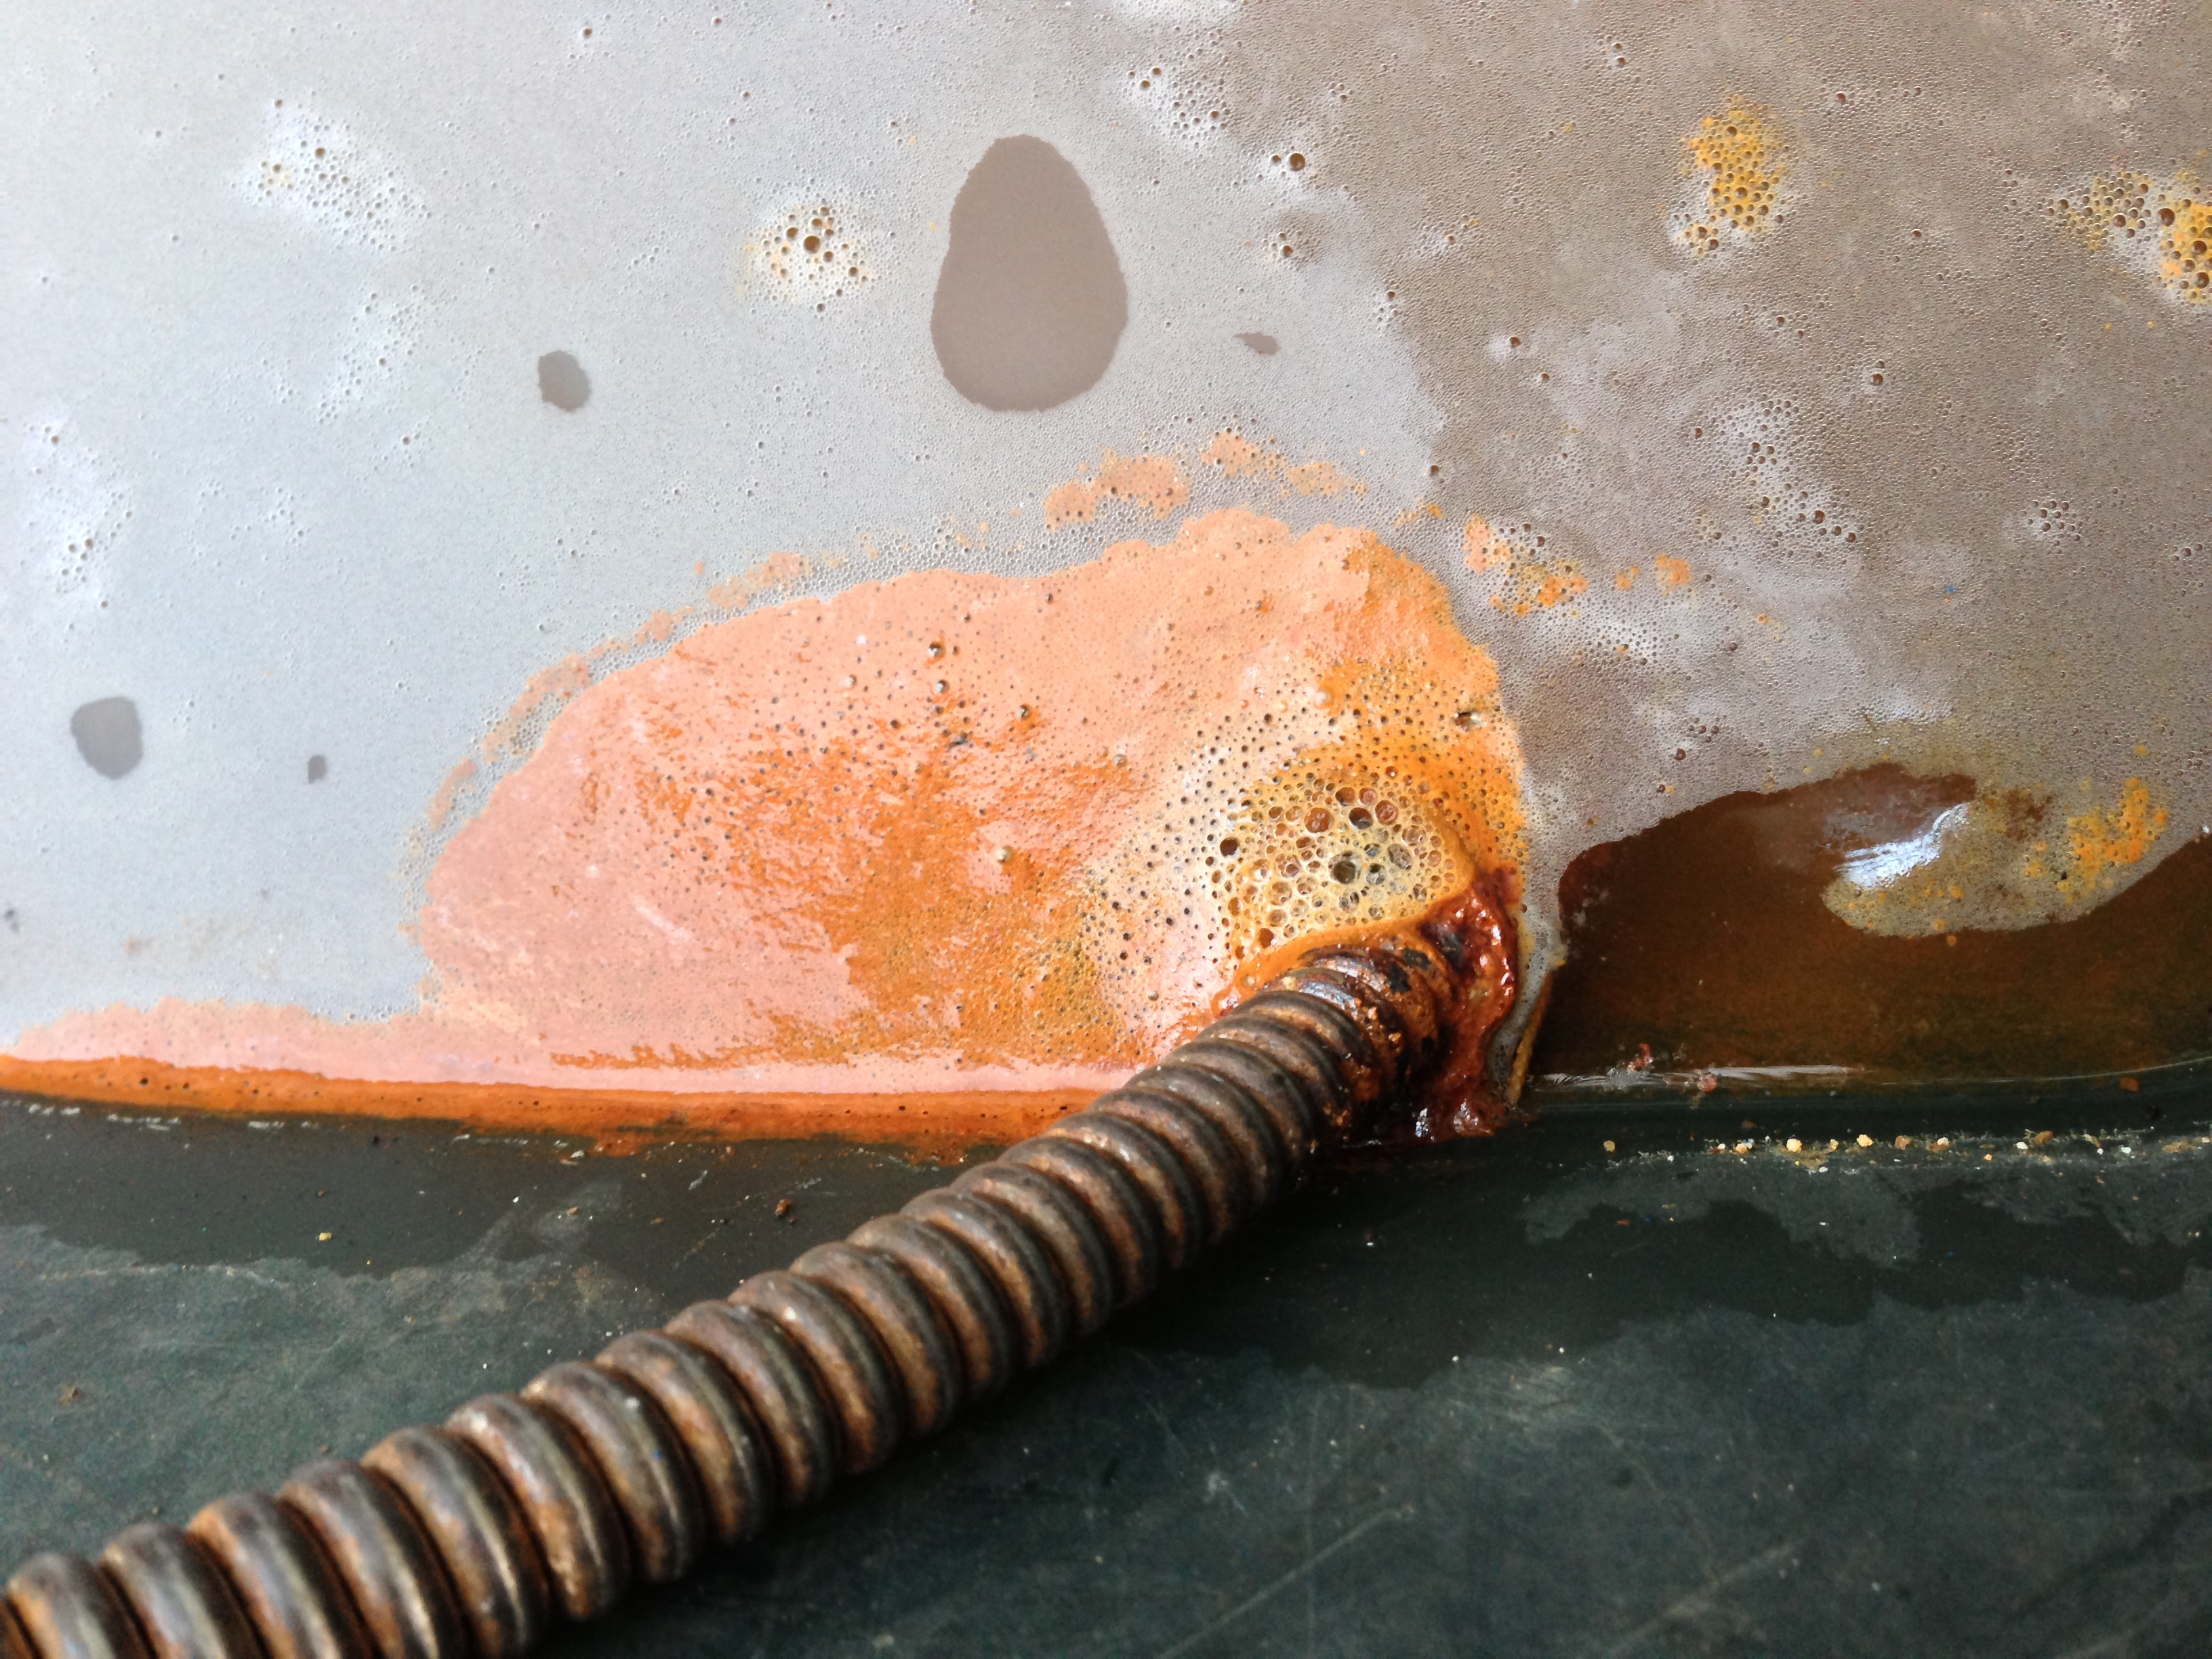
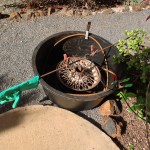
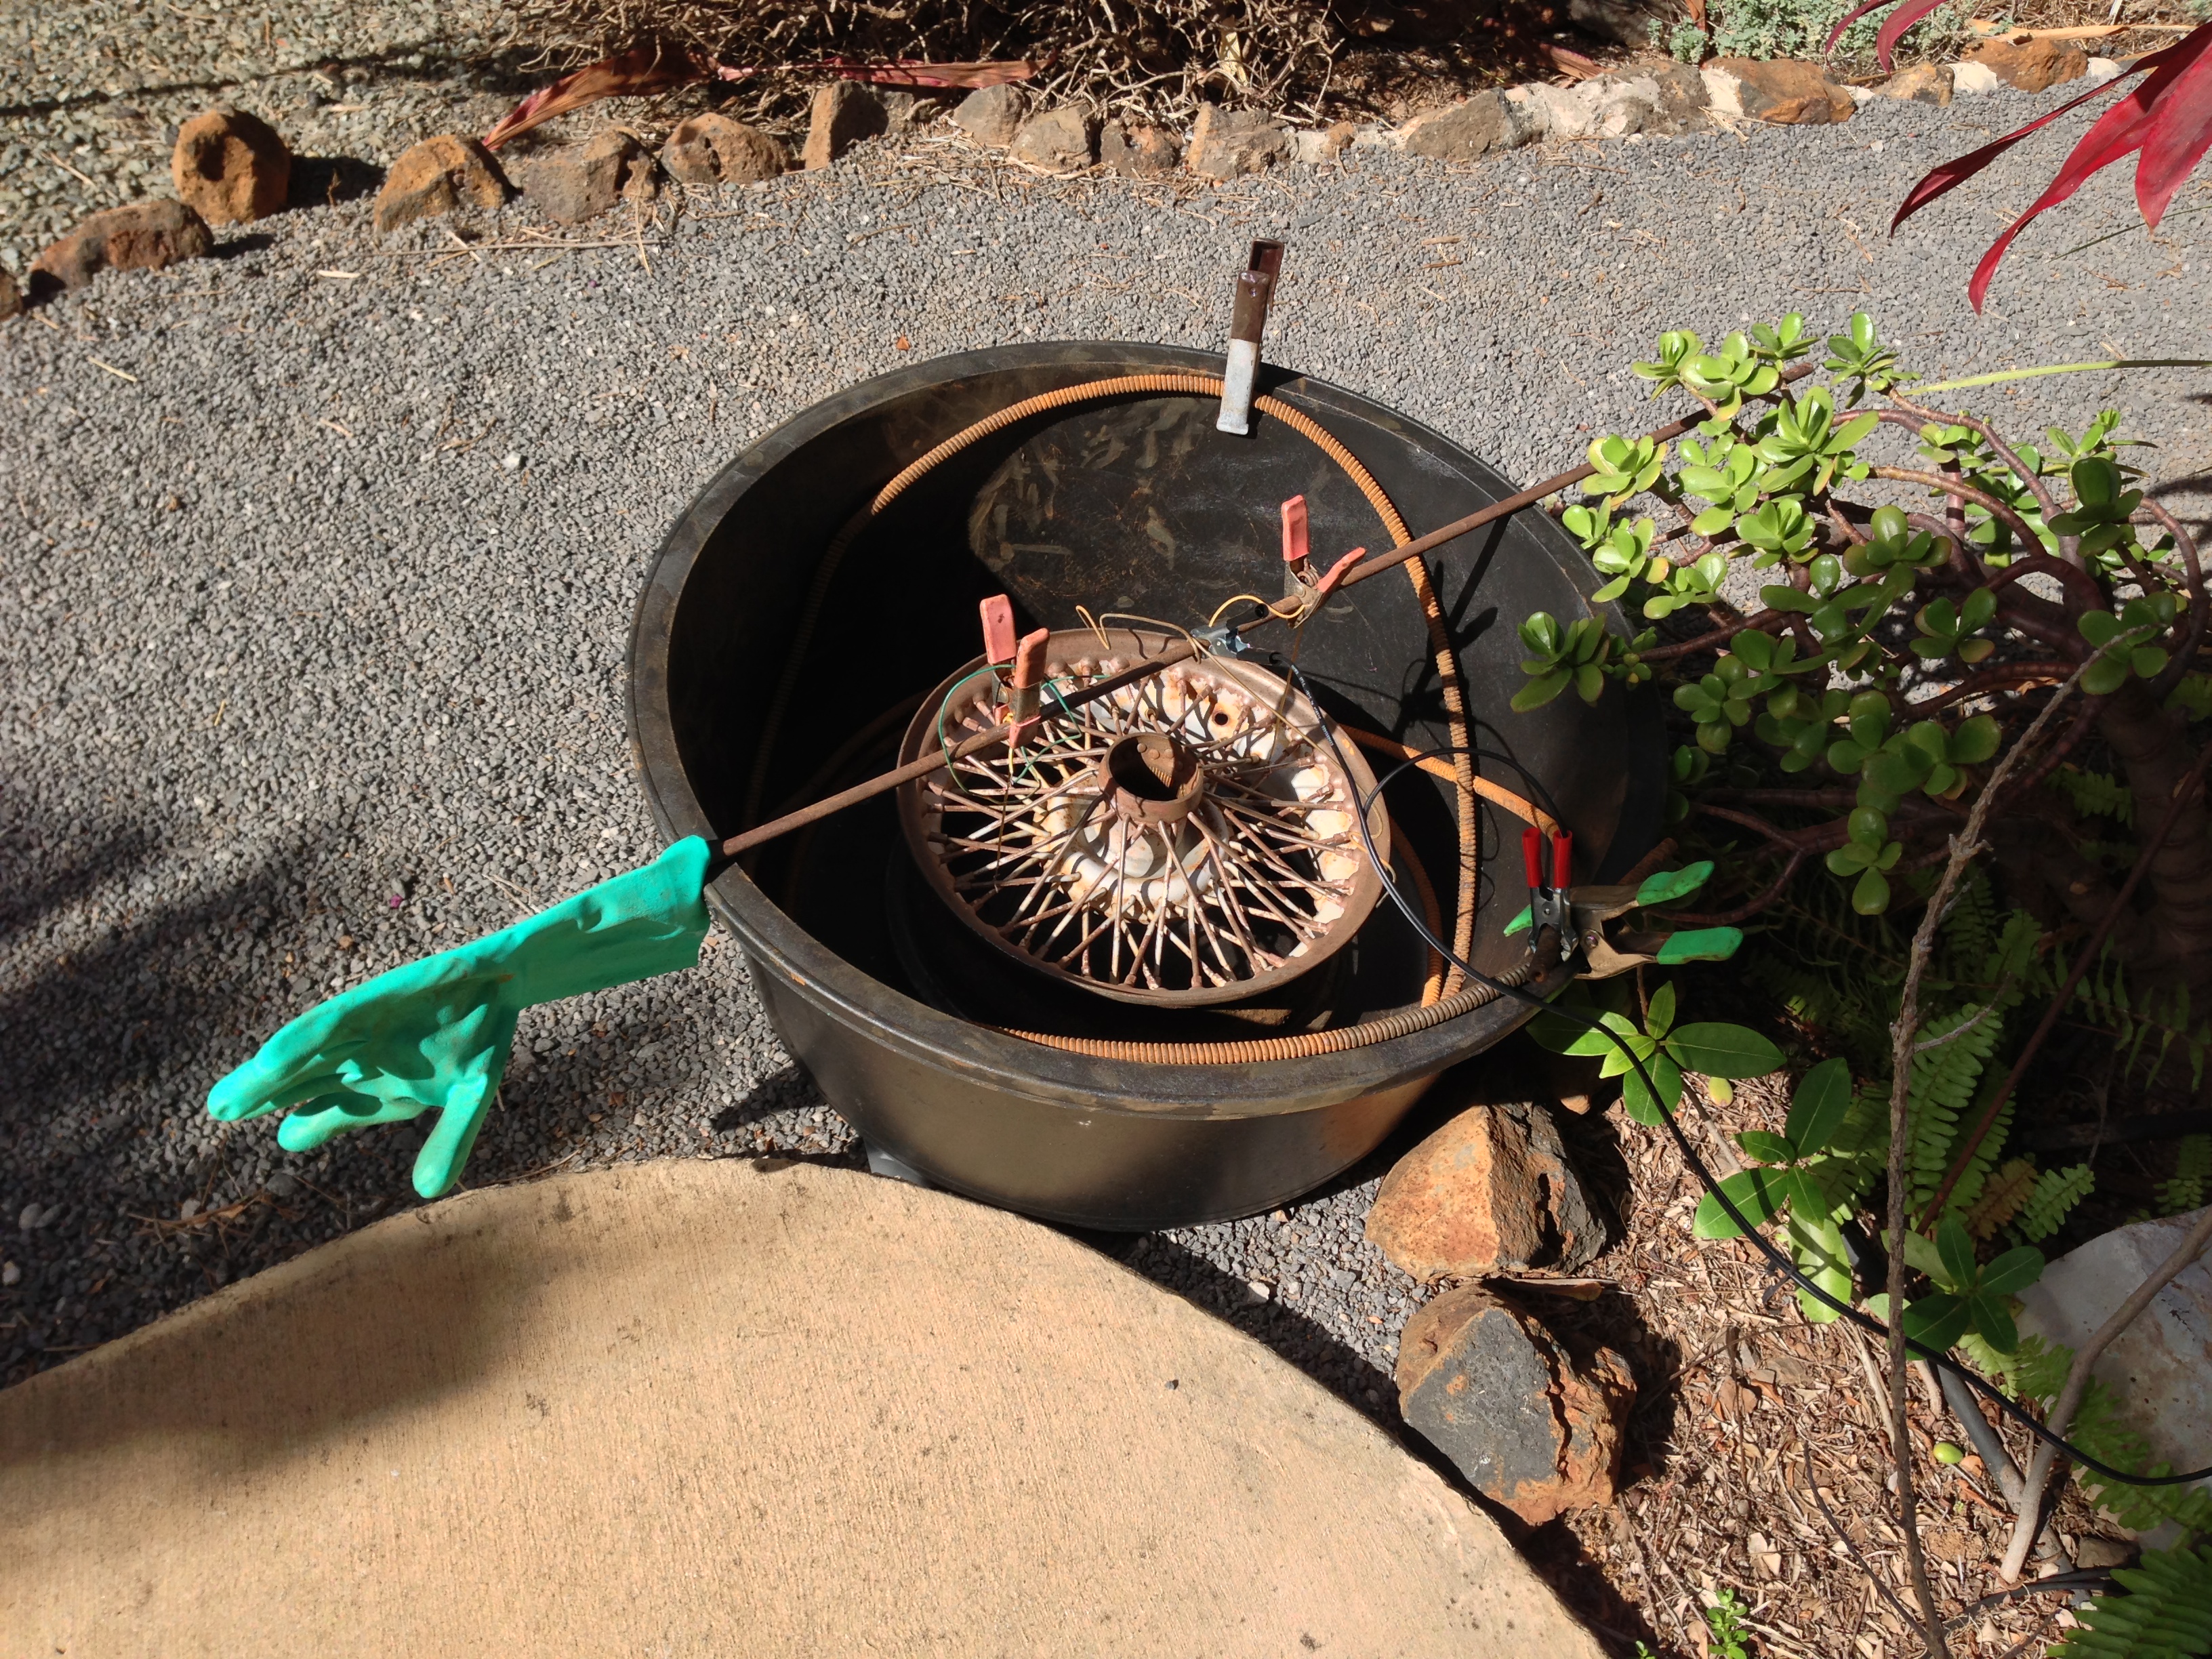
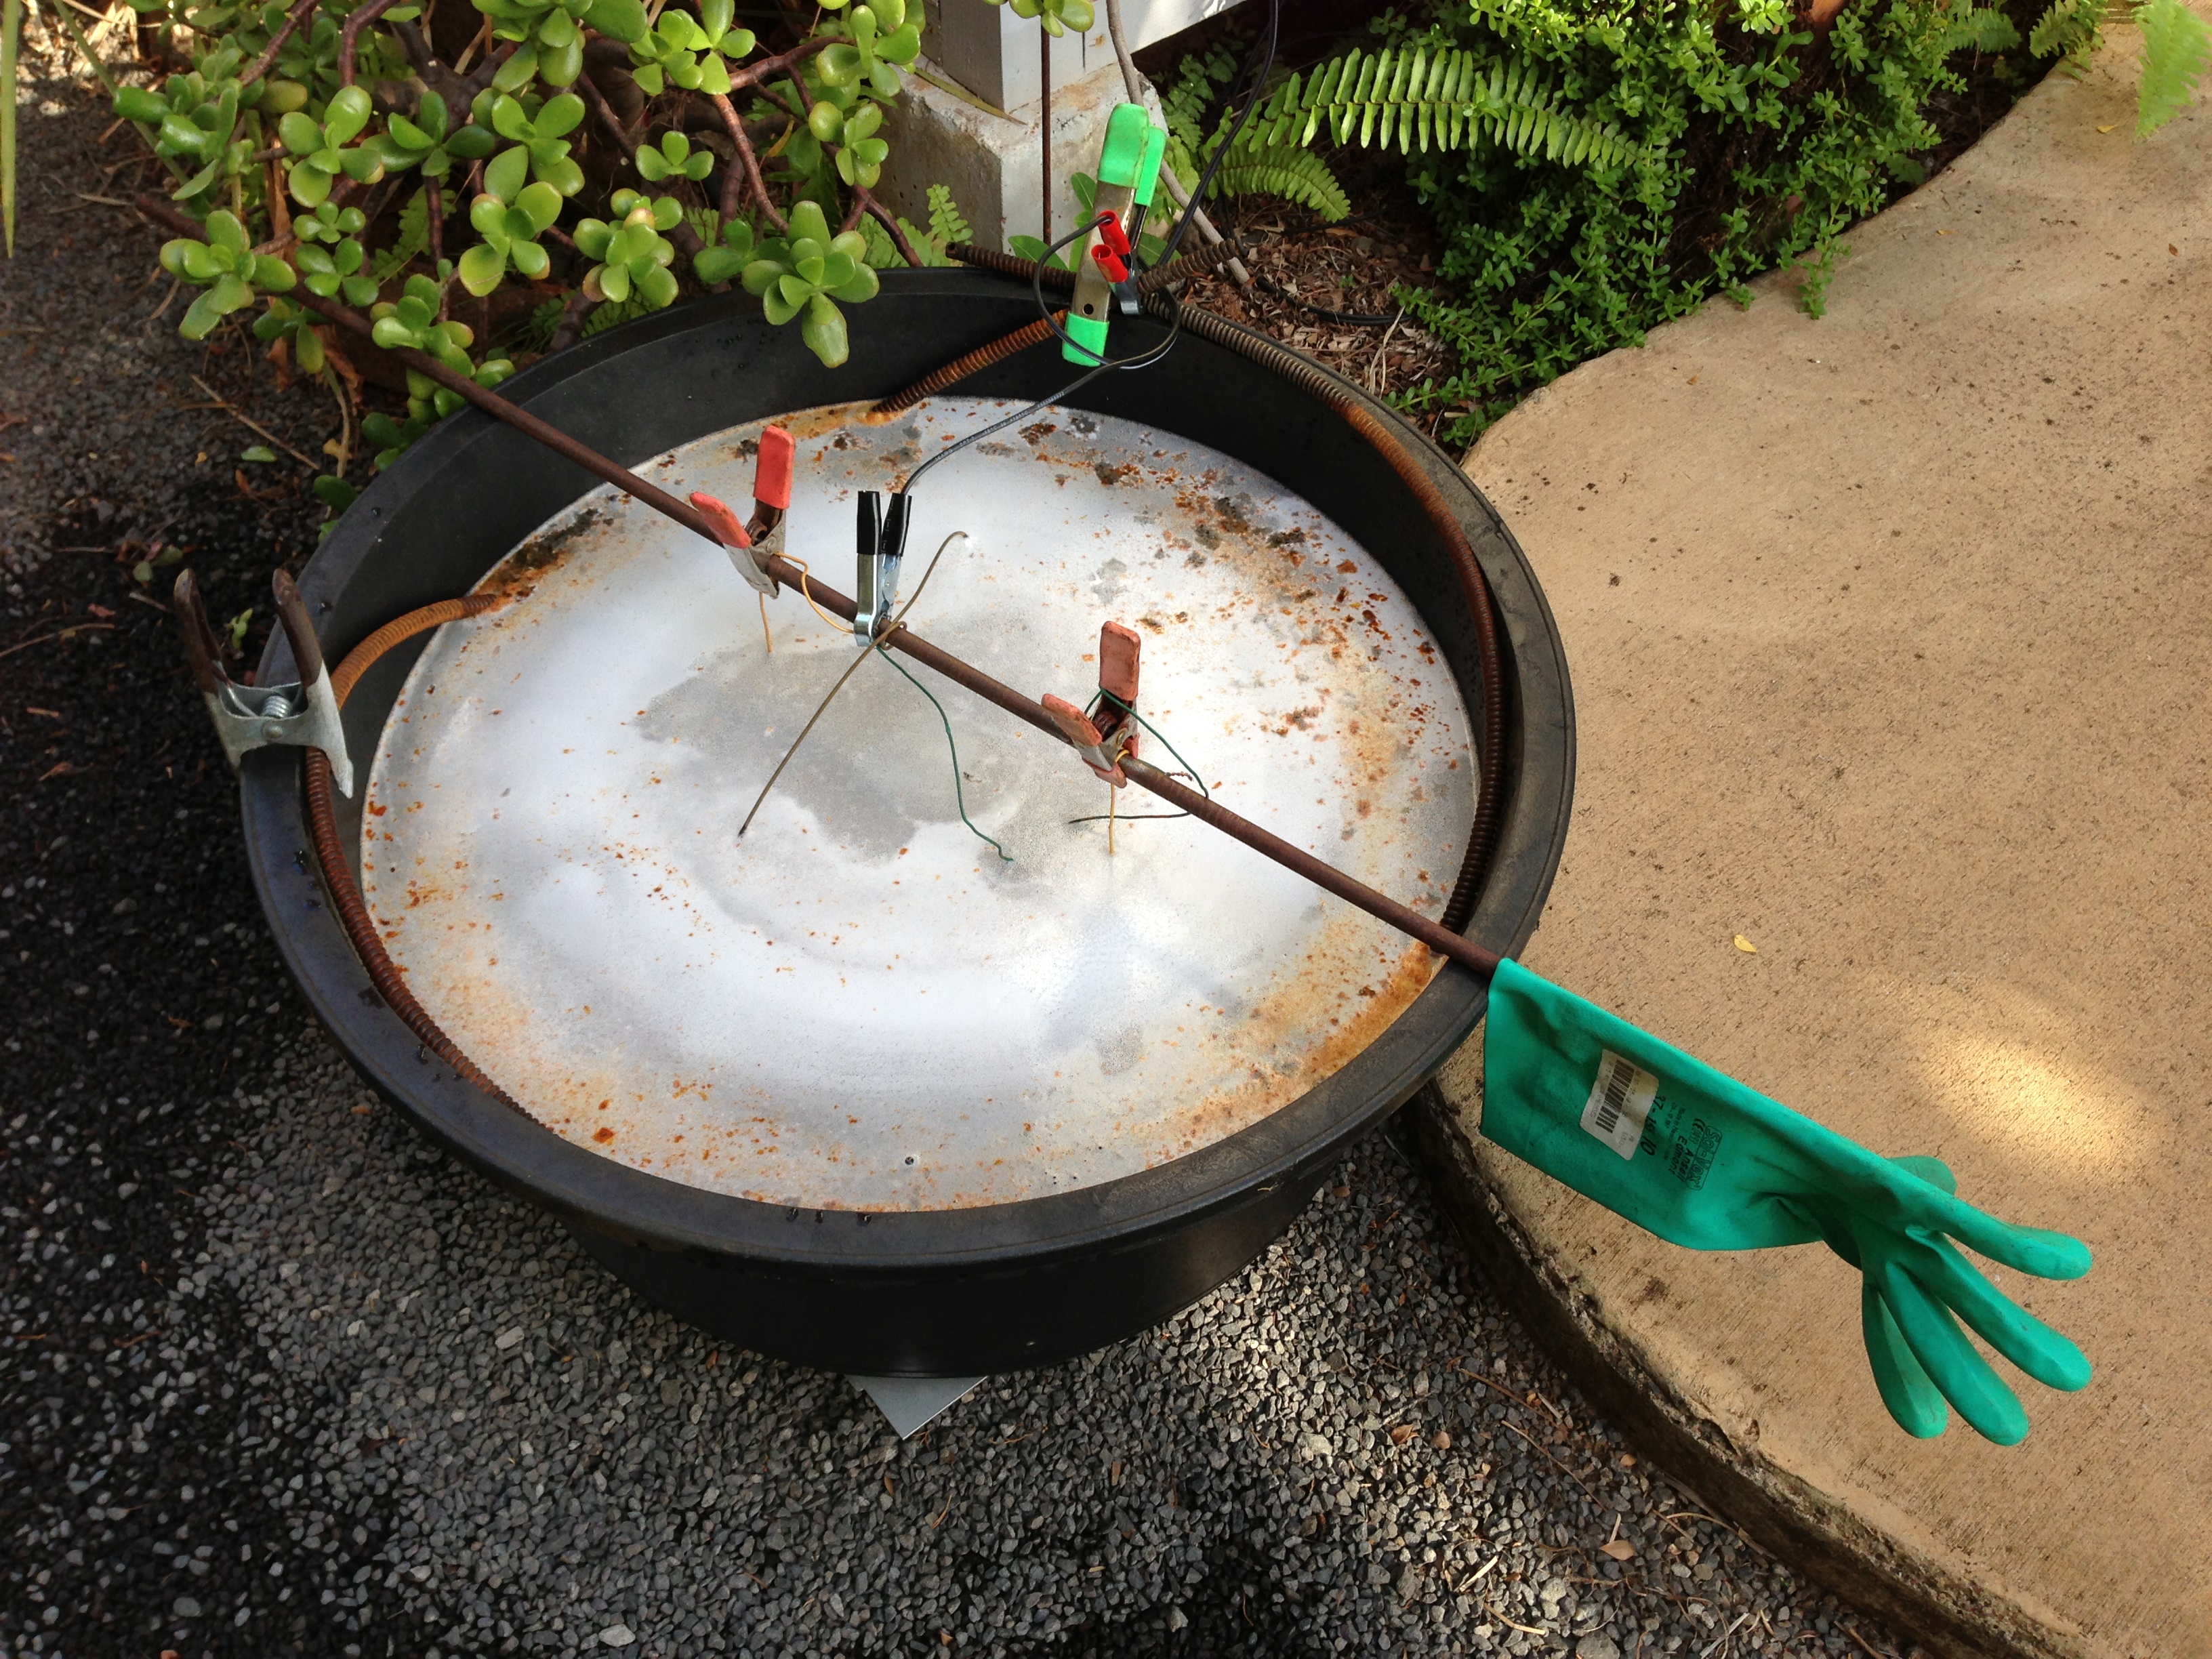
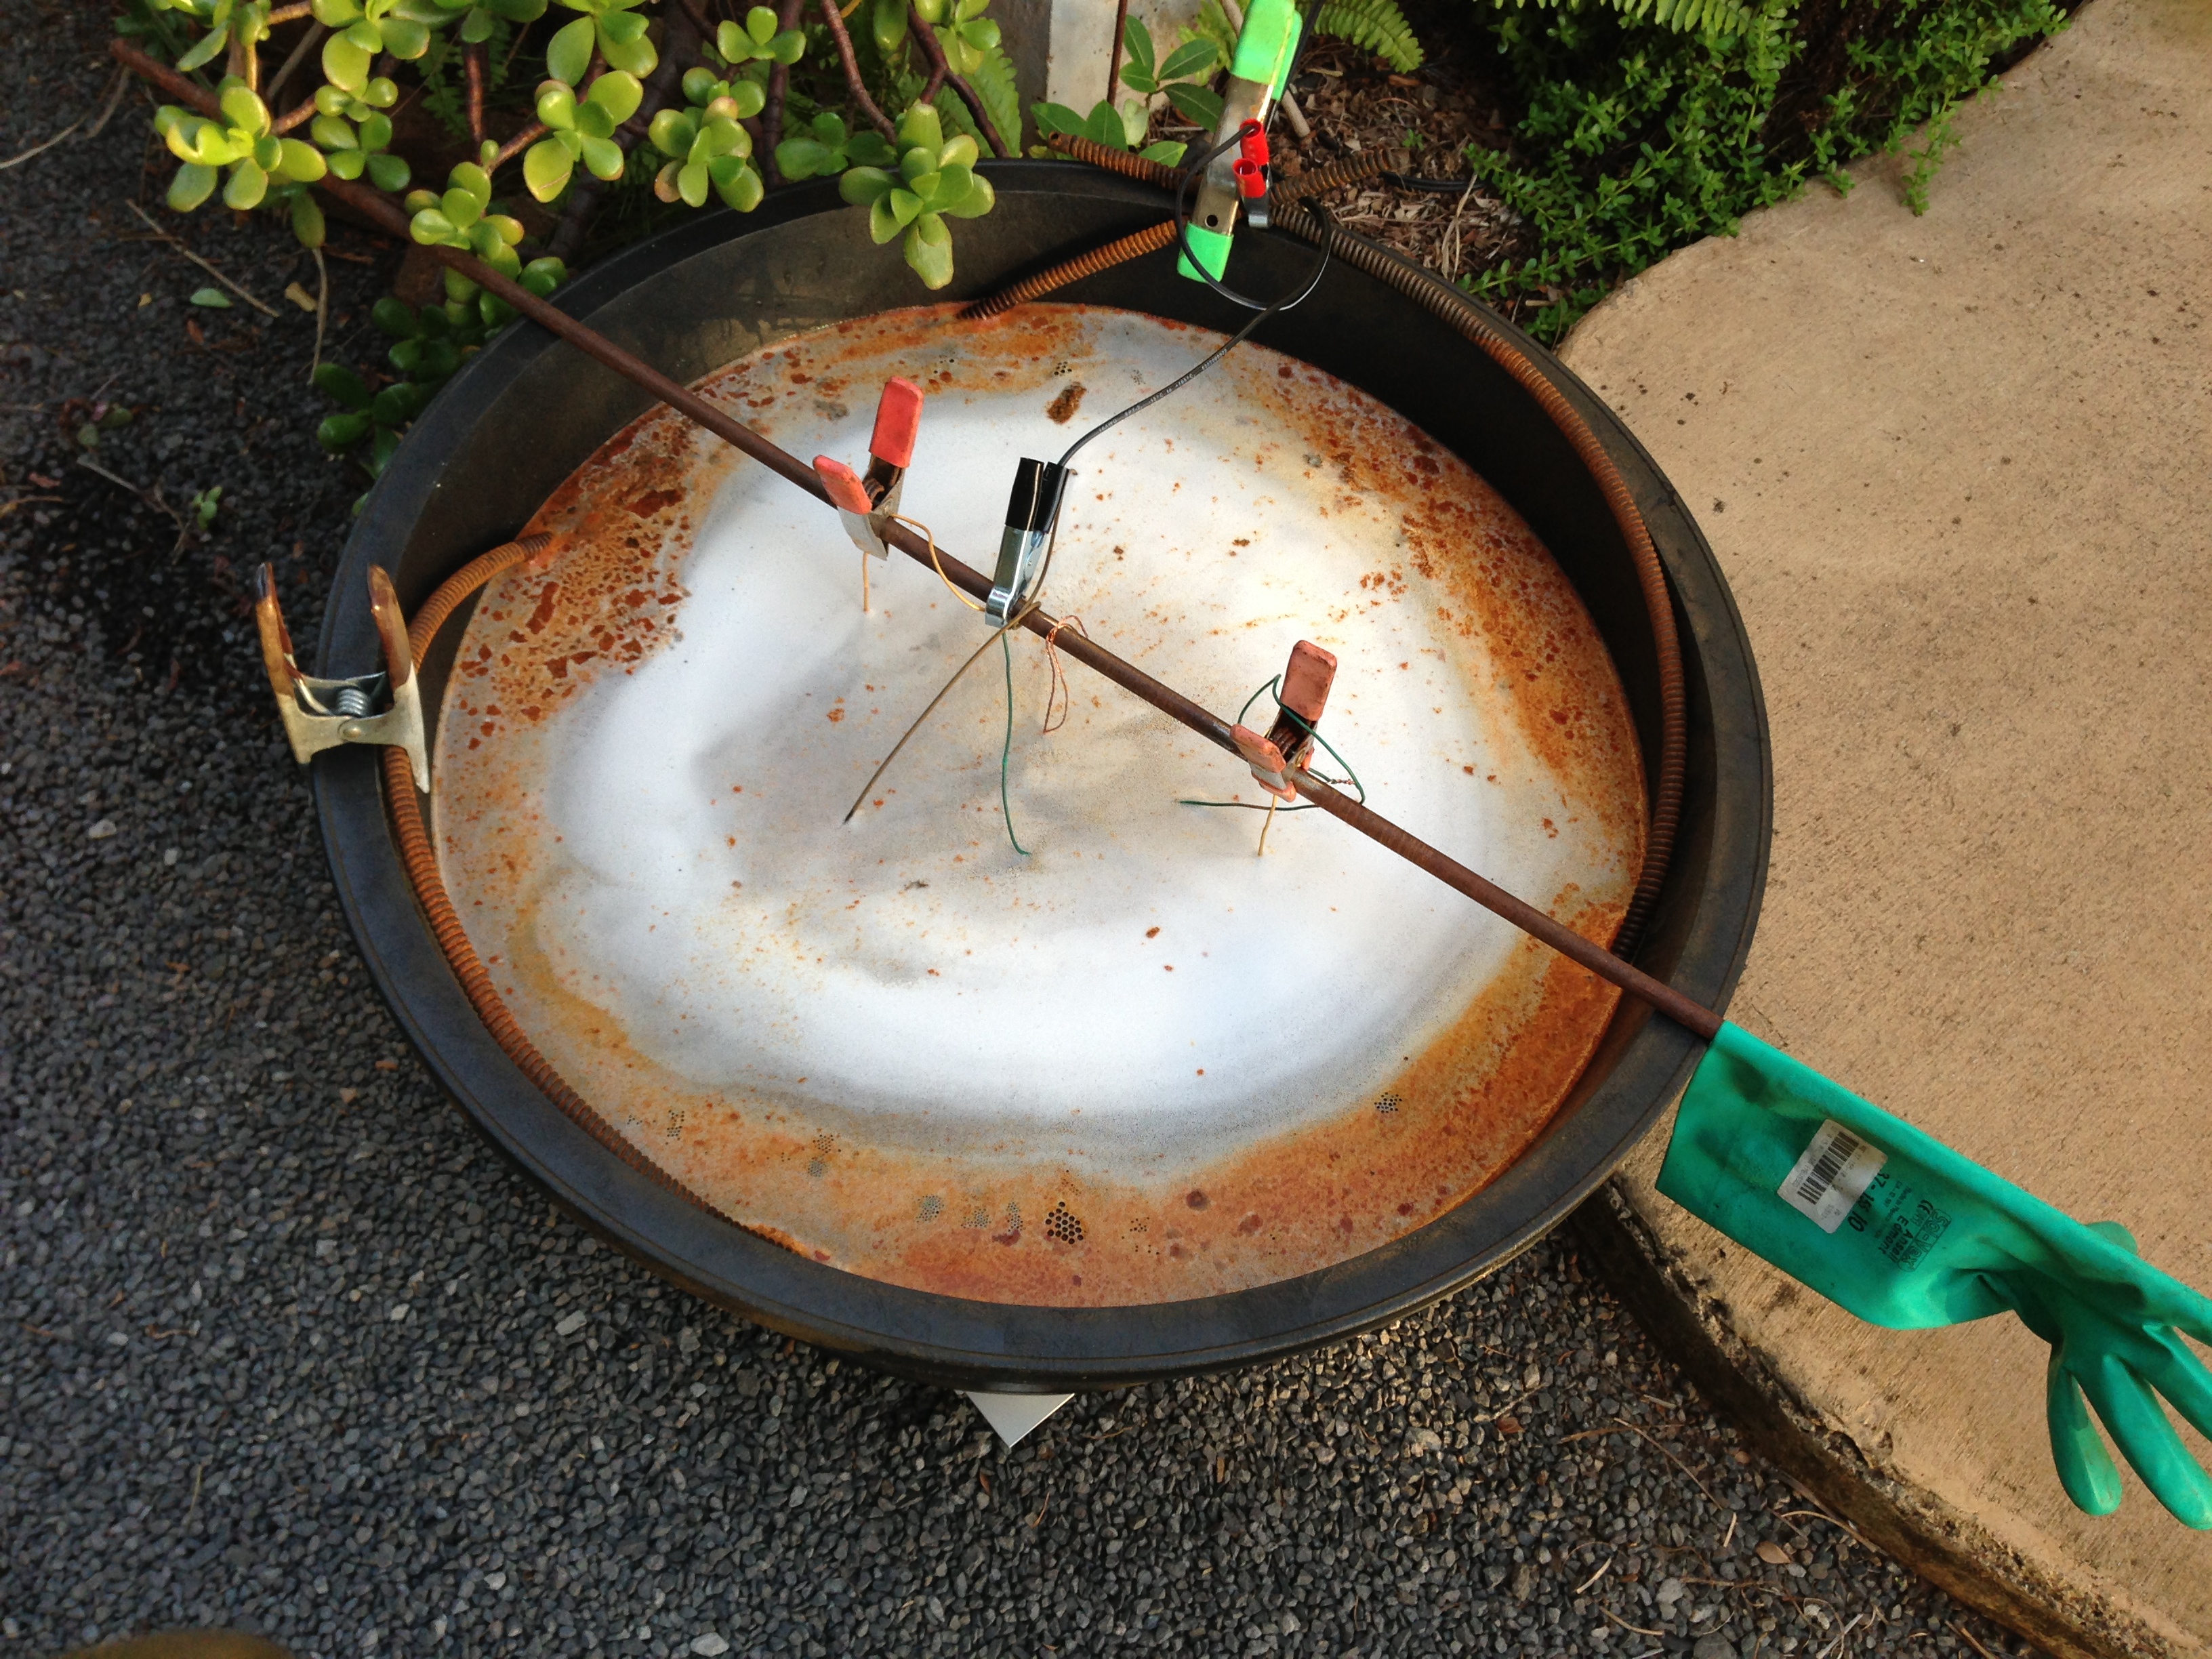
I’ve had a bit of a setback, the wheelbarrow has sprung a leak while working on the second wheel. I drained it and scraped out the several cups of rust in the bottom. Searching for a suitable replacement took me to several places in town. A 17 gallon bin from the discount store was not big enough to fit the wheel and clear the cable I’m using for the anode. I found a proper sized tub at the local farm supply store. Twenty Five gallons in size and made of 100% recycled plastic for a modest $21. Yay.
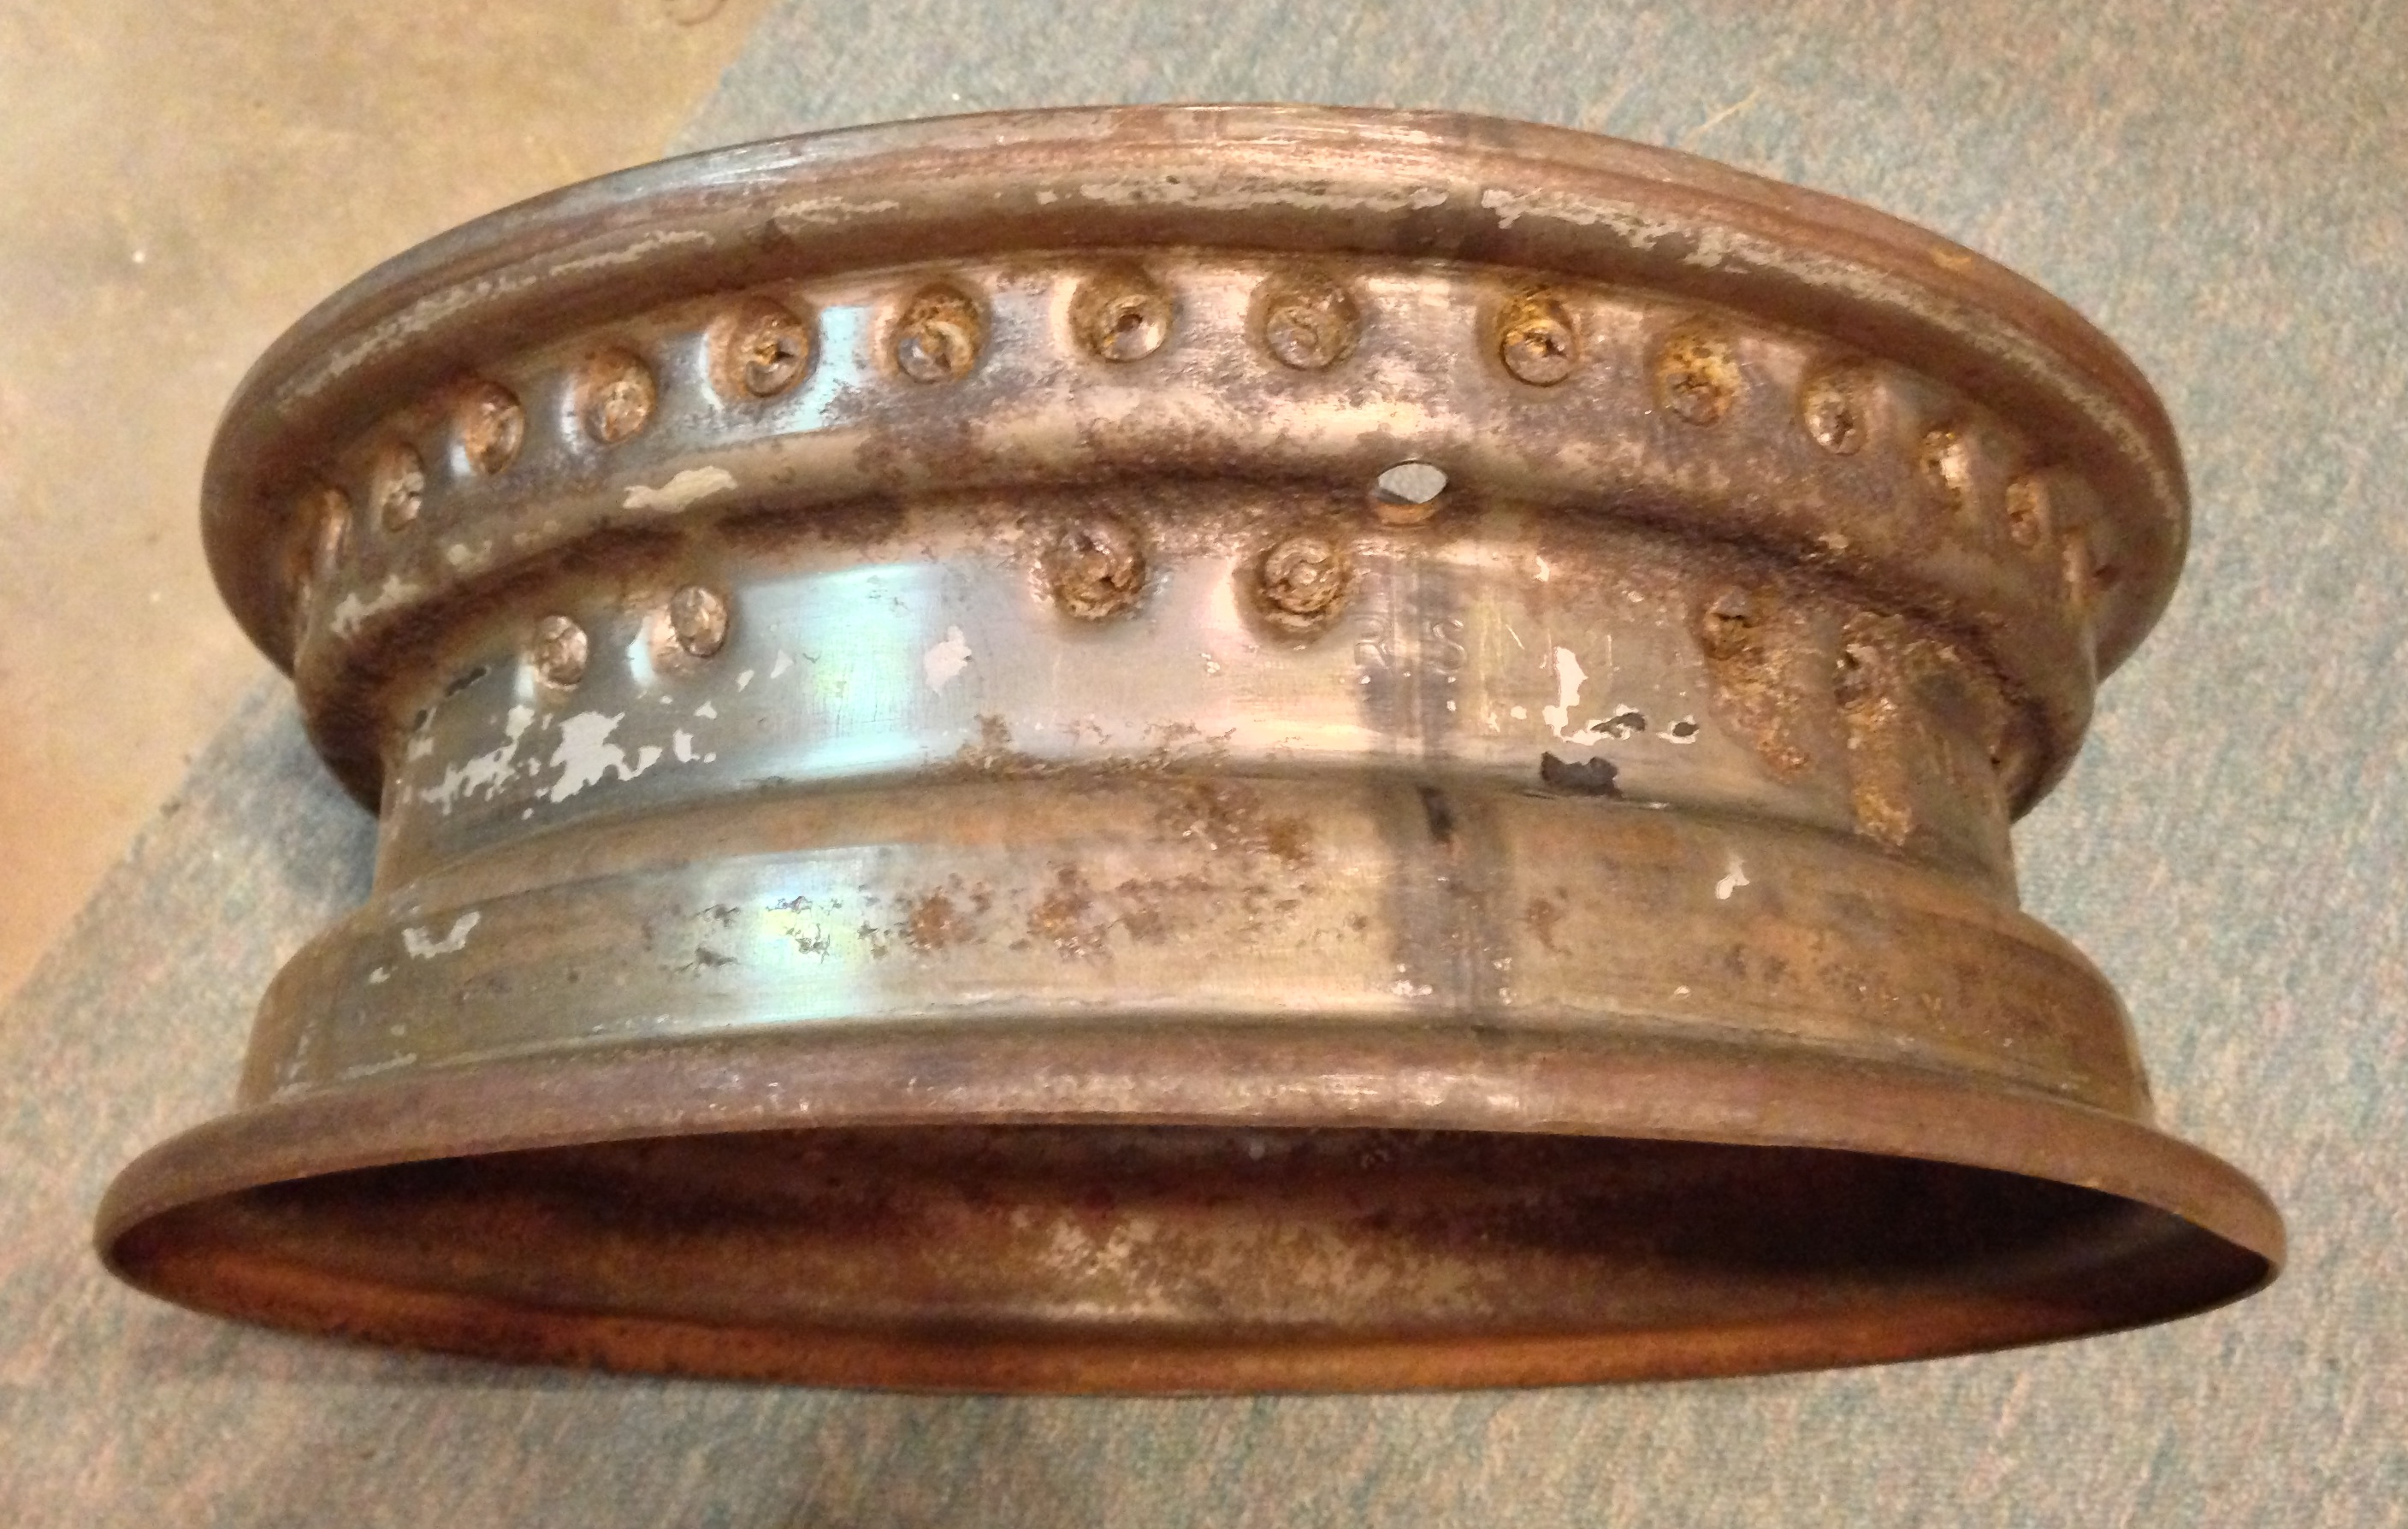
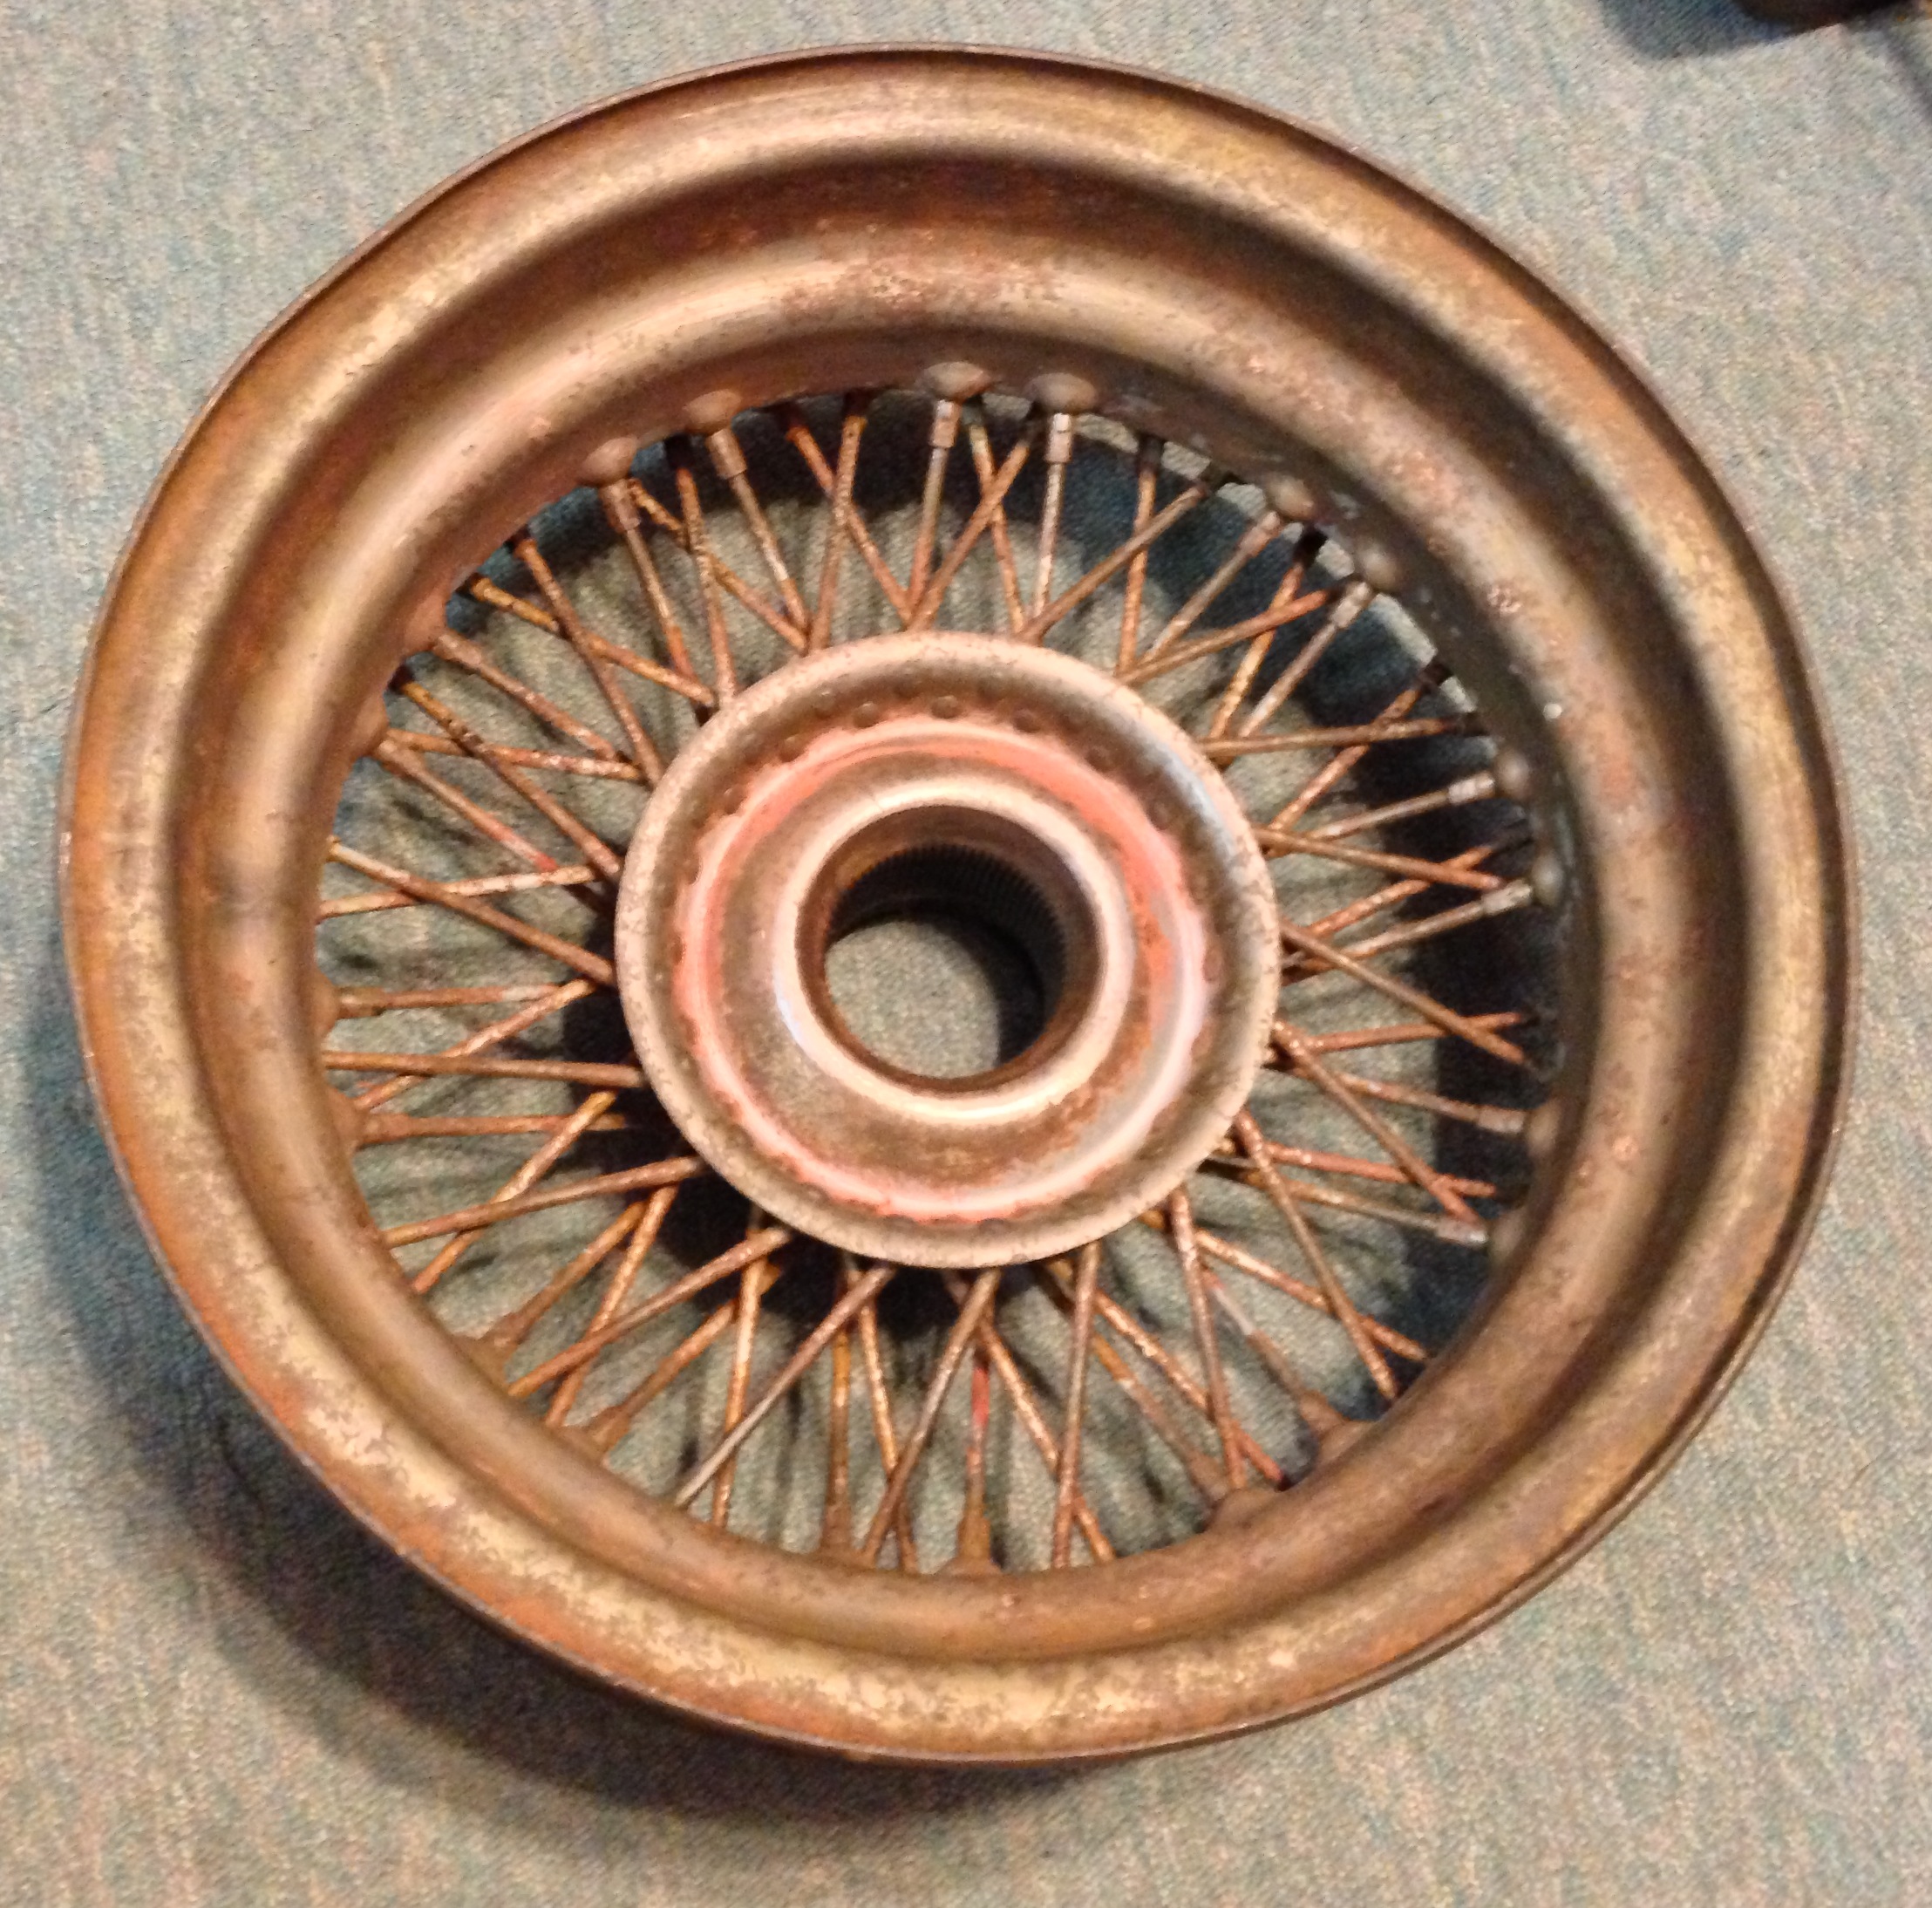
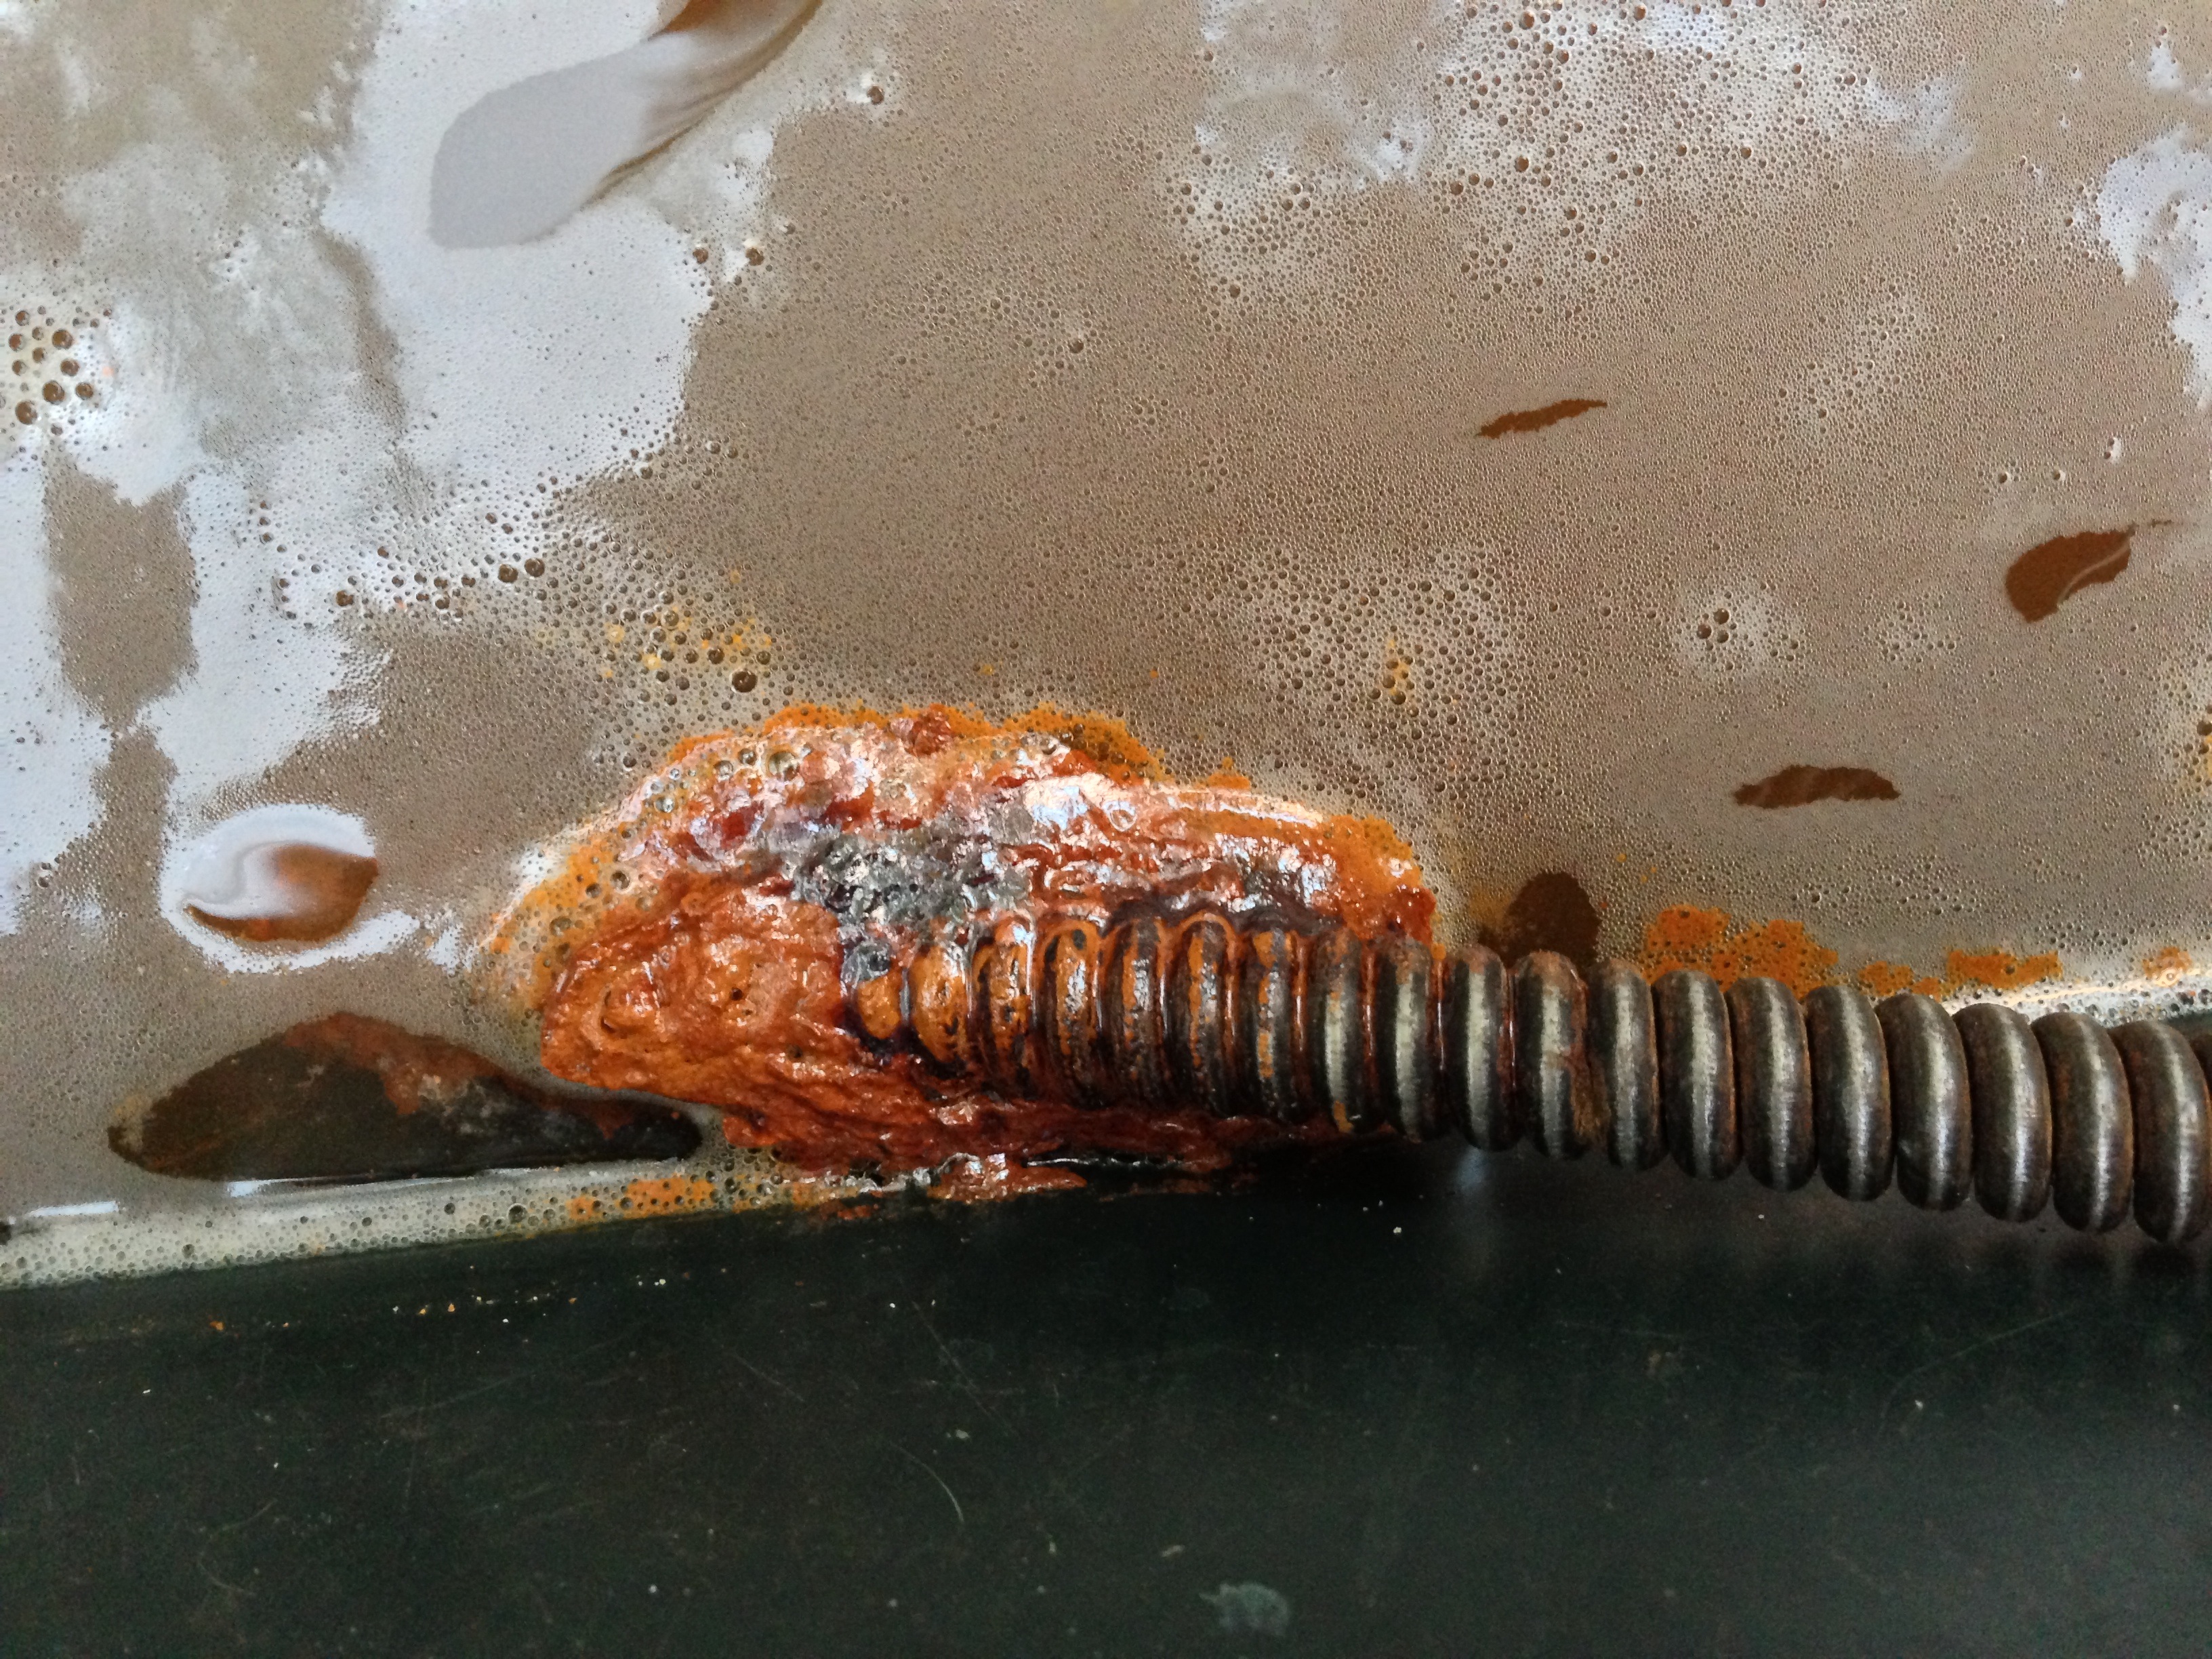
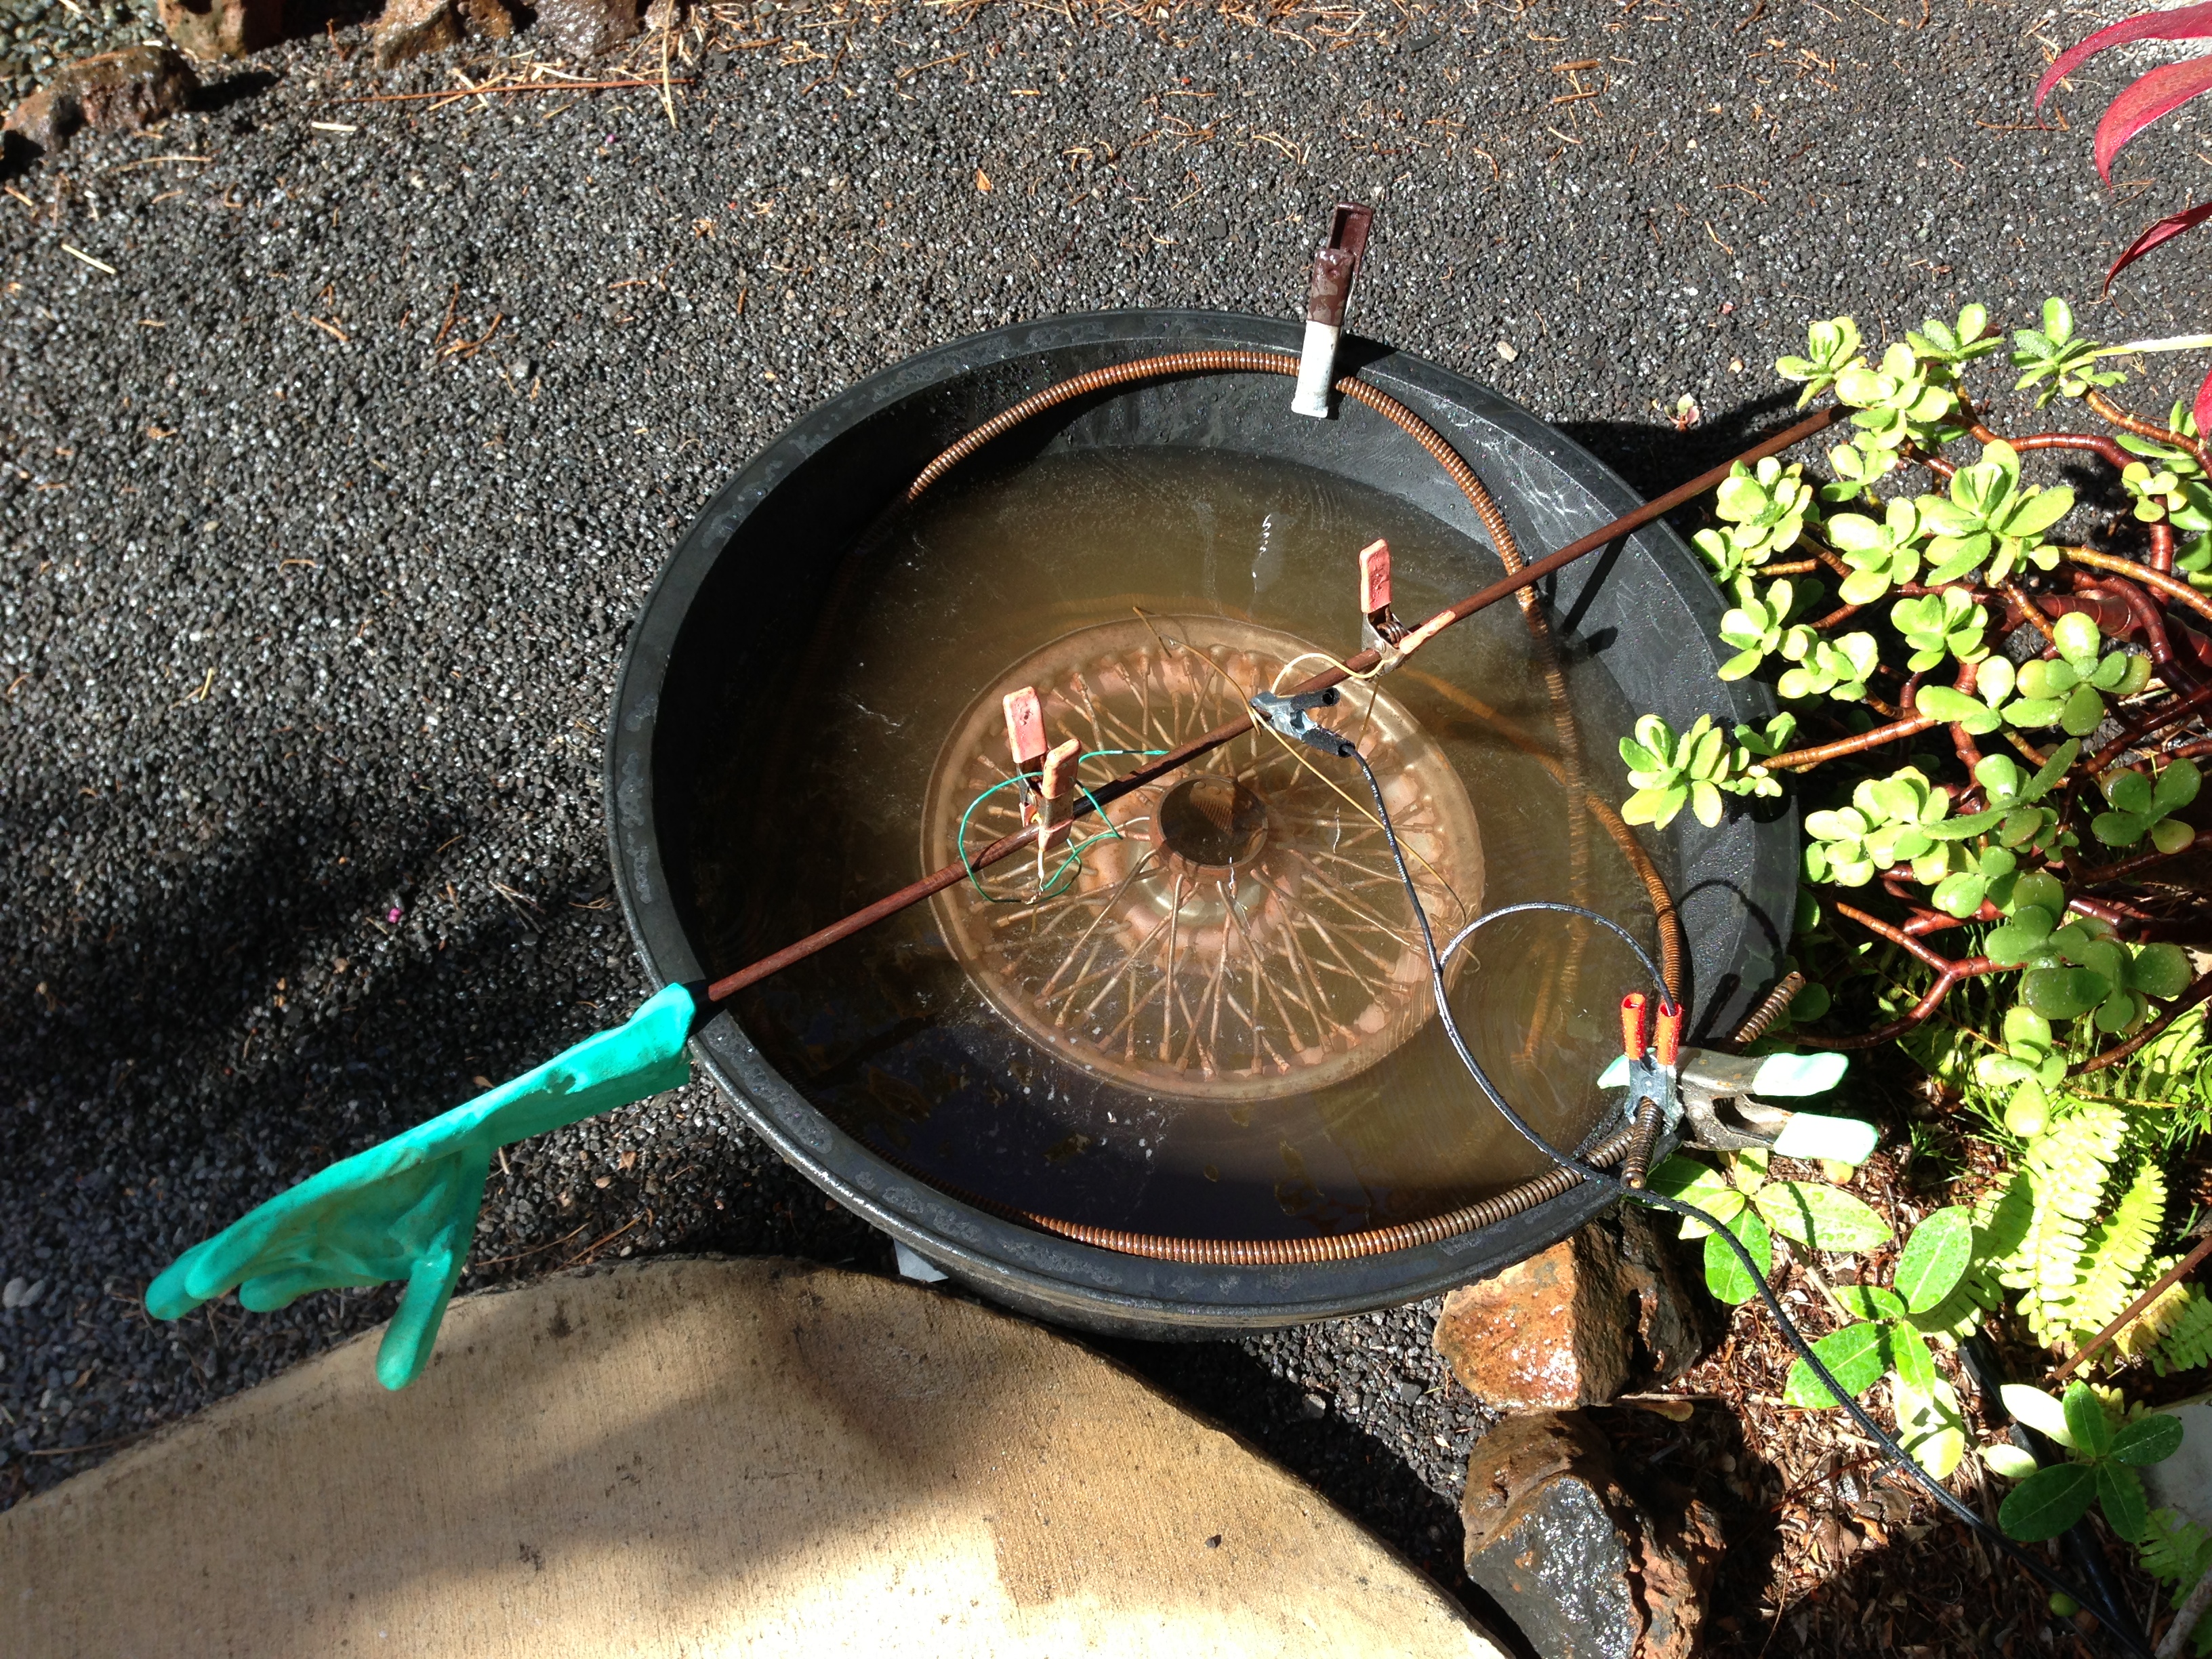
I set up the second wheel in the new bin and reconnected the battery charger. Unlike the first time when the ammeter showed a 6 amp draw, this time it only showed a 3 amp draw. Perhaps because I didn’t add as much of the OxyClean as before. Anyway, the process continued, although a bit more slowly. After leaving it in the bin overnight, I pulled the rim out and gave it a look. It was pretty clean considering the extent of the corrosion that was under the inner tube. About 20% of the rim still had corrosion on it.
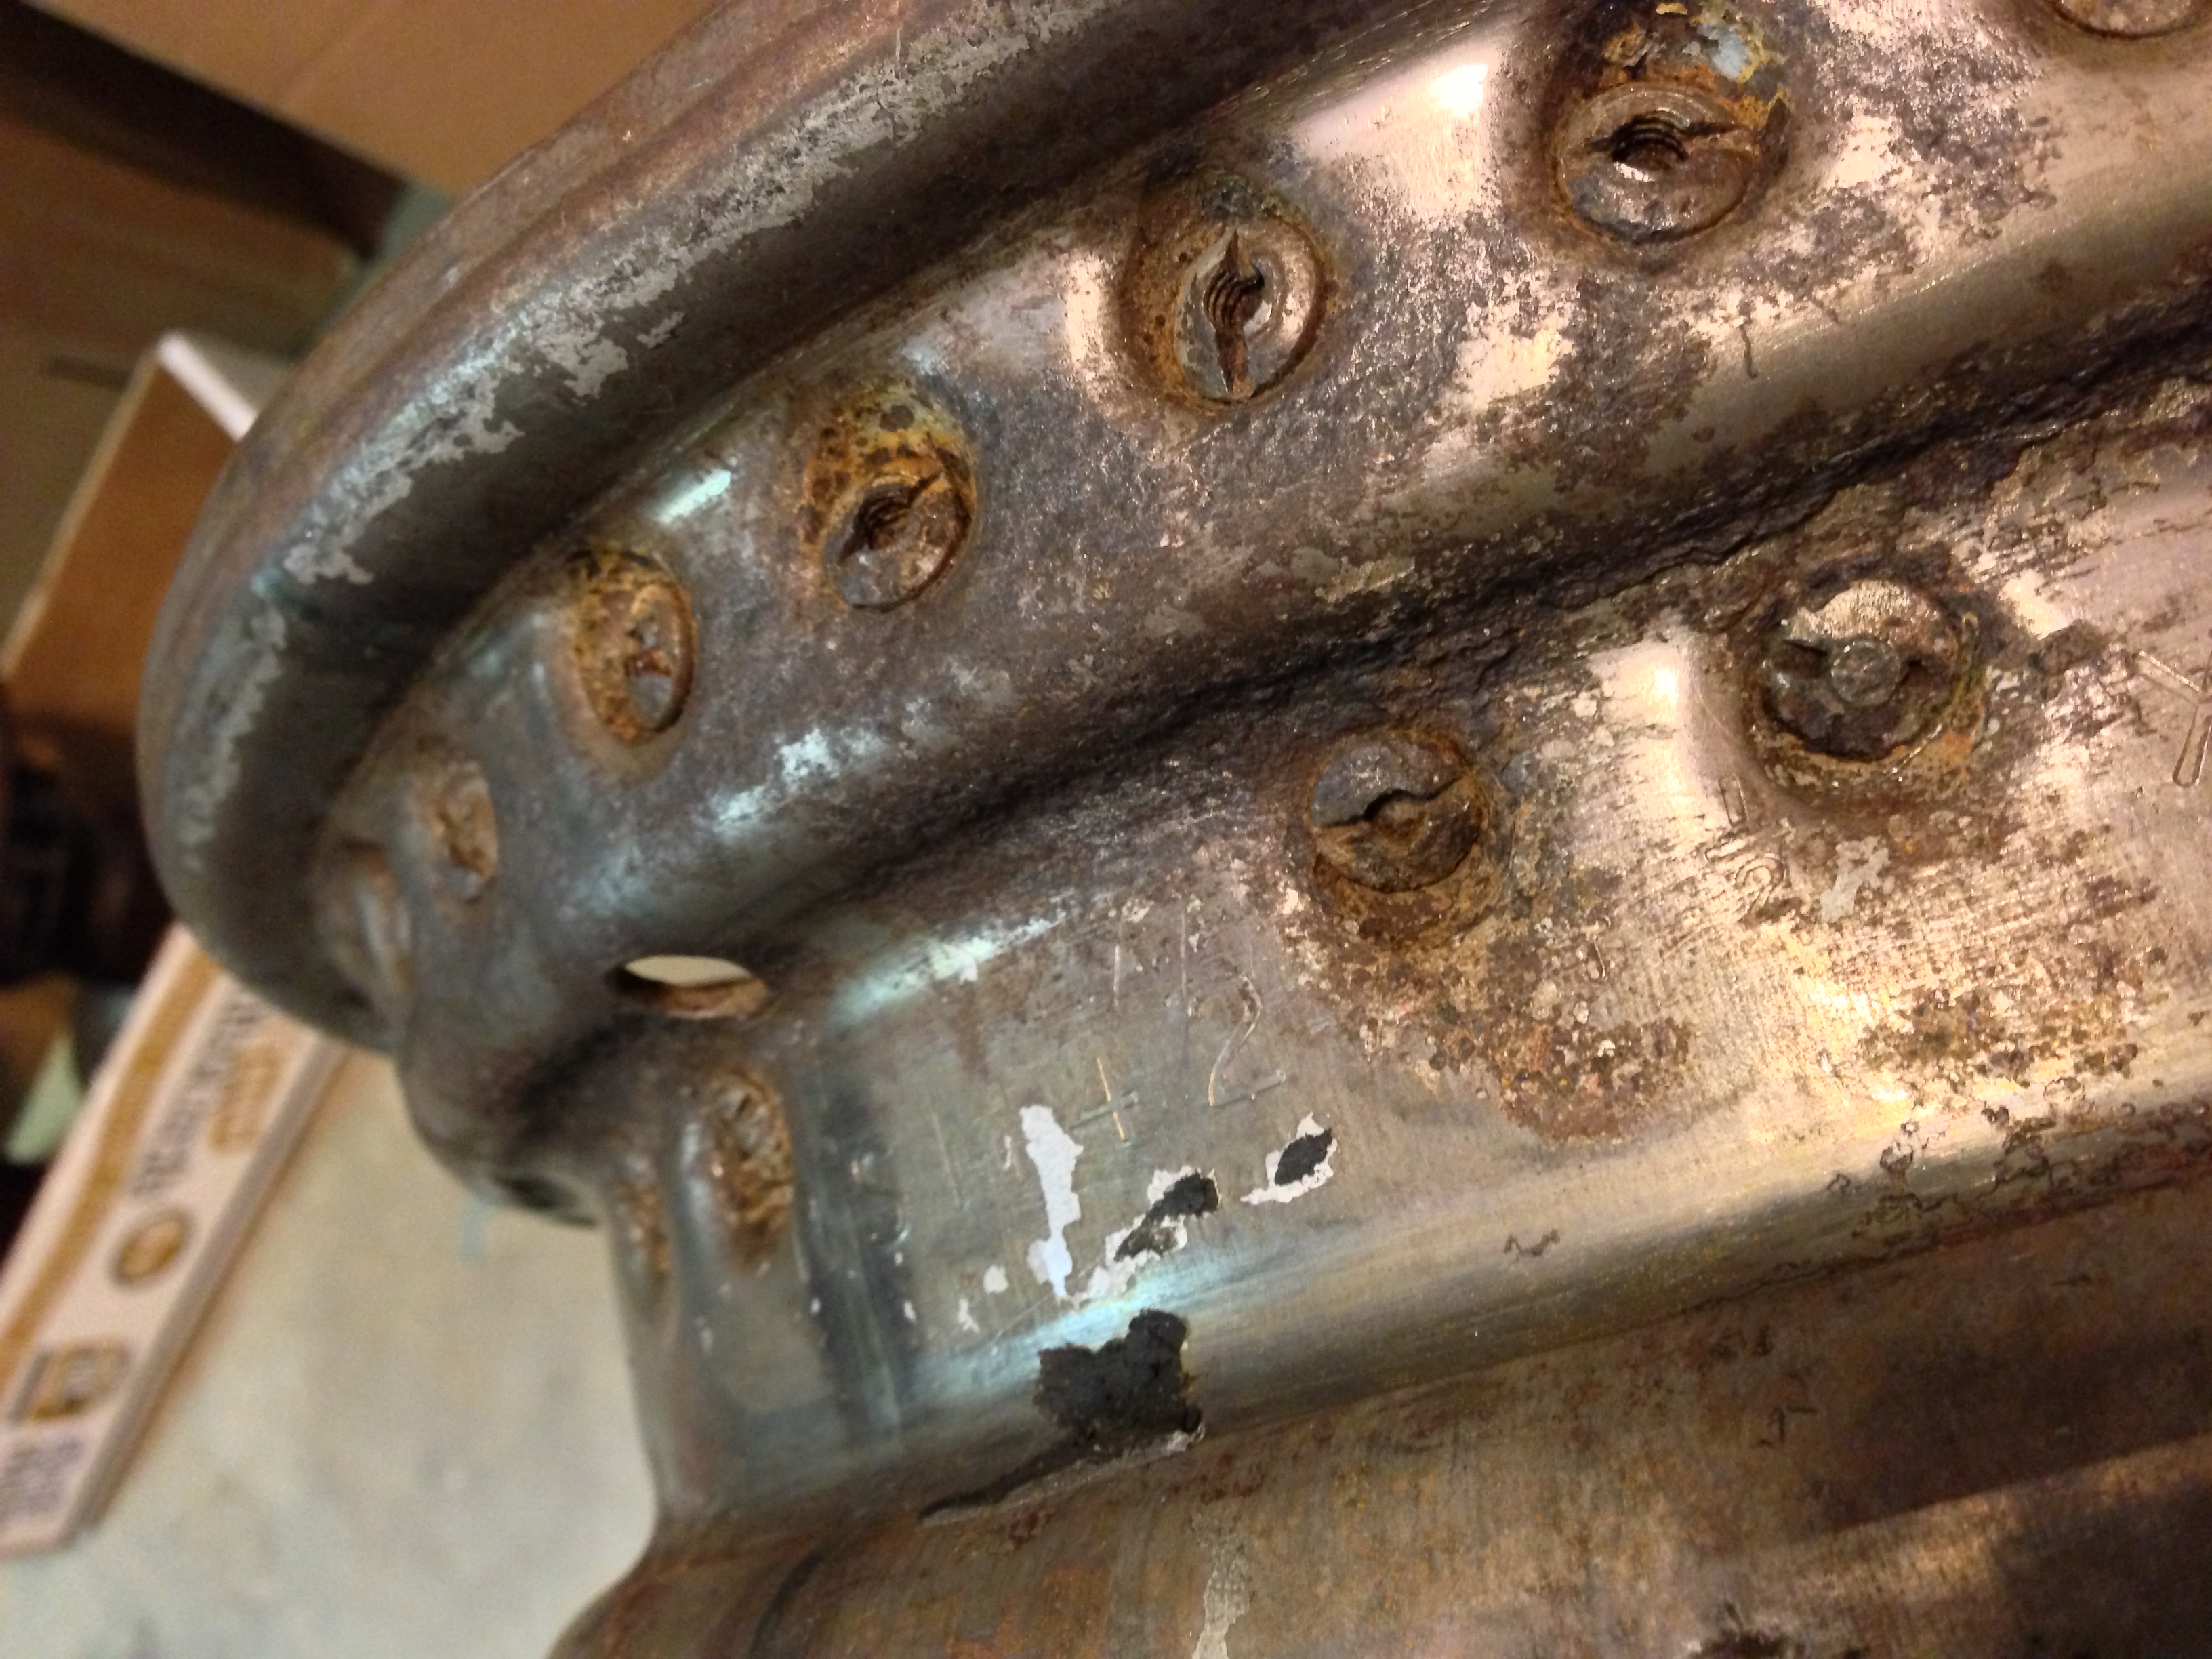
I scrubbed the rim with a wire brush and hosed off the grey iron oxide. Not much of the red rust remained, but there was some left. Most of what remained had been turned into a black/grey form of iron oxide. Some parts of the wheel looked as clean and bright as brand new, other parts show substantial surface pitting. Since I’ll be running inner tubes, I’m not so concerned about absolute perfection of the rim. I believe that it will be quite satisfactory. I’m not sure how much the power will cost to derust all my wheels, but at 38 cents per KwH, it’s not insignificant. Still, it won’t be a deal breaker.
I’m thinking about paint options, what type of primer, what color to paint the wheels. I have a color scheme in mind, more on that later.
-
- This is very roomy
-
- The new tub with wheel and water.
-
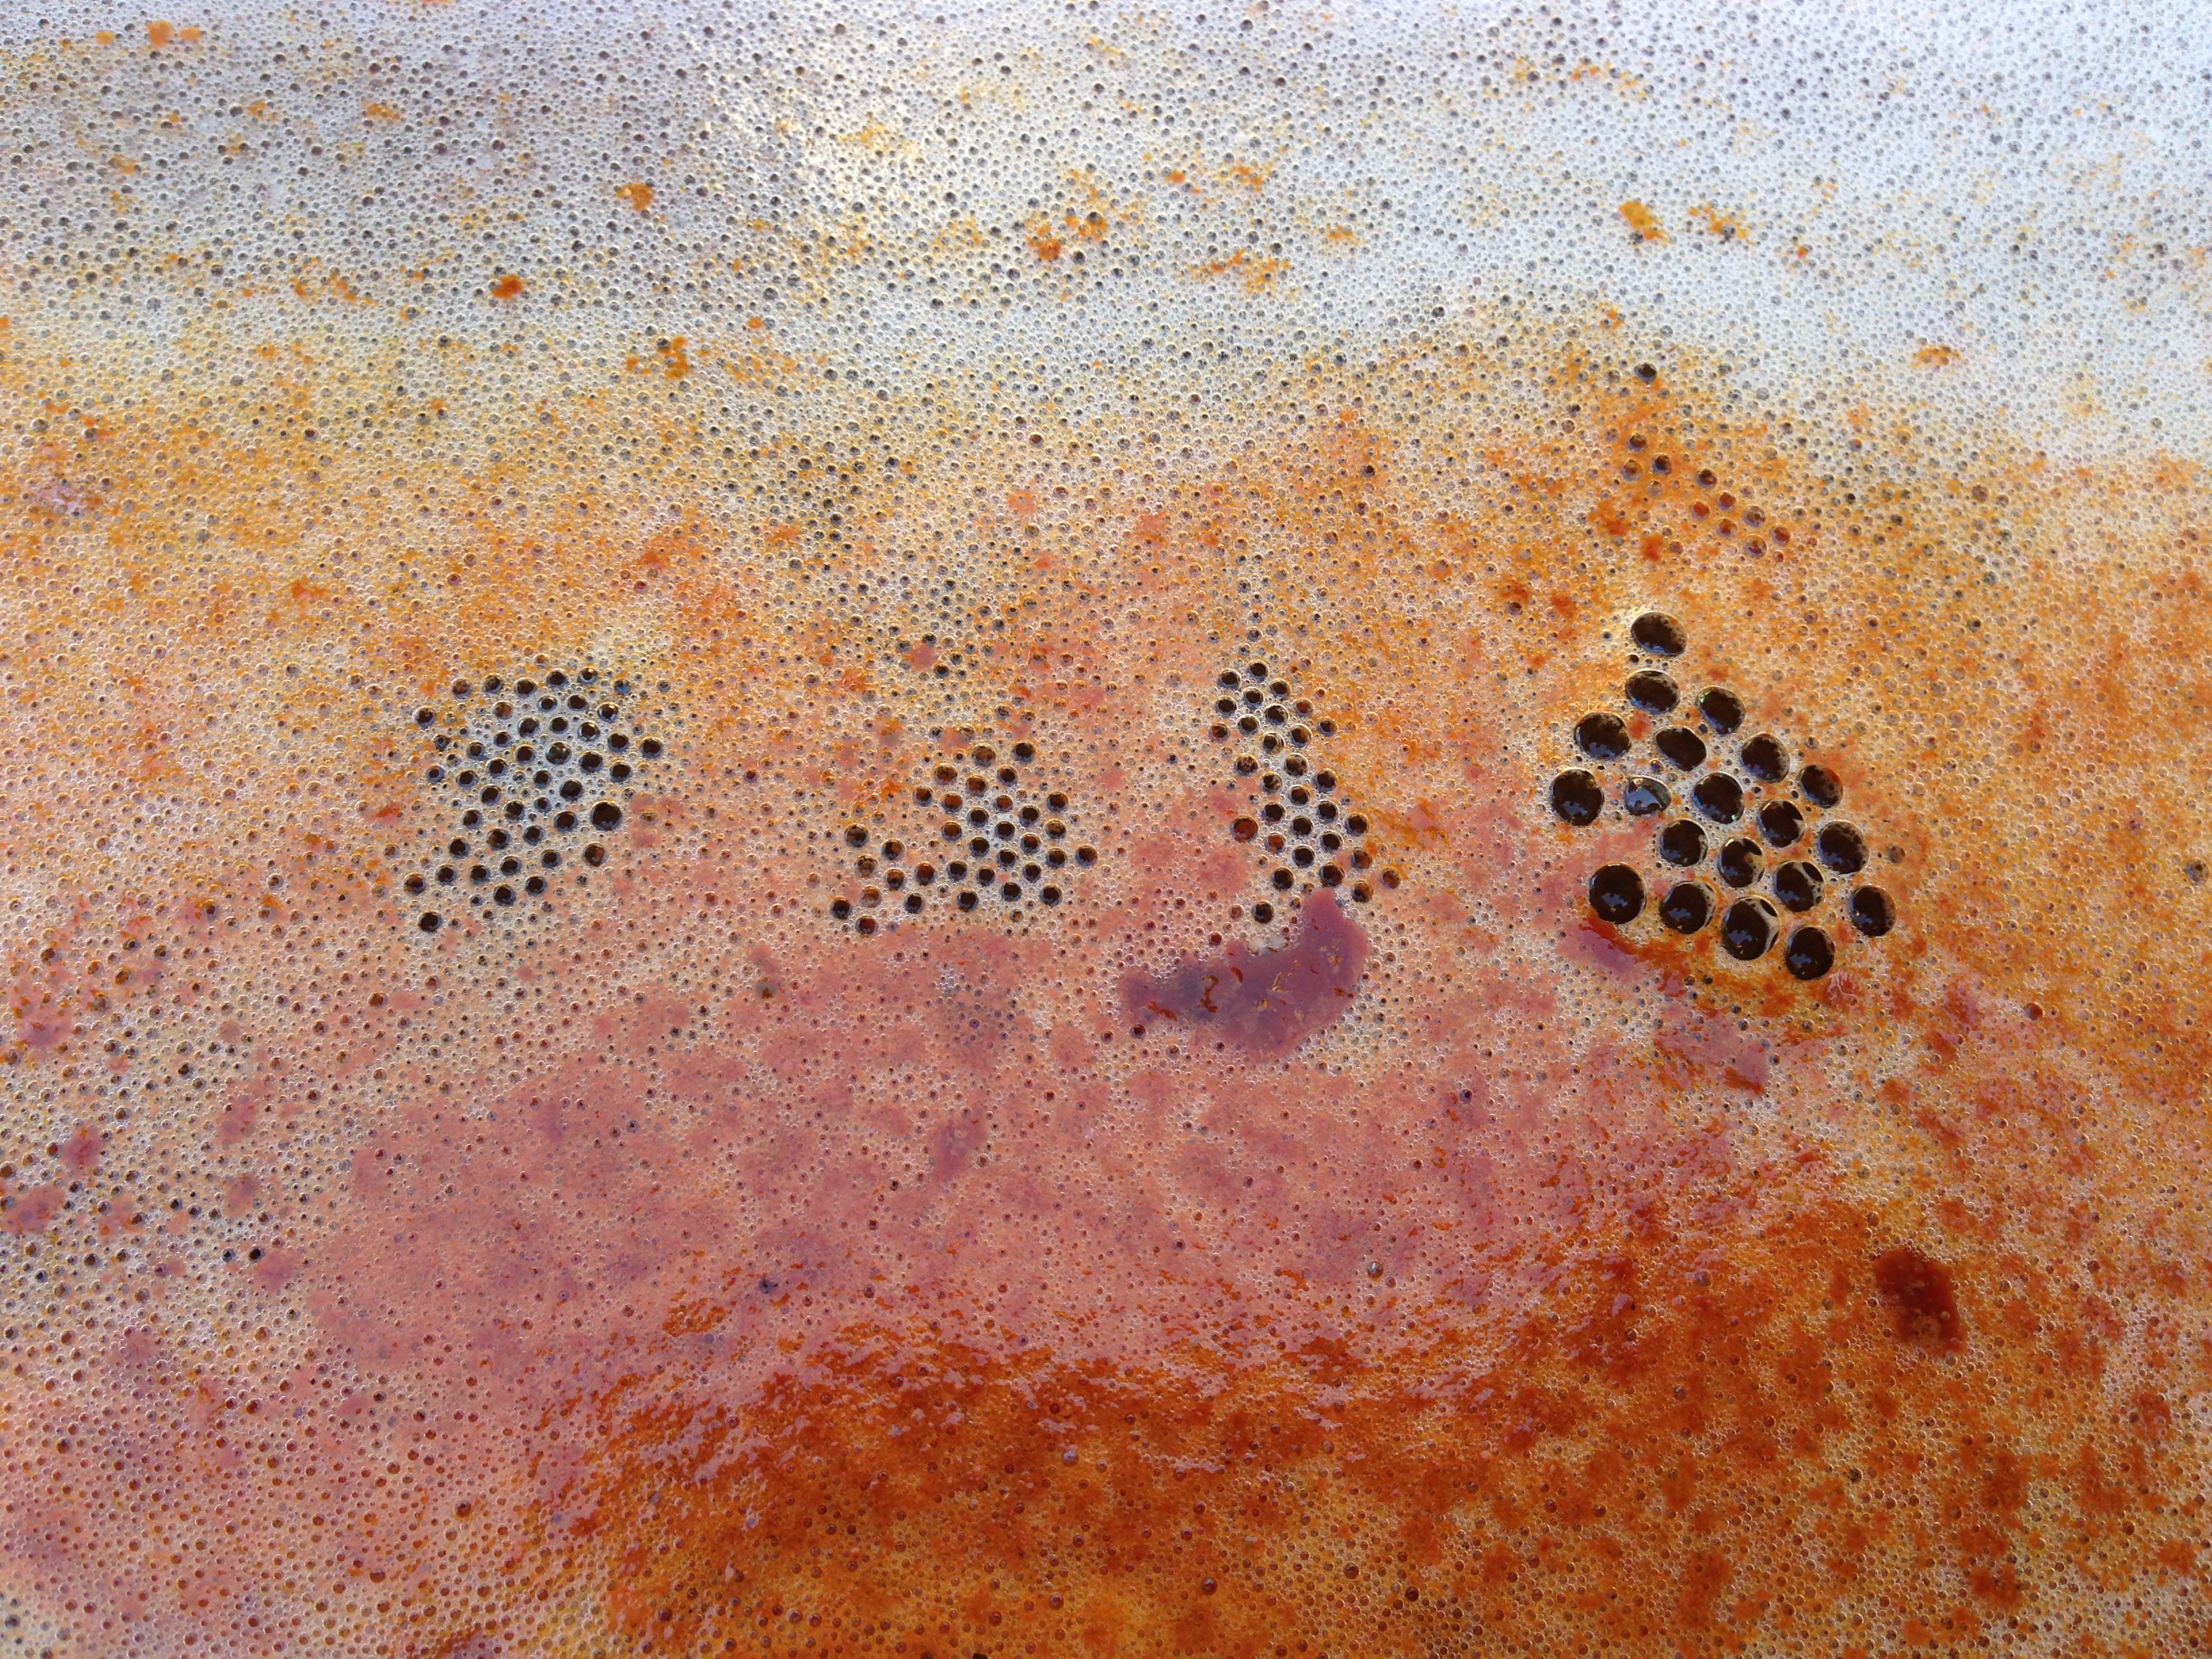
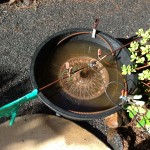
- A fresh set of bubbles
-
- Starting to see some rust in the bubbles.
-

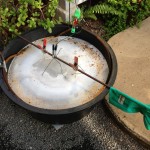
- Starting to get some bubble action