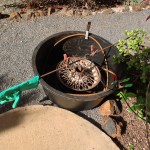
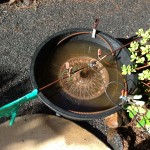
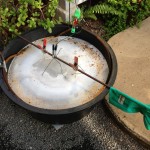
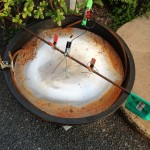
Back in a new bin

I’ve had a bit of a setback, the wheelbarrow has sprung a leak while working on the second wheel. I drained it and scraped out the several cups of rust in the bottom. Searching for a suitable replacement took me to several places in town. A 17 gallon bin from the discount store was not big enough to fit the wheel and clear the cable I’m using for the anode. I found a proper sized tub at the local farm supply store. Twenty Five gallons in size and made of 100% recycled plastic for a modest $21. Yay.
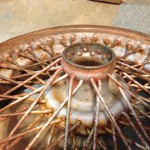
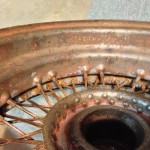
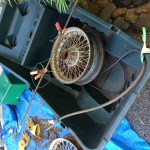
I set up the second wheel in the new bin and reconnected the battery charger. Unlike the first time when the ammeter showed a 6 amp draw, this time it only showed a 3 amp draw. Perhaps because I didn’t add as much of the OxyClean as before. Anyway, the process continued, although a bit more slowly. After leaving it in the bin overnight, I pulled the rim out and gave it a look. It was pretty clean considering the extent of the corrosion that was under the inner tube. About 20% of the rim still had corrosion on it.
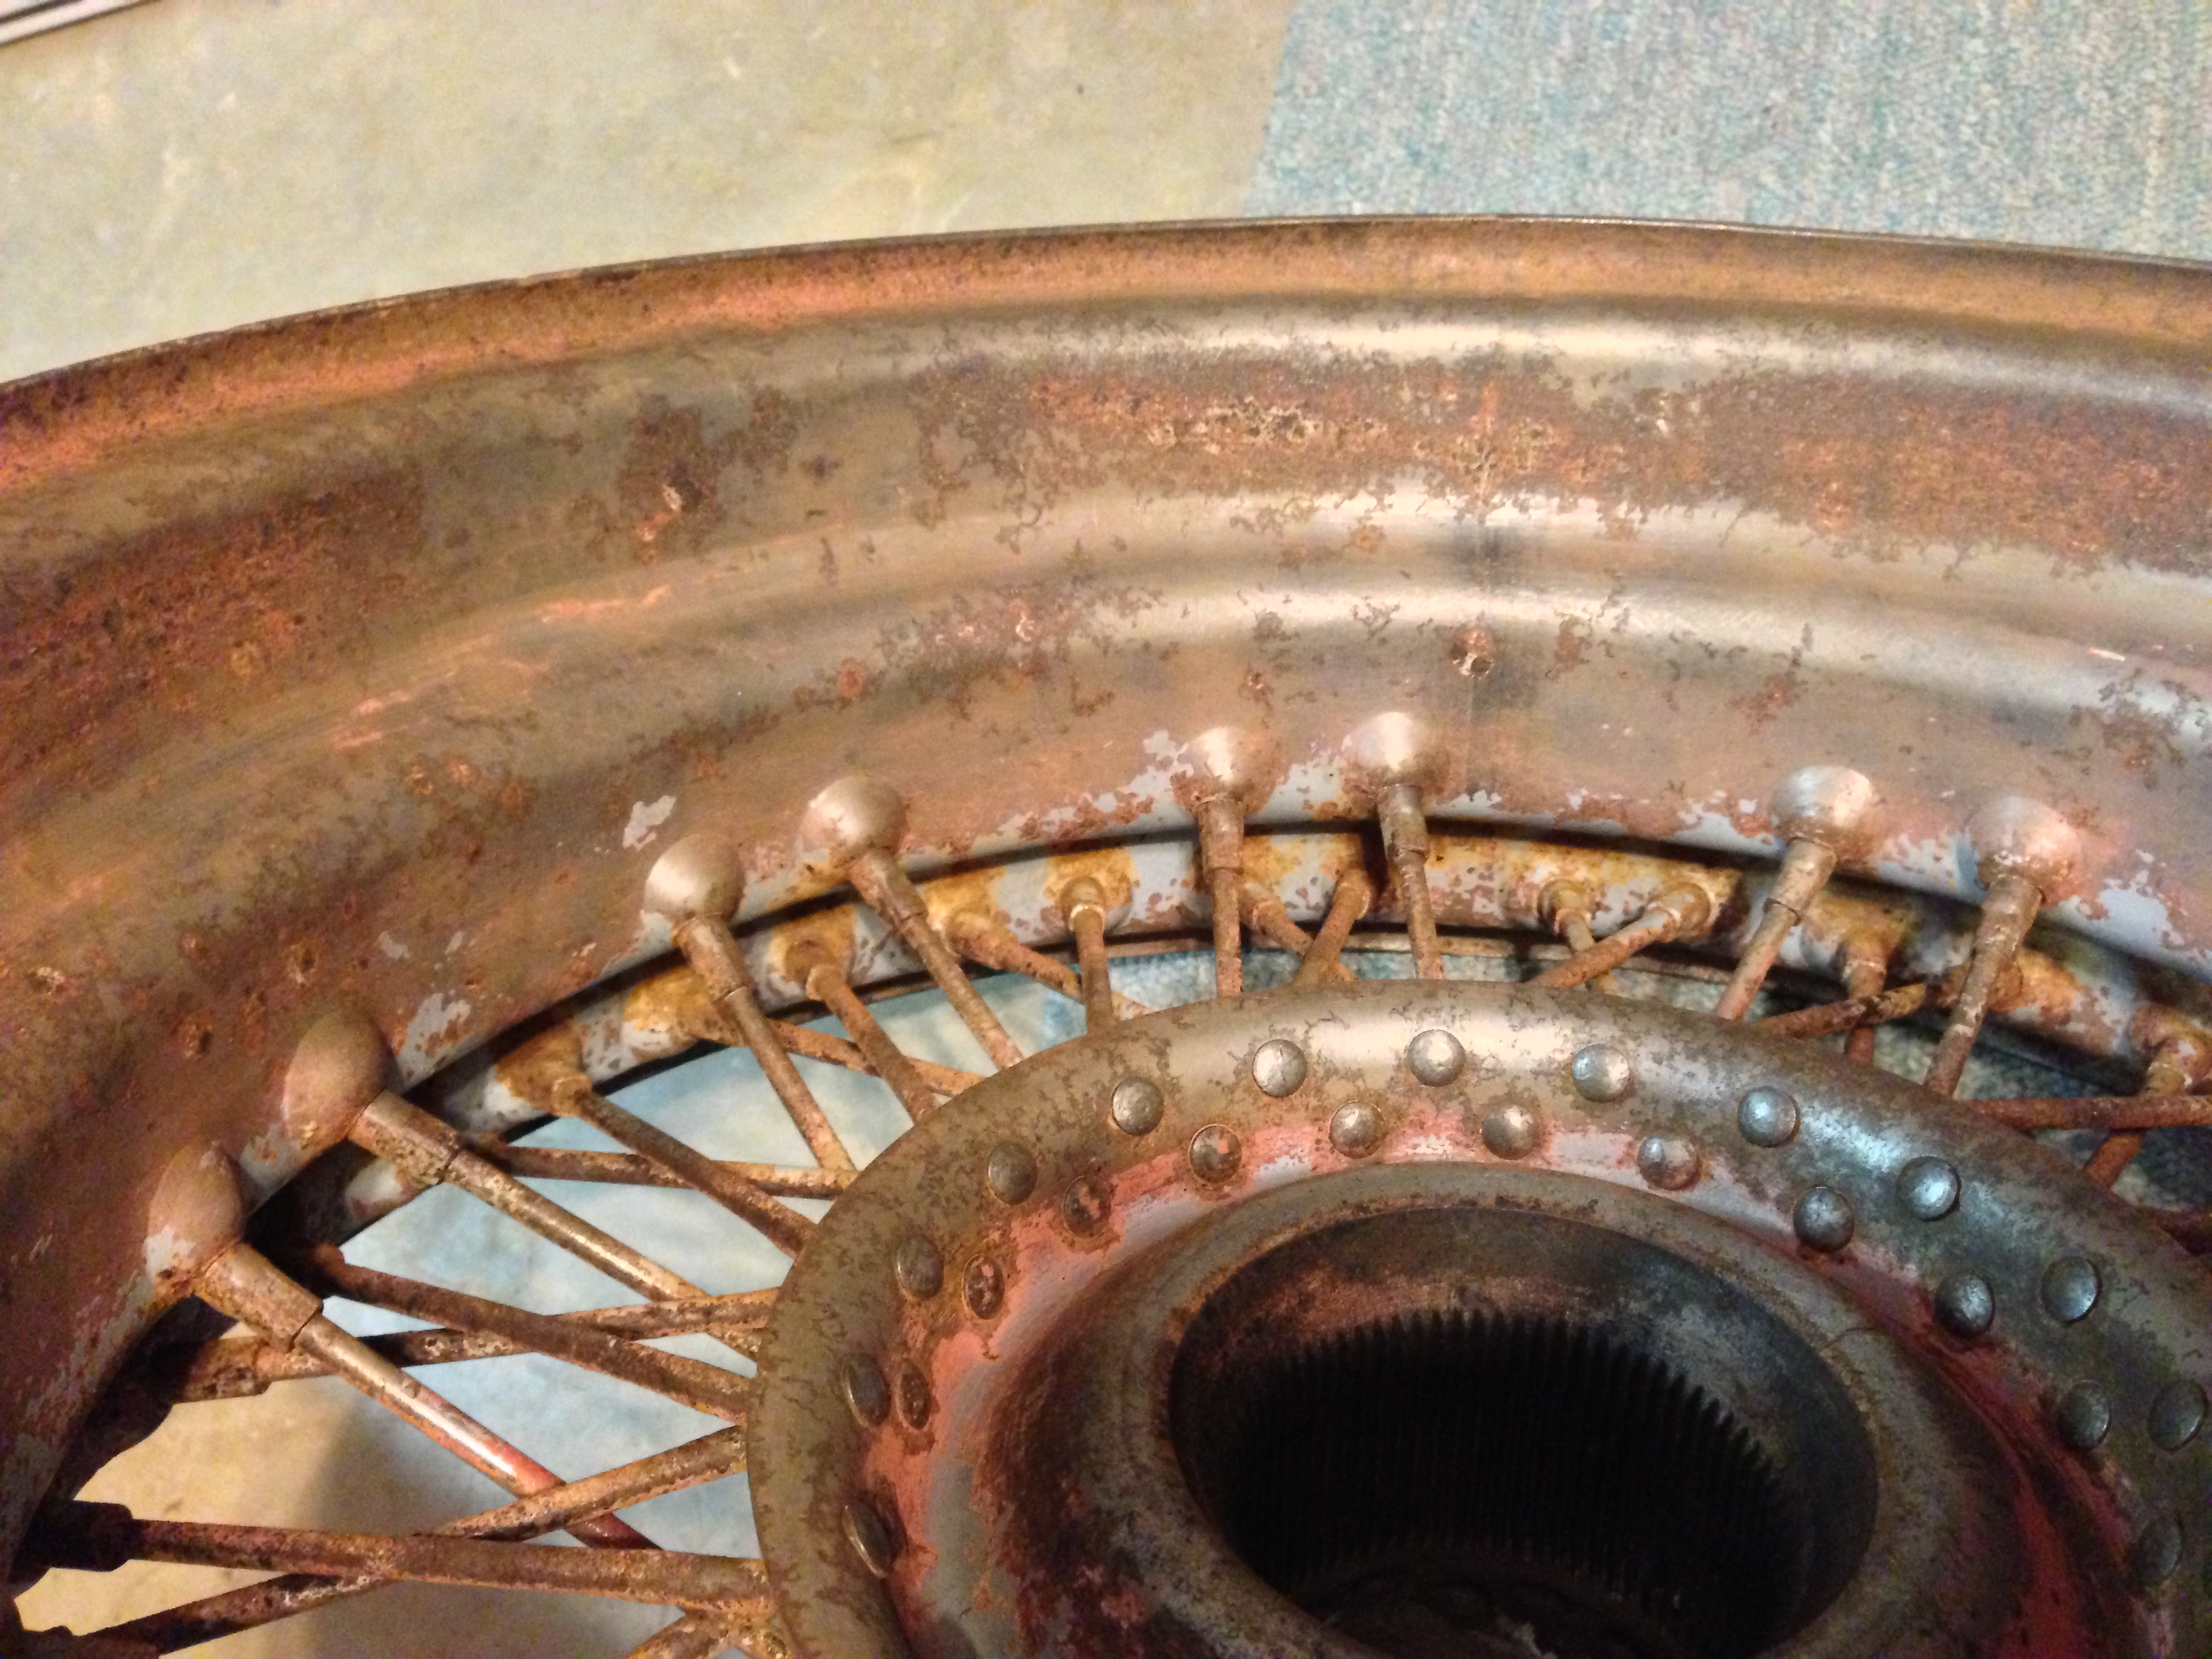
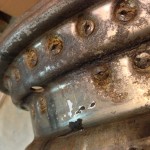
I scrubbed the rim with a wire brush and hosed off the grey iron oxide. Not much of the red rust remained, but there was some left. Most of what remained had been turned into a black/grey form of iron oxide. Some parts of the wheel looked as clean and bright as brand new, other parts show substantial surface pitting. Since I’ll be running inner tubes, I’m not so concerned about absolute perfection of the rim. I believe that it will be quite satisfactory. I’m not sure how much the power will cost to derust all my wheels, but at 38 cents per KwH, it’s not insignificant. Still, it won’t be a deal breaker.
I’m thinking about paint options, what type of primer, what color to paint the wheels. I have a color scheme in mind, more on that later.

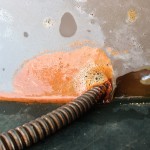
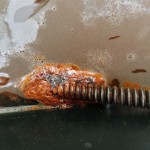
Bubble, bubble, toil and trouble…

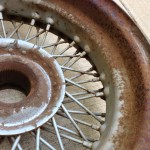
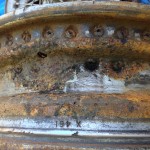
Wheel 1 after cleaning inside rim

Apologies to Will Shakespeare…

I let the wheel stay in the electrolysis wheelbarrow for several days. The bubbles continued and then gradually tapered off to nothing. The battery charger’s indicator showed little current flow. Examining the wheel showed that the majority of the paint had softened and a good deal of the rust was gone. The side that was up did have more rust than the down side so I’ll flip the wheel over and give it another day or two in the bath.
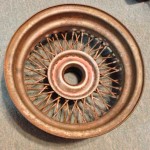
A majority of the paint washed off with a hose and a wire brush got a good deal of the rest. The rust was mostly gone in some spots and the wheel looks pretty good. If only I had more wheels as good as this one. I’ll finish this one and start on the next best wheel. Not a bad start.

A fizzy bit in the bin

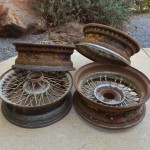
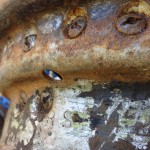
I’m trying to clean up the wire wheels I got last week so I can get them painted. I had the tires dismounted and was sad to find that there was considerable rust inside the rims. Tubeless tires make a good seal with the rim and keep out the environment, as long as there is air in them of course. Wire wheels require tubes, and don’t always seal against the rim perfectly. Water can also sneak in via the spokes.
At least one of rims has substantial metal missing by the valve hole due to rust. It makes that one a backup spare only. I have one that is in really good shape, albeit I found it has a broken spoke. So I only need one more good one from the remaining five to get up and running. I was hoping to have two complete wheel sets, but that remains to be seen.
To clean up the rust, I initially figured I’d get the wheels sand blasted clean. I’m having a bit of trouble finding someone who can provide that service. If I do, I’m afraid it will cost more than what the wheels cost. I have already shelled out $72.50 to get 4 tires dismounted and discarded. Yes, services on the island cost more than on the mainland. So I try to do what I can myself.
I found a video on YouTube that describes removing rust via electrolysis. There are a number of videos but the basics are the same. It looks easy enough and I have all the materials needed. A big plastic container, a battery charger and sodium carbonate, aka OxyClean. Some electrical wire, wire brushes and sandpaper should be all I need.
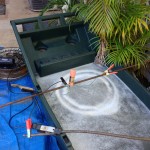
I removed the remaining rubber ring around the inner part of the wheel and the knocked off the largest rust bits. I suspended the wheel in the plastic wheelbarrow with the electrical wire and filled it with 25 gallons of water with the disolved OxyClean. I had recently pulled a 15 foot length of plumber’s snake from the dumpster near work so I coiled that up in the bottom to act as the anode. One video mentions that the derusting action is more or less line of sight, so I think that means I’ll have to flip over the wheel to get the other side clean. I may also have to loop the snake along the sides of the wheelbarrow to get the inner part of the rim clean, the part where the ends of the spokes are and the tire mates.
I’ve had the current on for about an hour and am seeing some bubbles, so believe that I’m getting some action. I’ll probably have to leave it at least overnight since the battery charger is a maintenance type with an output of two amps. We’ll see how it looks tomorrow.