
I’ve been hanging back a bit in buying part and materials for the build because I haven’t been sure the engine is in good order. The weather was beautiful this weekend so I made the time to diagnose the engine’s condition.
Major concerns centered on the upper end of the engine. I’d already looked in a few of the inspection ports and seen that the oil had kept the inside well lubed. However, it had been sitting for an unknown period of time with at least one set of valves open to the weather, although it did have exhaust pipes and carburetors attached fortunately. What was the inside of the cylinders like? Do the valves still seal?
I drained the oil and pulled the oil pan off the bottom of the engine. I examined the residue in the oil pan and found nothing alarming in the small amount that was there.
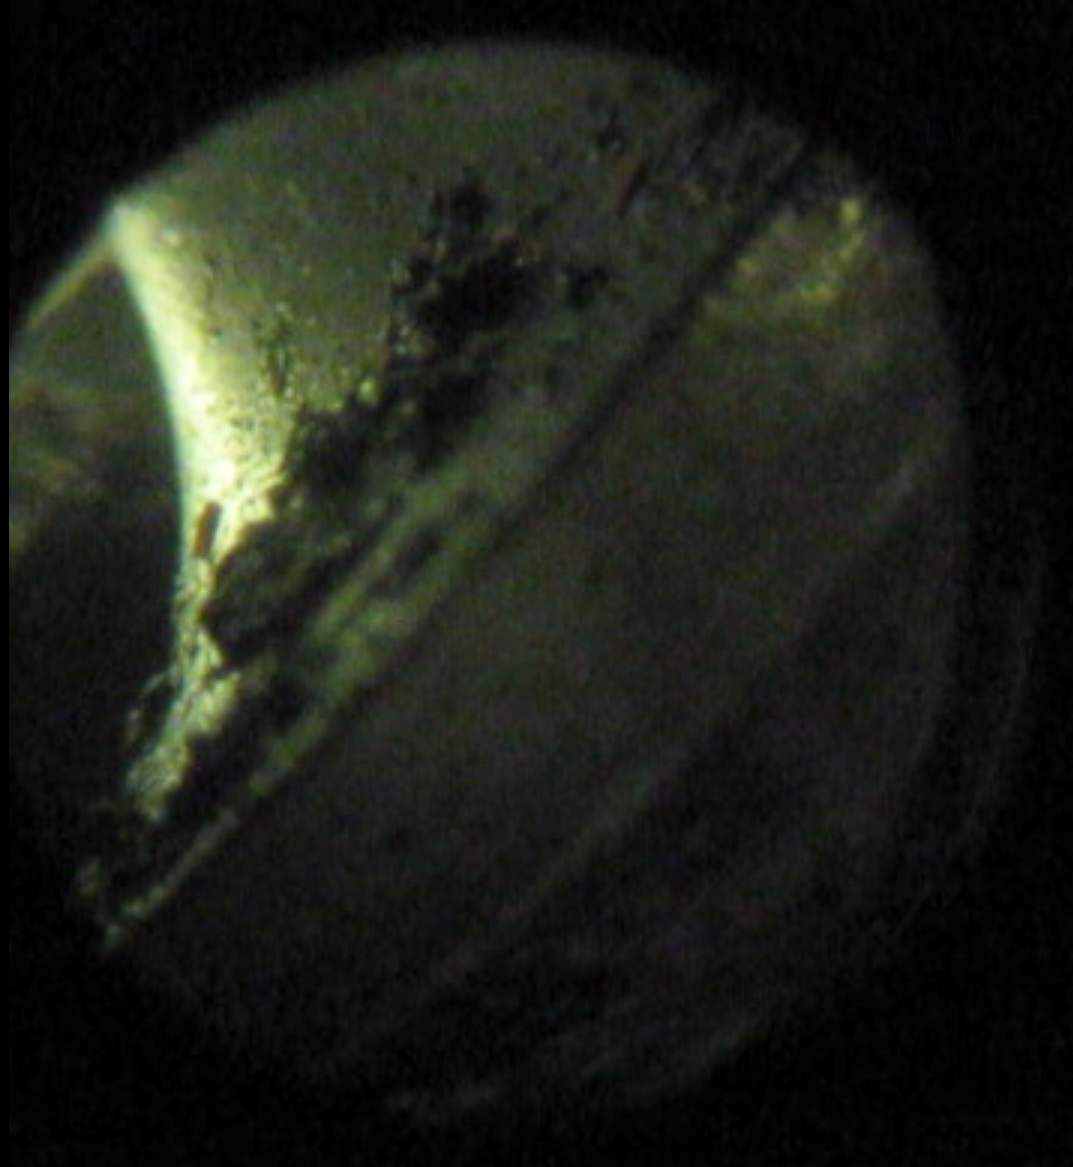
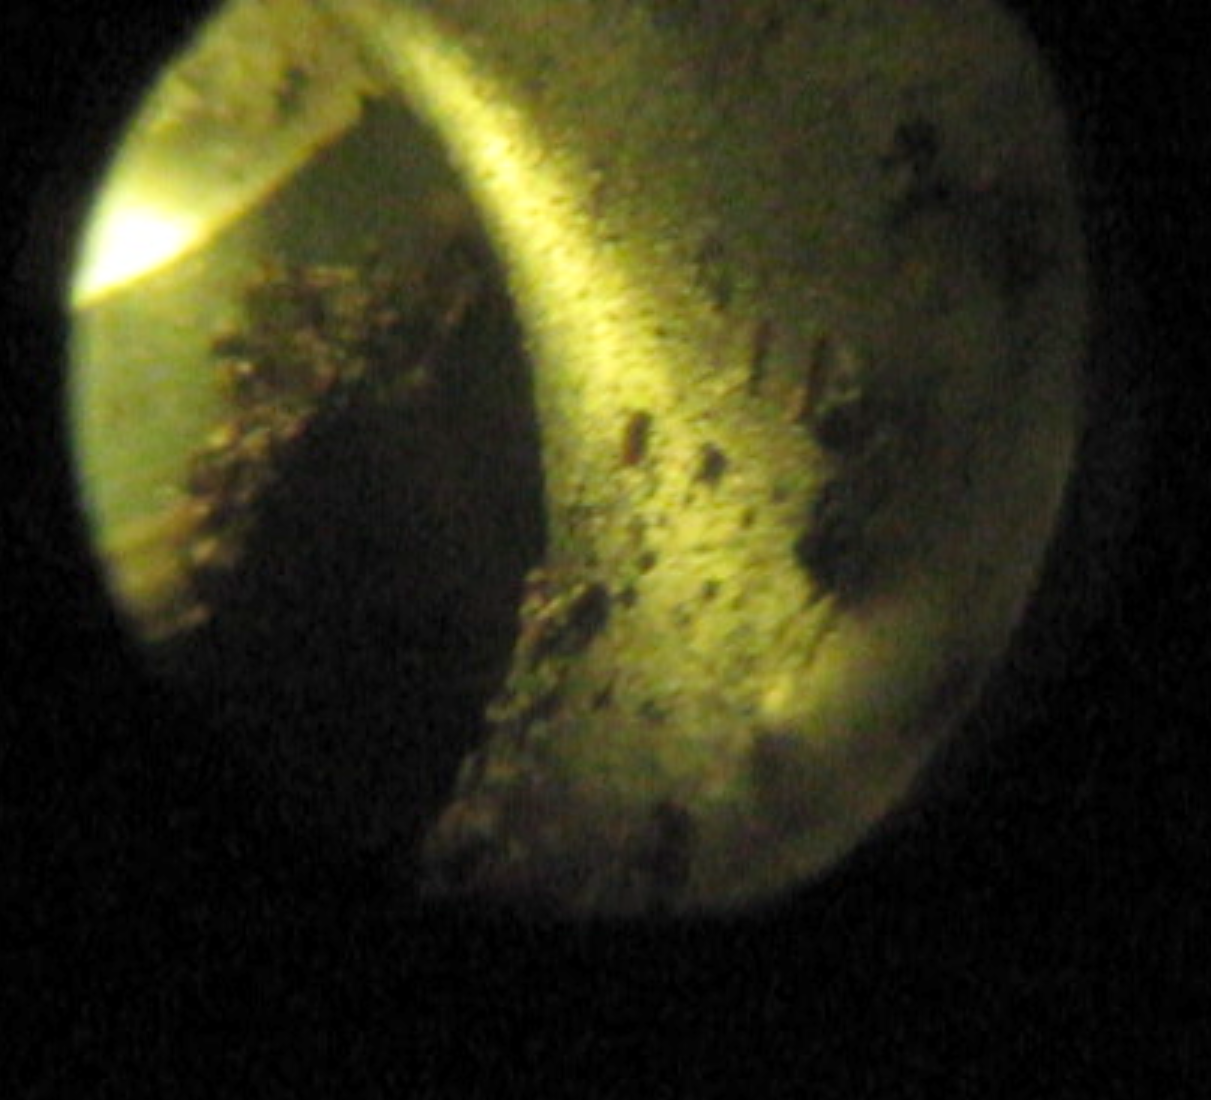
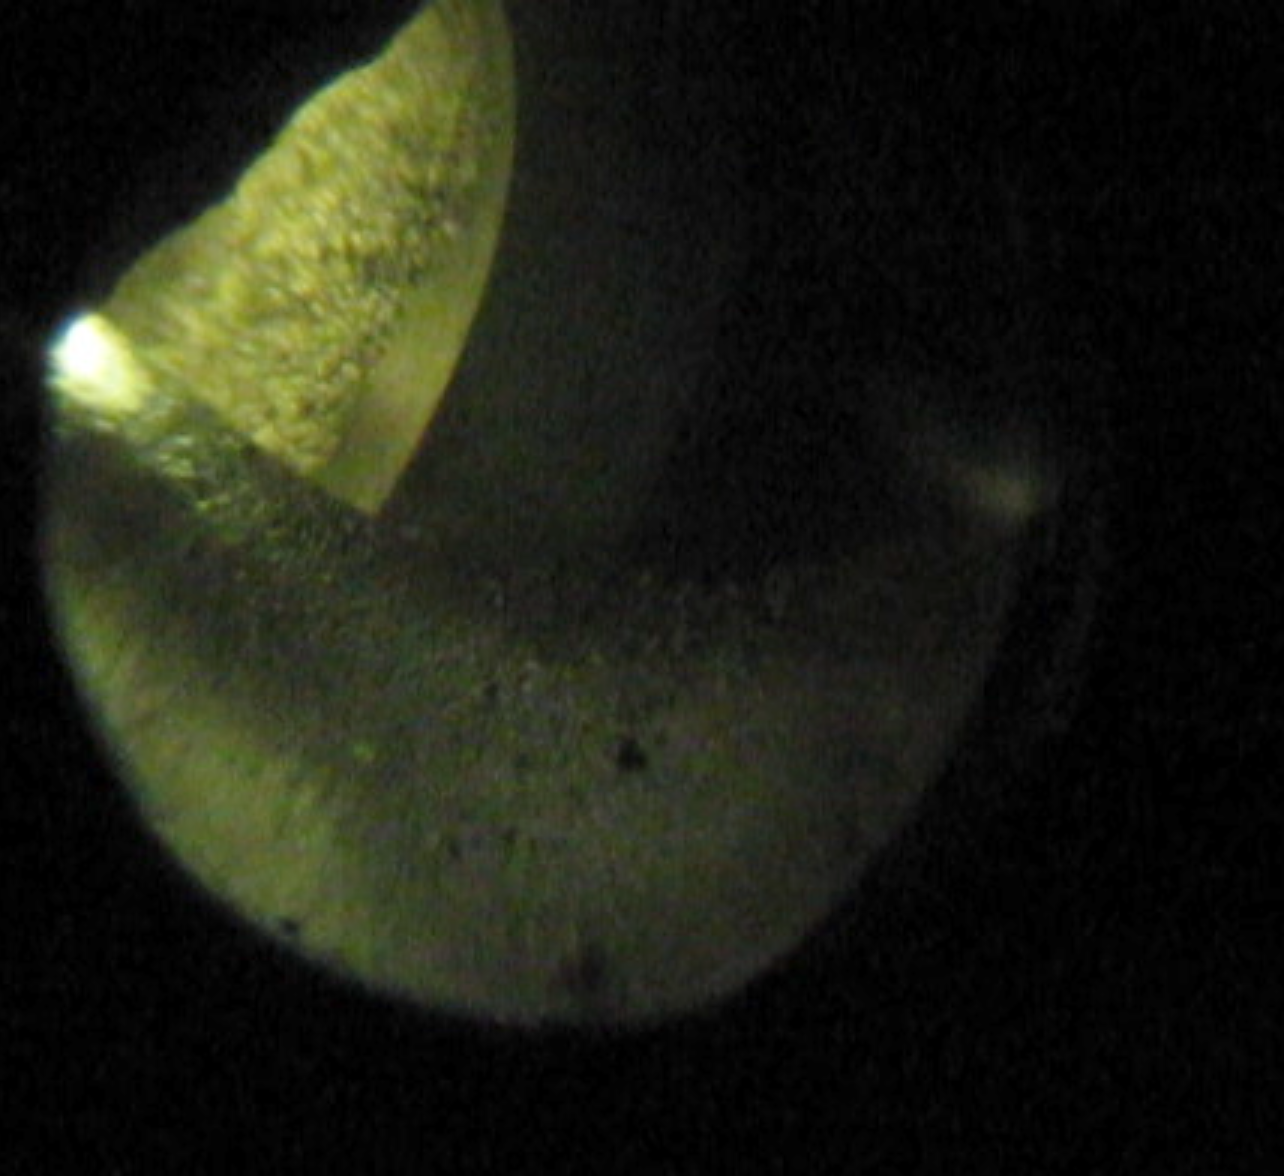
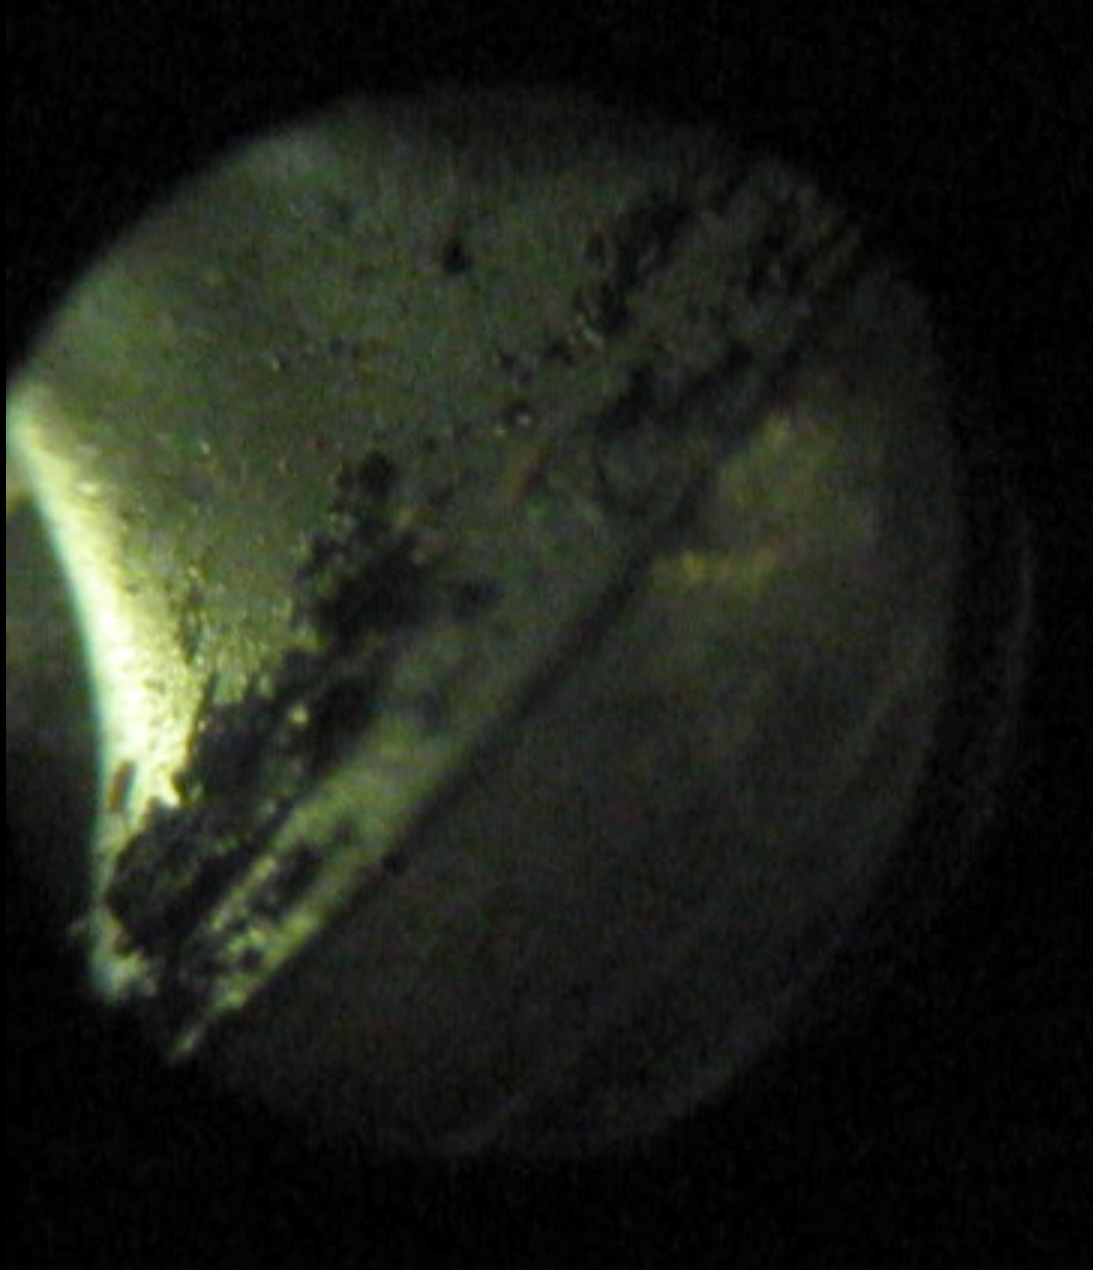
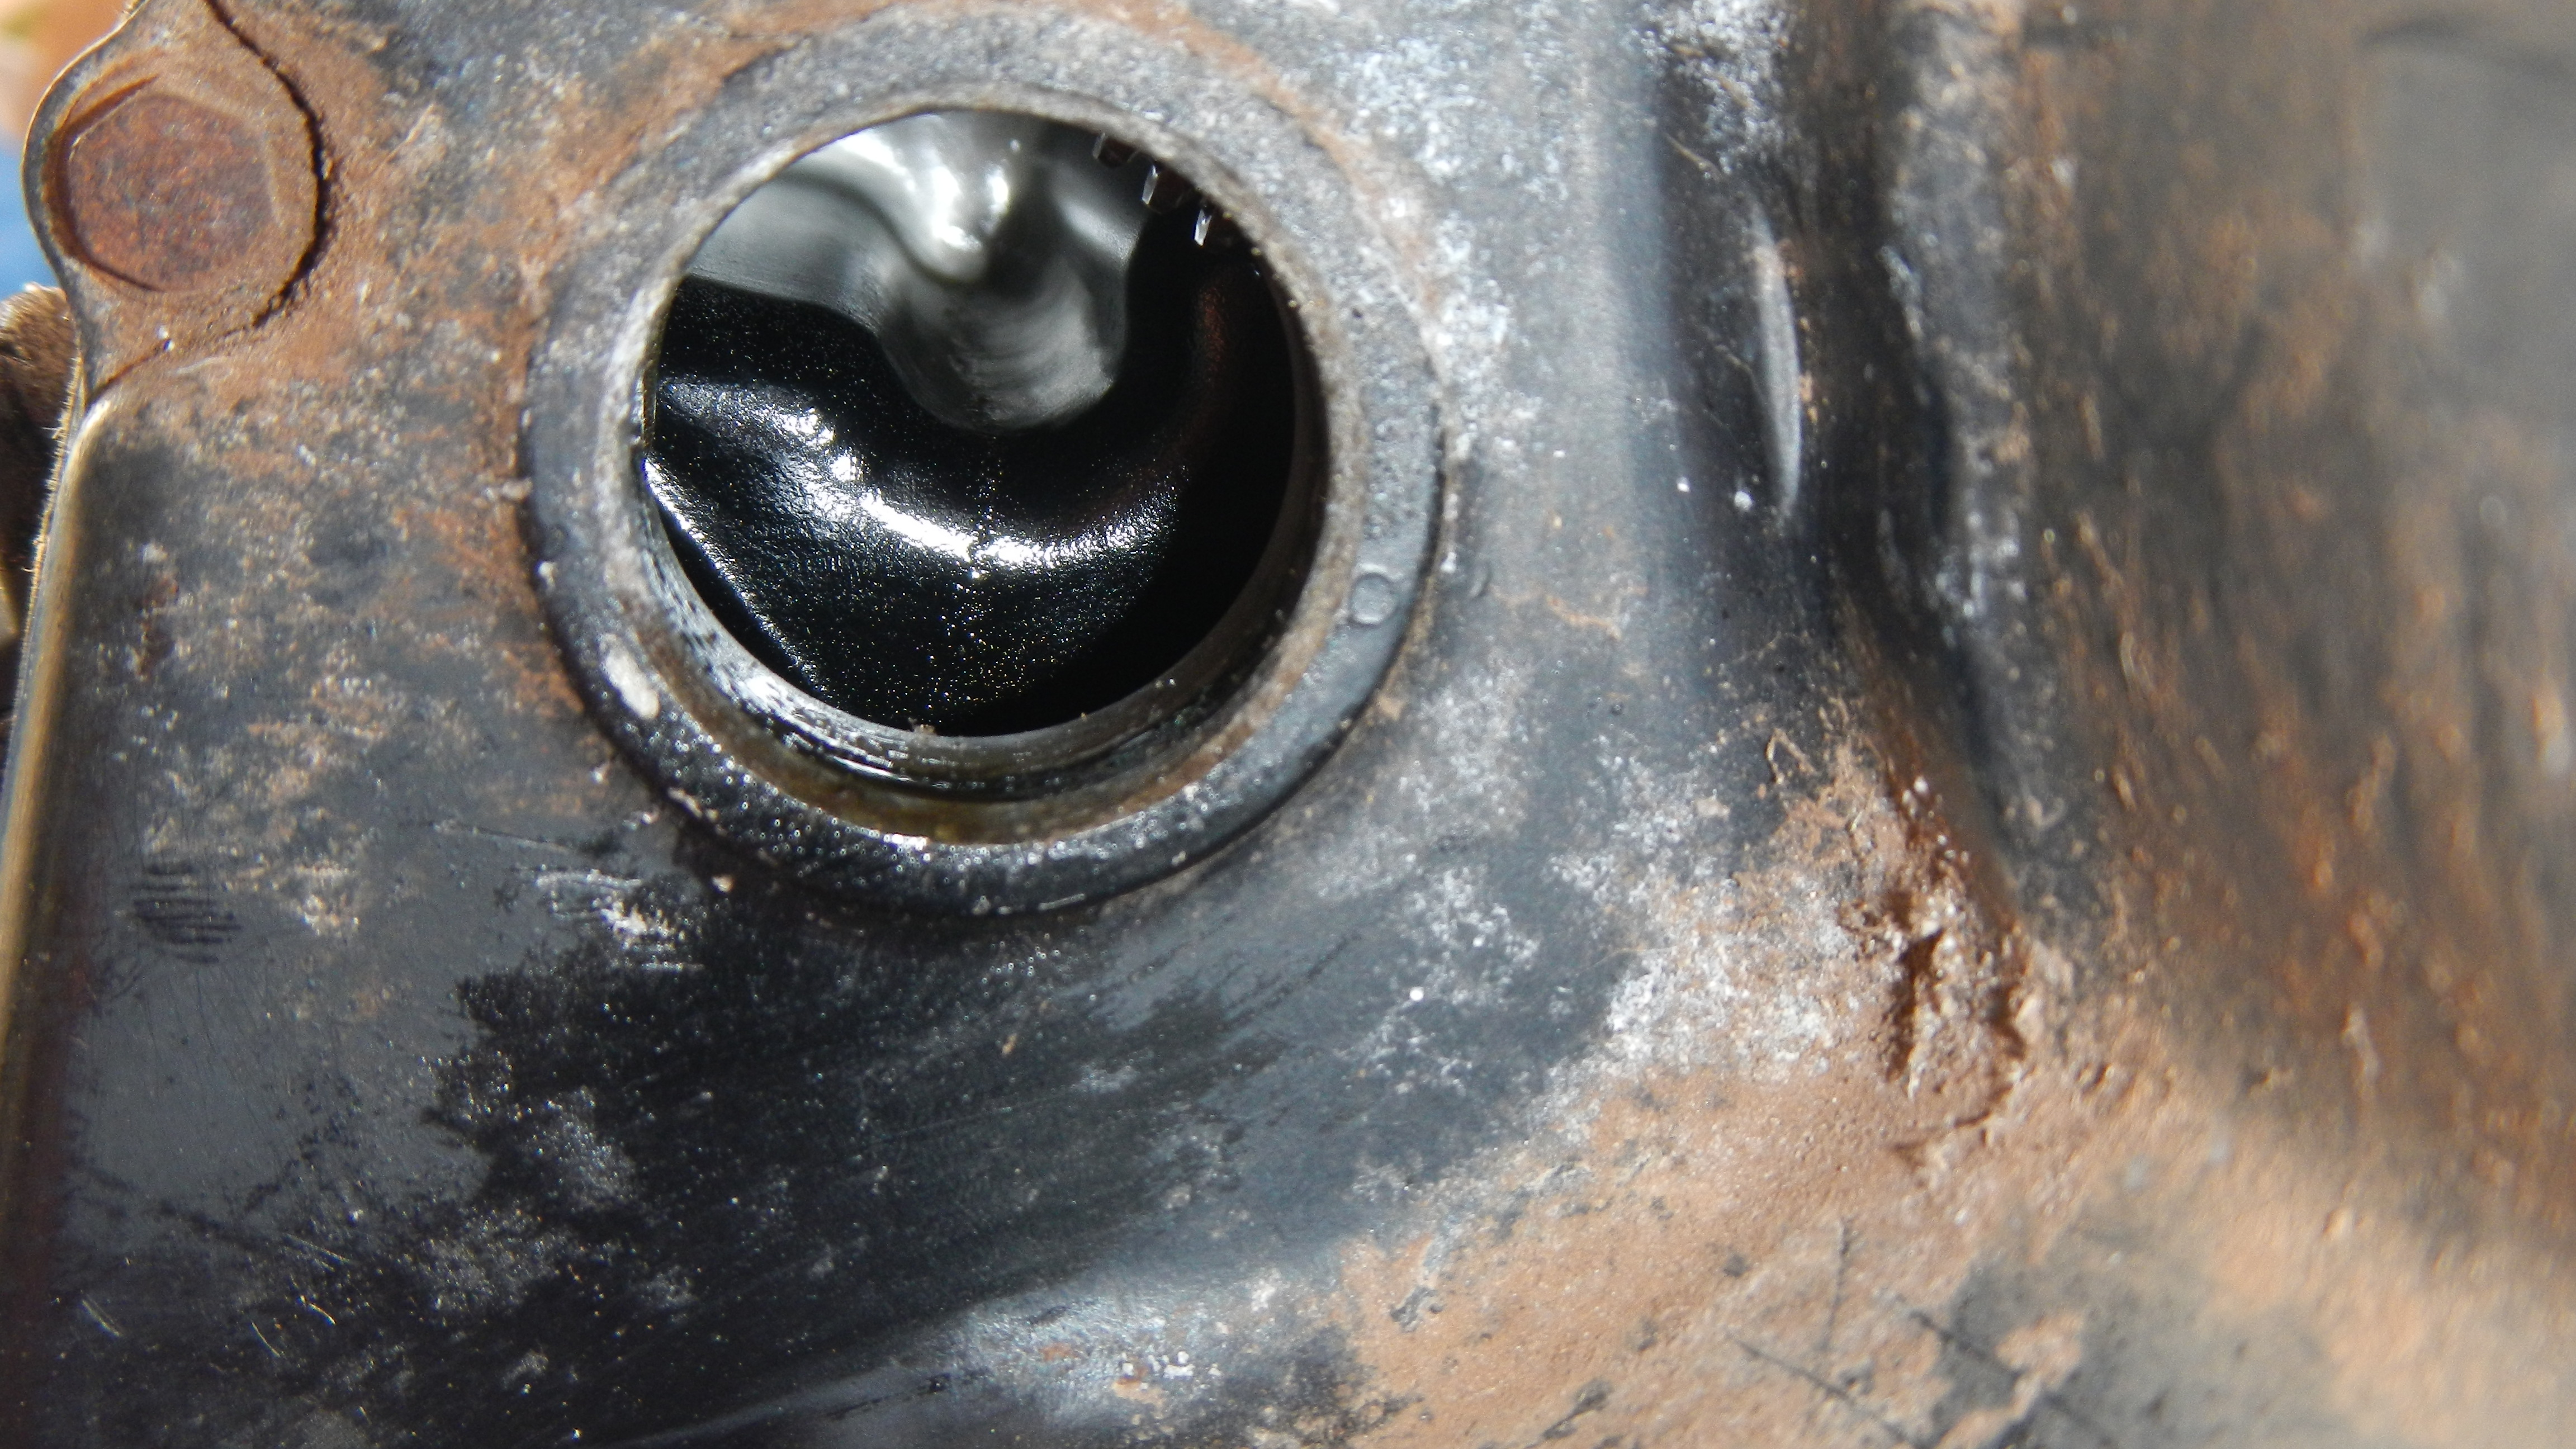
Turning the engine over with a 17mm socket on the timing gear on the front, I could feel that the pistons moved up and down smoothly. Excellent. But what about the cylinder walls and the valves? I have a rigid ureteroscope made for looking into your bladder, that was thin enough to put through the spark plug hole and could look at the cylinder walls and valves. I don’t have the light source that passes light out the end, but I put an LED on the tip and shined a strong flash light into the open ports on the heads to light up the valves.
Good news! The intake valves all look good, although there was a fair amount of dirt on them. The sealing surfaces all look good. The sealing surfaces for the exhaust valves are darker and it was hard to tell if they were as uniform, but I didn’t see any great issues. I did see a small amount of spotting and pitting at the low side of the right cylinder where some water must have gotten in. And some small bits of scoring as well. Not good news, but not horrible either. I’ve elected to press forward and simply scope the engine from time to time to check that this issue stays minor.
 |
 |
 |
 |
 |
 |
 |
 |
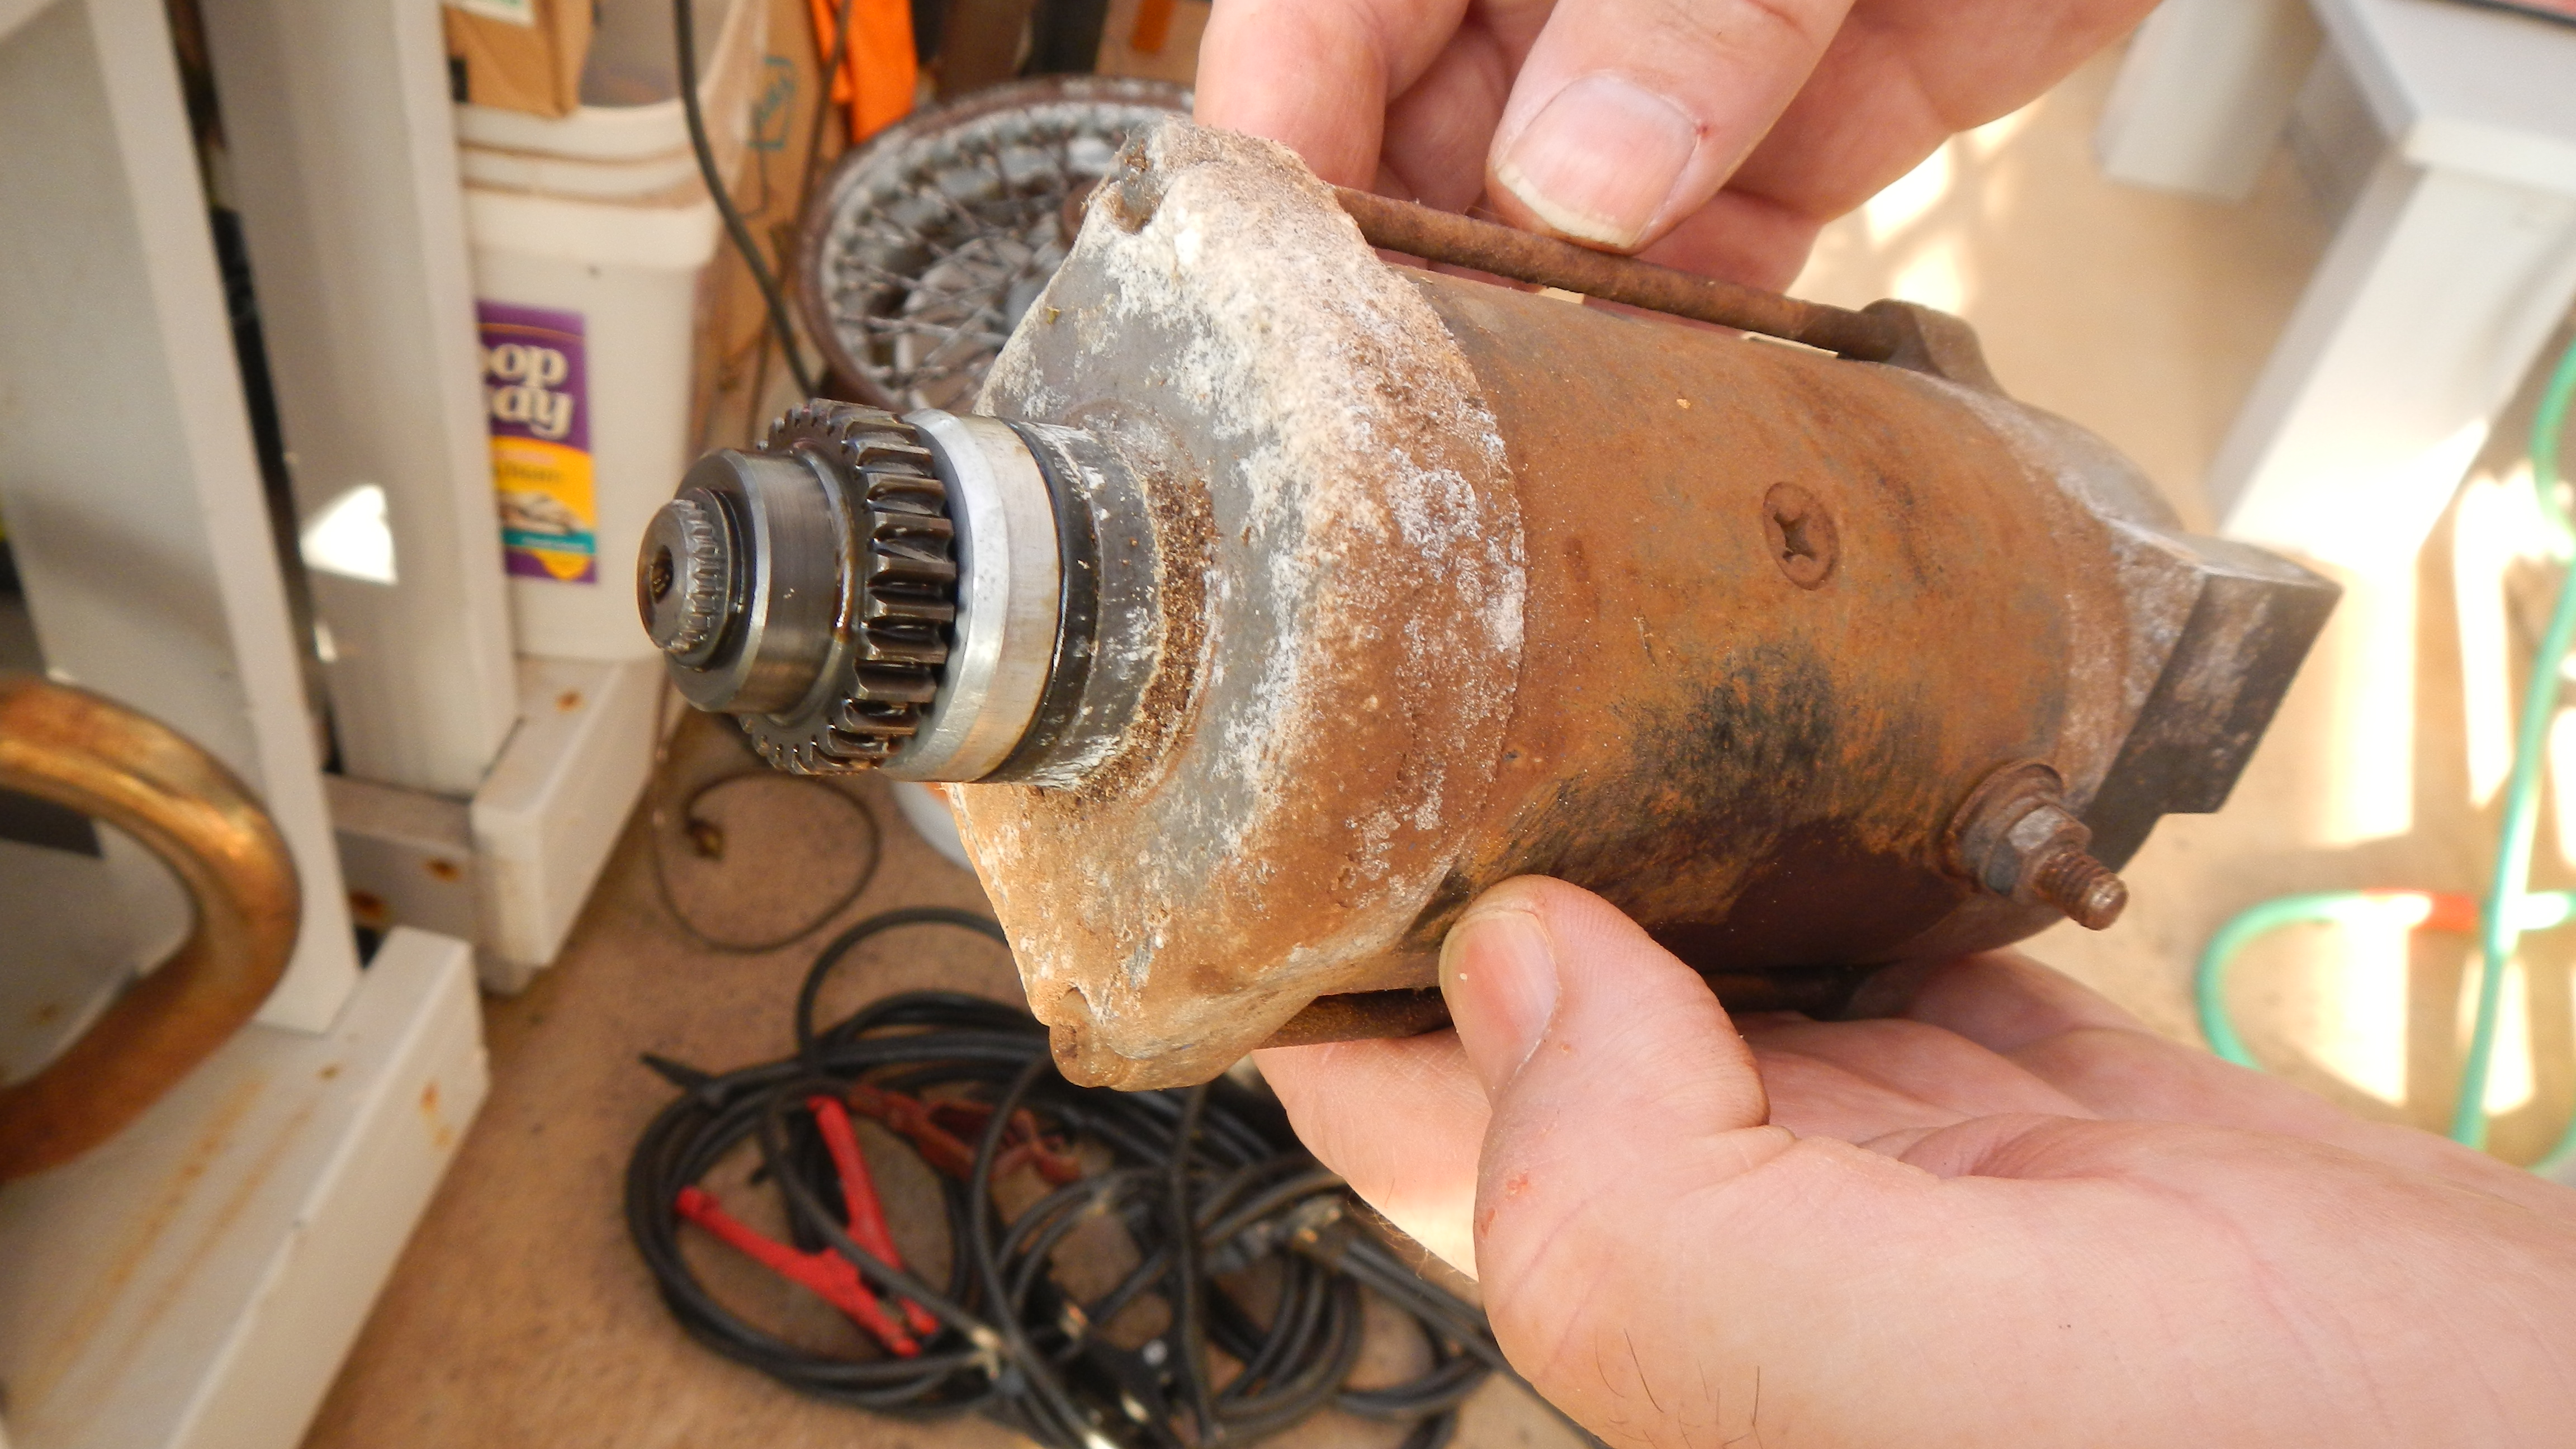
I took a couple of photos and videos through the scope. I also planned to run a compression test to see if I get a good seal. Pulling out a good battery and jumper cables, I applied power to the starter, but no joy. I was not rewarded with anything but a couple of sparks. I unbolted the starter and had to pry and jiggle it to get it out because of the corrosion holding it in. Applying power again got the same response, sparks but no spin. I grasped the gear end and found it binding, but able to turn with some force. After several turns, it seemed to work free, so I applied power and was rewarded. It spun up under power and made a nice hum. Back into the engine it went and I applied power again. The engine turns over nicely with no spark plugs installed. I didn’t want to stress the engine since it had no oil. I did put some oil in the cylinders to lube the rings. I was unable to run a compression test because of the small size of the spark plug hole. My tester doesn’t have the correct size fitting, so I’ll have to get one of those when I’m in town.
So far, good news. I’m looking forward to starting work on the frame now, though I can’t forget to make time to clean and rebuild the carbs.