I’ve had some progress since the last post. I purchased steel for the frame and had it sent over from Honolulu. It was twice the cost of purchasing the steel on the mainland but half the cost of the local provider.
Harbor Freight had a small Argon bottle for my MIG welder so I’ve purchased that. Unfortunately, when it arrived, I was told by the local welding gas supplier that they wouldn’t exchange it for a full bottle since it didn’t have a Argon sticker on it. Fabulous. I’ll have to purchase a new one, at local prices at that.
I’ll use the MIG welder to make an English Wheel for practice and to give me another way to make the fenders and radiator cover. Harbor Freight supplied the lower anvils and a Ford bearing will become the upper bearing. A wrecked Honda CBR600 will donate it’s rear fork for the English Wheel frame. It won’t be a very big English Wheel, but it will work for my needs.
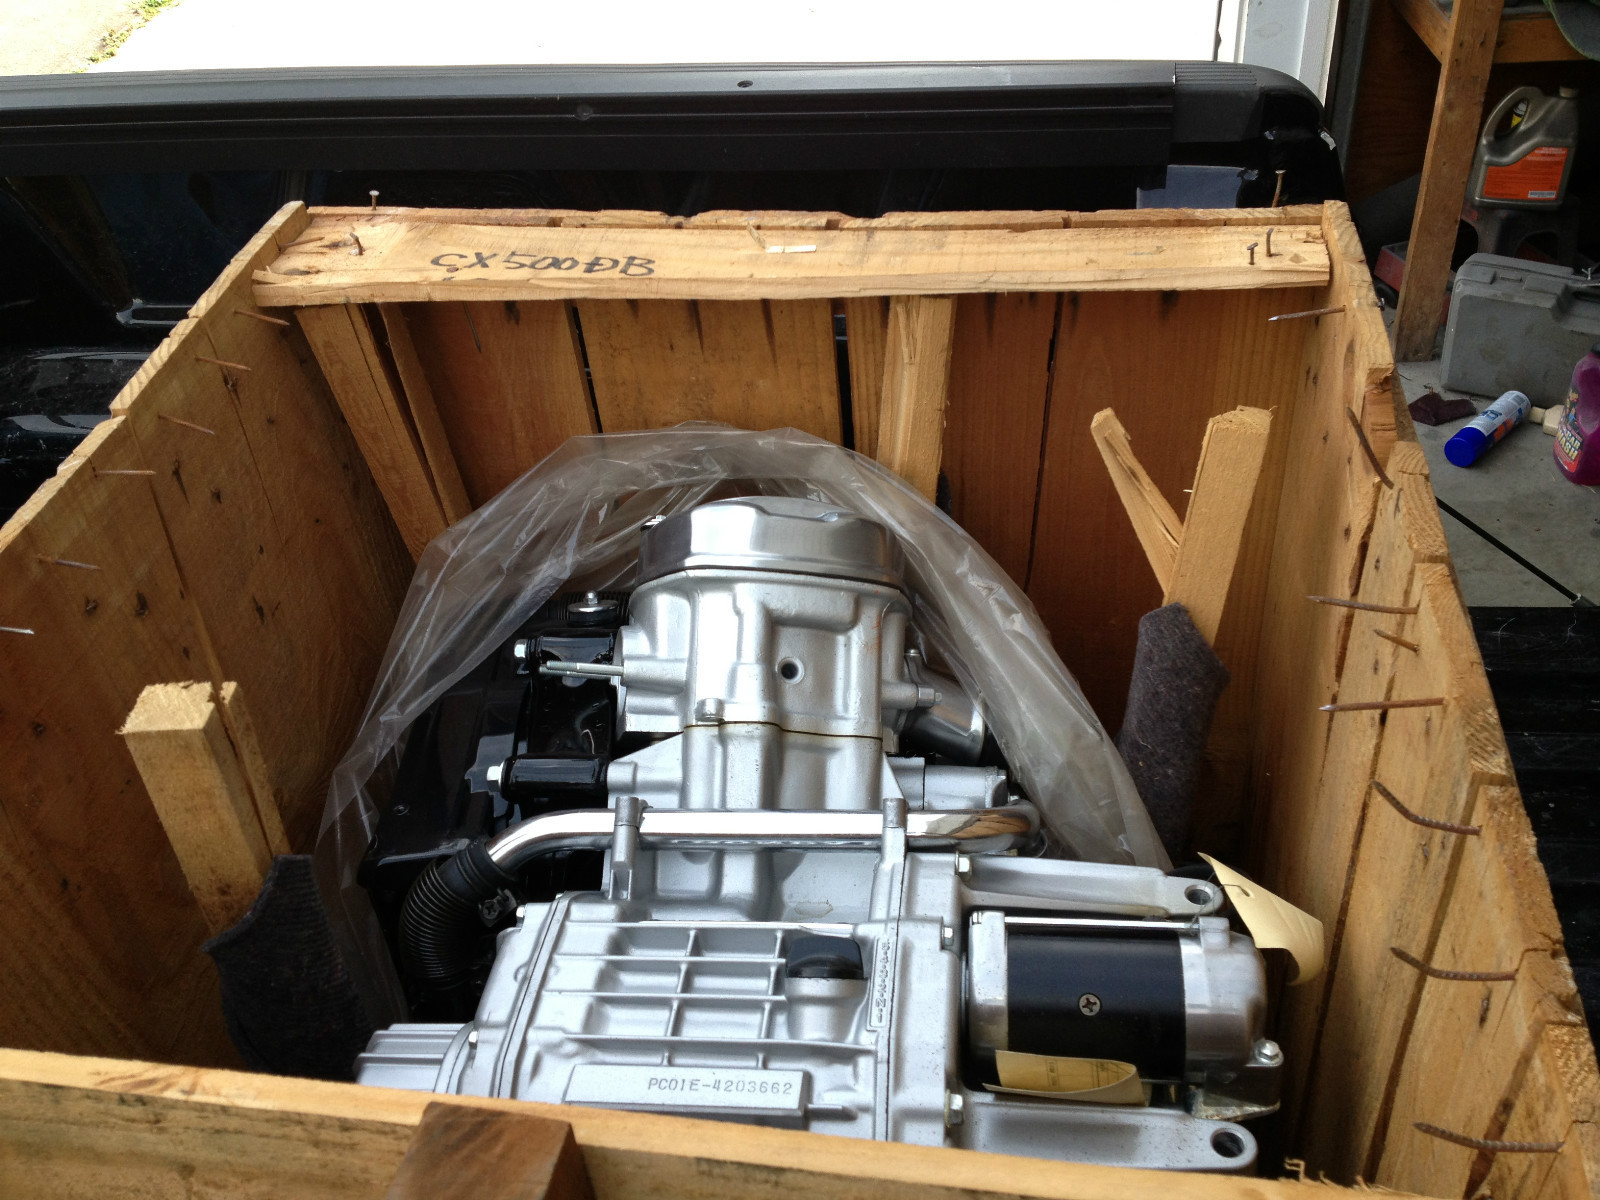
I’ve found a New Old Stock Honda engine on Ebay. Its a CX500, smaller than the CX650 engine I have, but I wanted to have a spare engine on hand since they are not easy to come by here. It’s due in by ship, at a significant cost later this week. I’ll keep it as a spare, since the CX650 engine is 30% larger. Maybe it will be the seed for a second build if my first, $25 engine runs like a champ.
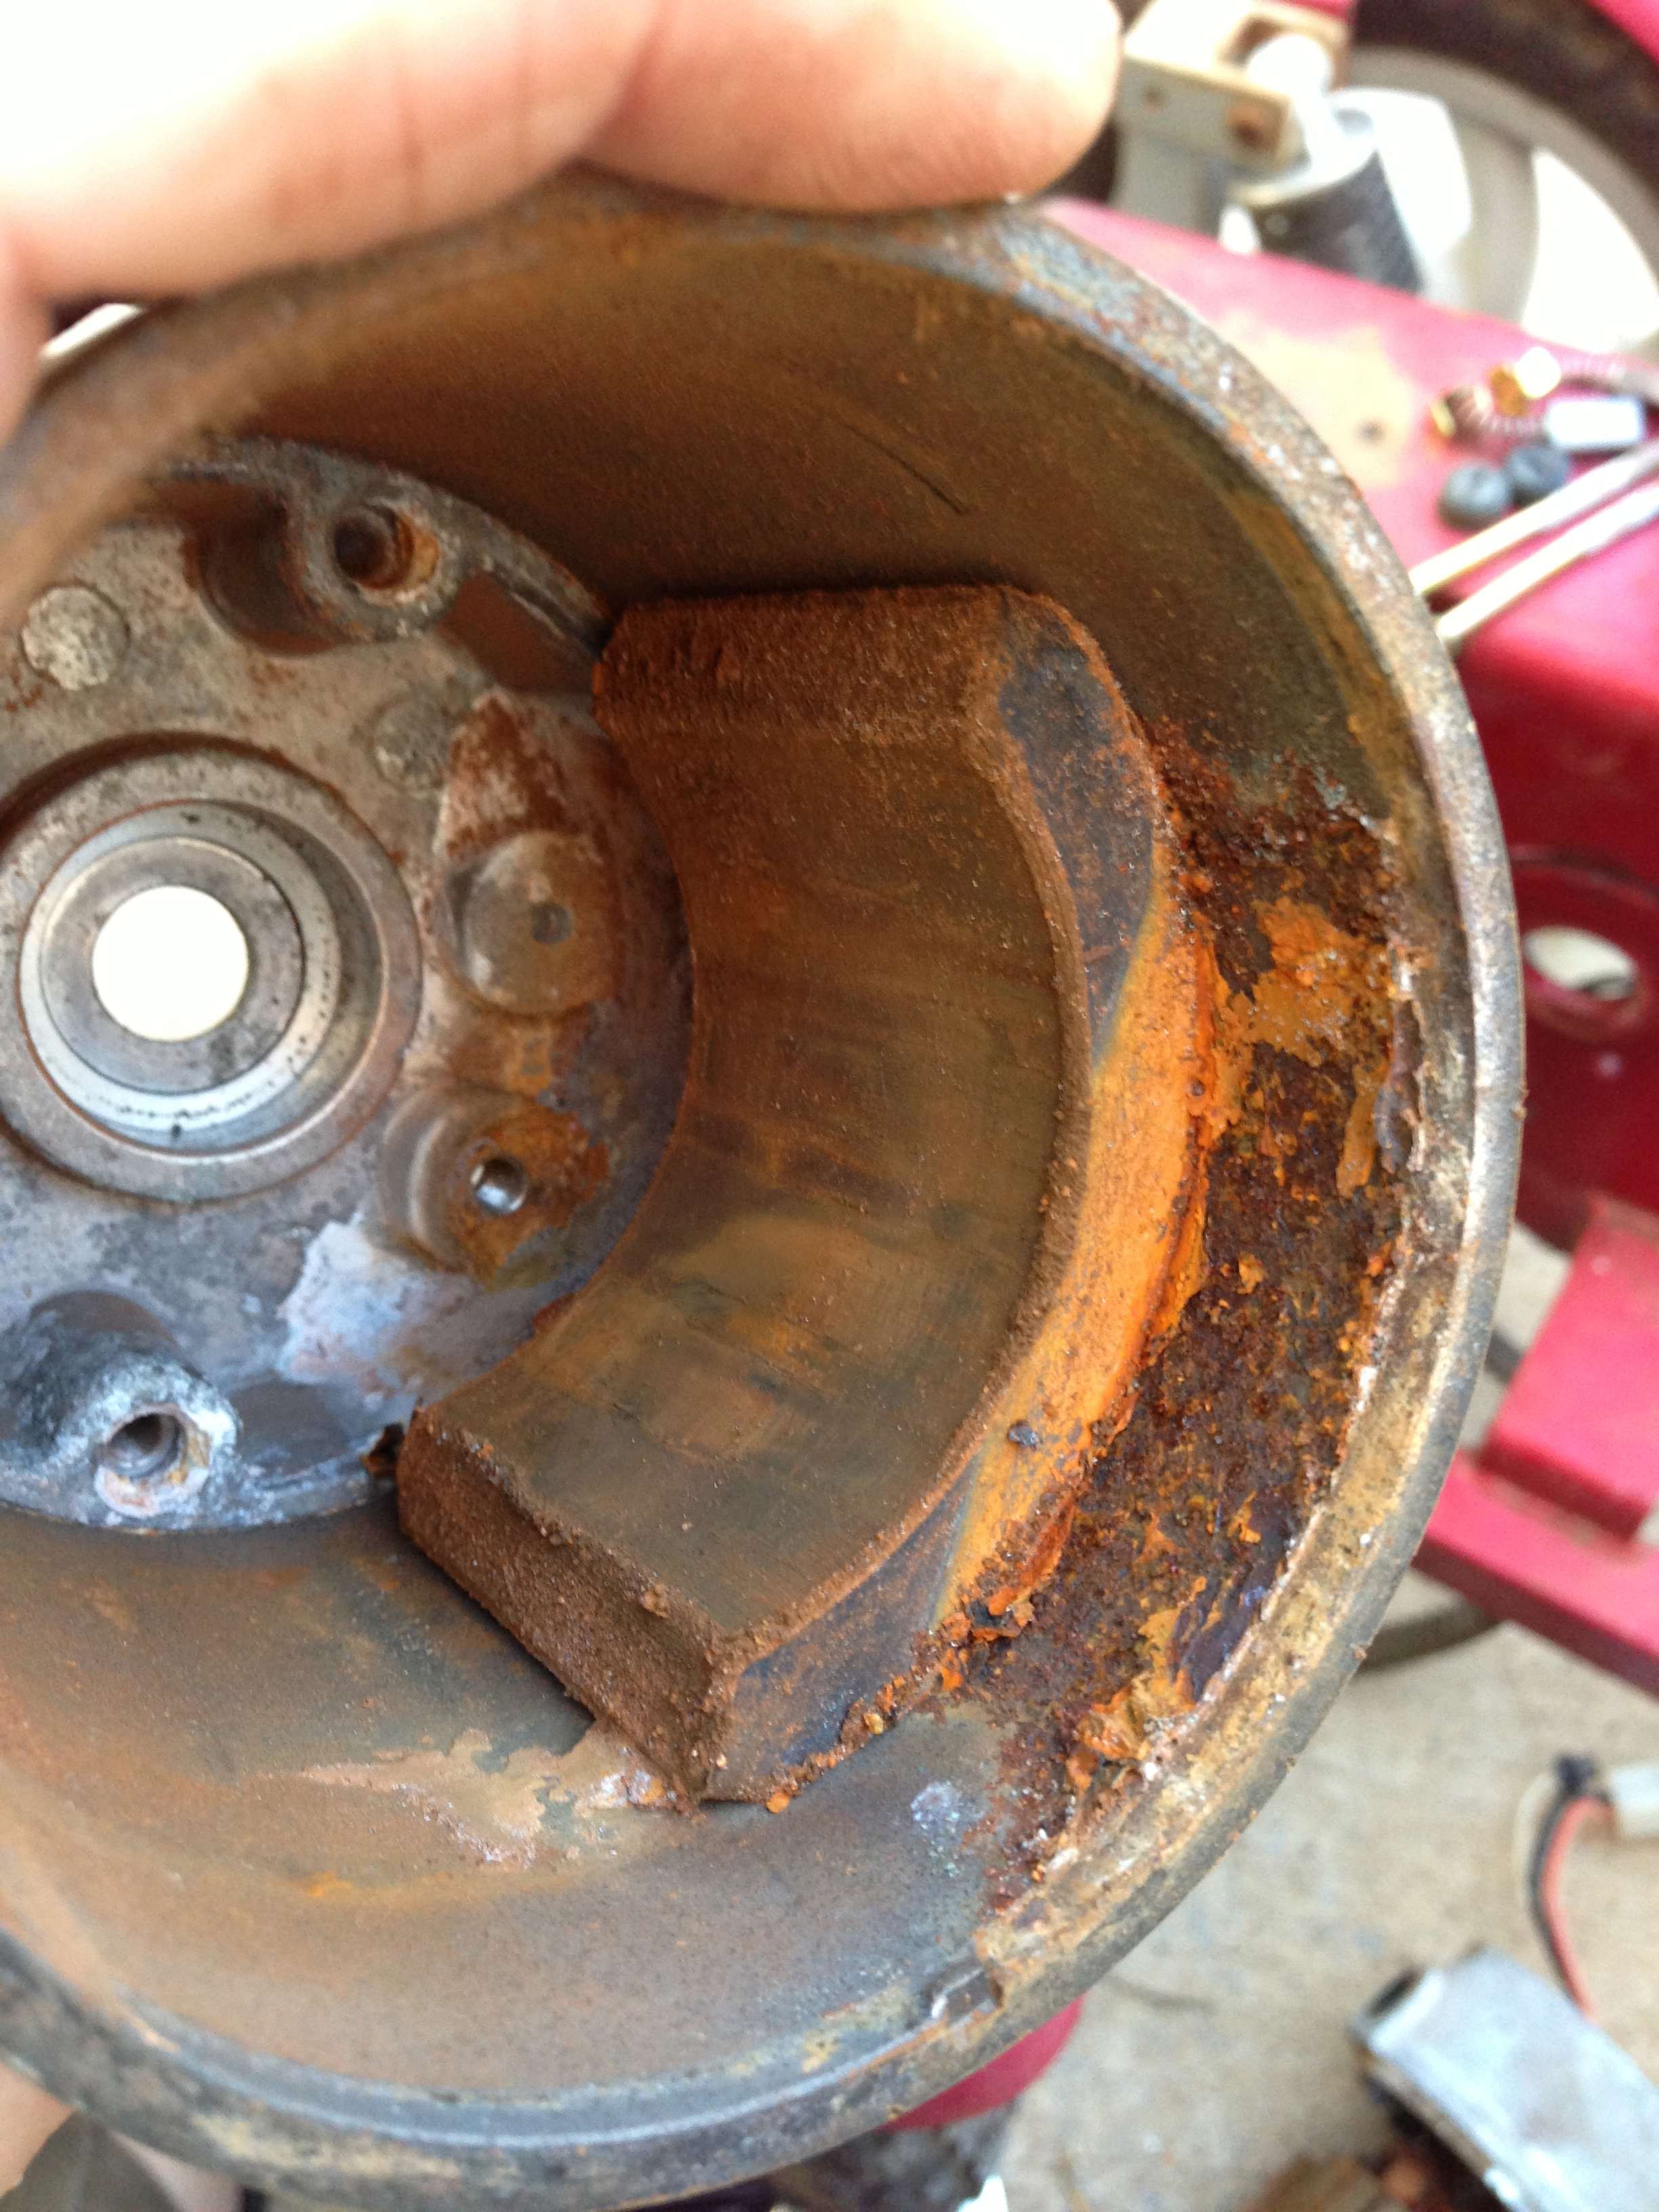
Now I’m prepping the donor Datsun 620 frame for primer and a rebuild of the front end. I have a lot of brake issue to deal with. Drums or discs?
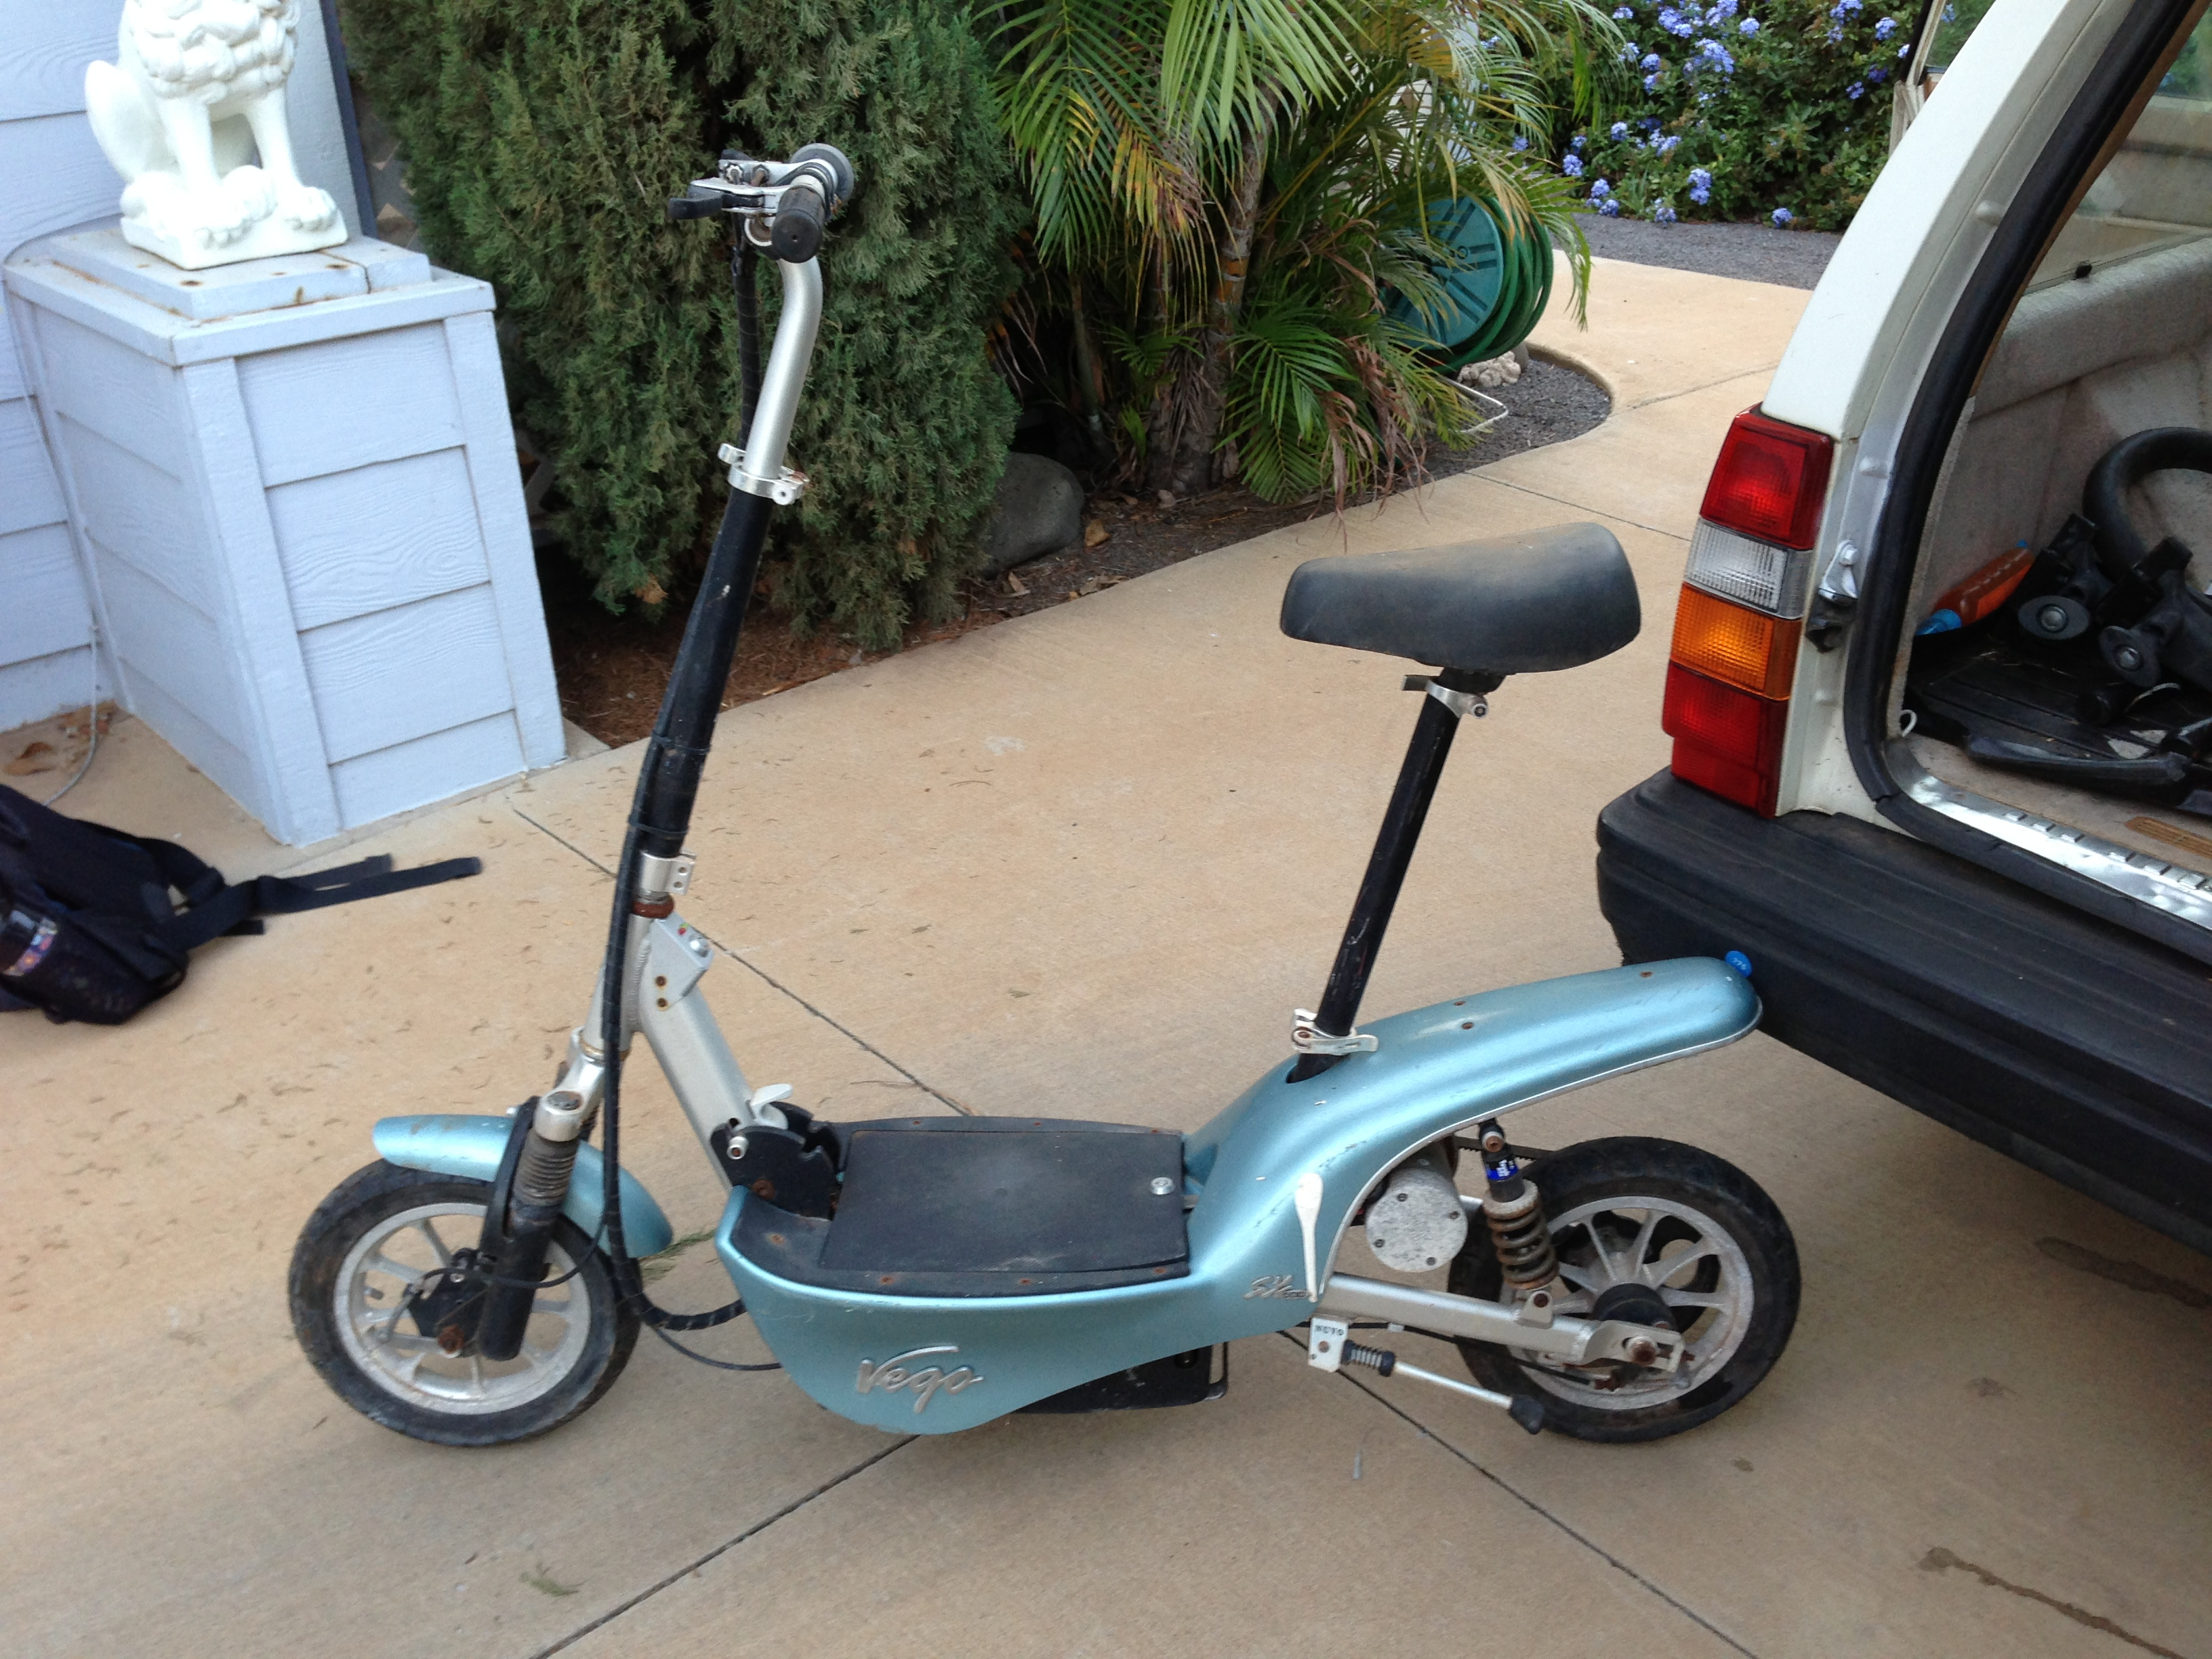
I’ve picked up a pair of electric scooters for free. I’m not quite sure how I’ll use them, but they have motors, drive belts and wheels. I should be able to get some sort of reverse gear out of the parts. One scooter has a fried controller and a motor that got wet, but the other scooter is in much better shape.
I’ve been thinking of gearing arrangement with the drive shaft to get a reverse gear, but am thinking that it might work to have a supplemental wheel that is lowered to the ground just for reversing. A separate system would be easier to execute, but will take up space and add weight, and the scooter wheel might not have the grip to move the car except on the flattest of terrain.
I’ve been wanting to experiment with electric vehicles for a while, and getting these for free will let me have some hands on experience for little money. They need batteries, and perhaps a new controller board, but those are easy. The other drawback is that electric power here is 38 cents a Kw hour, one of the highest in the nation. That works out to the equivalent of paying $3.80 for gas so electric vehicles don’t save you much money here.
I’ve been hanging back a bit in buying part and materials for the build because I haven’t been sure the engine is in good order. The weather was beautiful this weekend so I made the time to diagnose the engine’s condition.
Major concerns centered on the upper end of the engine. I’d already looked in a few of the inspection ports and seen that the oil had kept the inside well lubed. However, it had been sitting for an unknown period of time with at least one set of valves open to the weather, although it did have exhaust pipes and carburetors attached fortunately. What was the inside of the cylinders like? Do the valves still seal?
I drained the oil and pulled the oil pan off the bottom of the engine. I examined the residue in the oil pan and found nothing alarming in the small amount that was there.
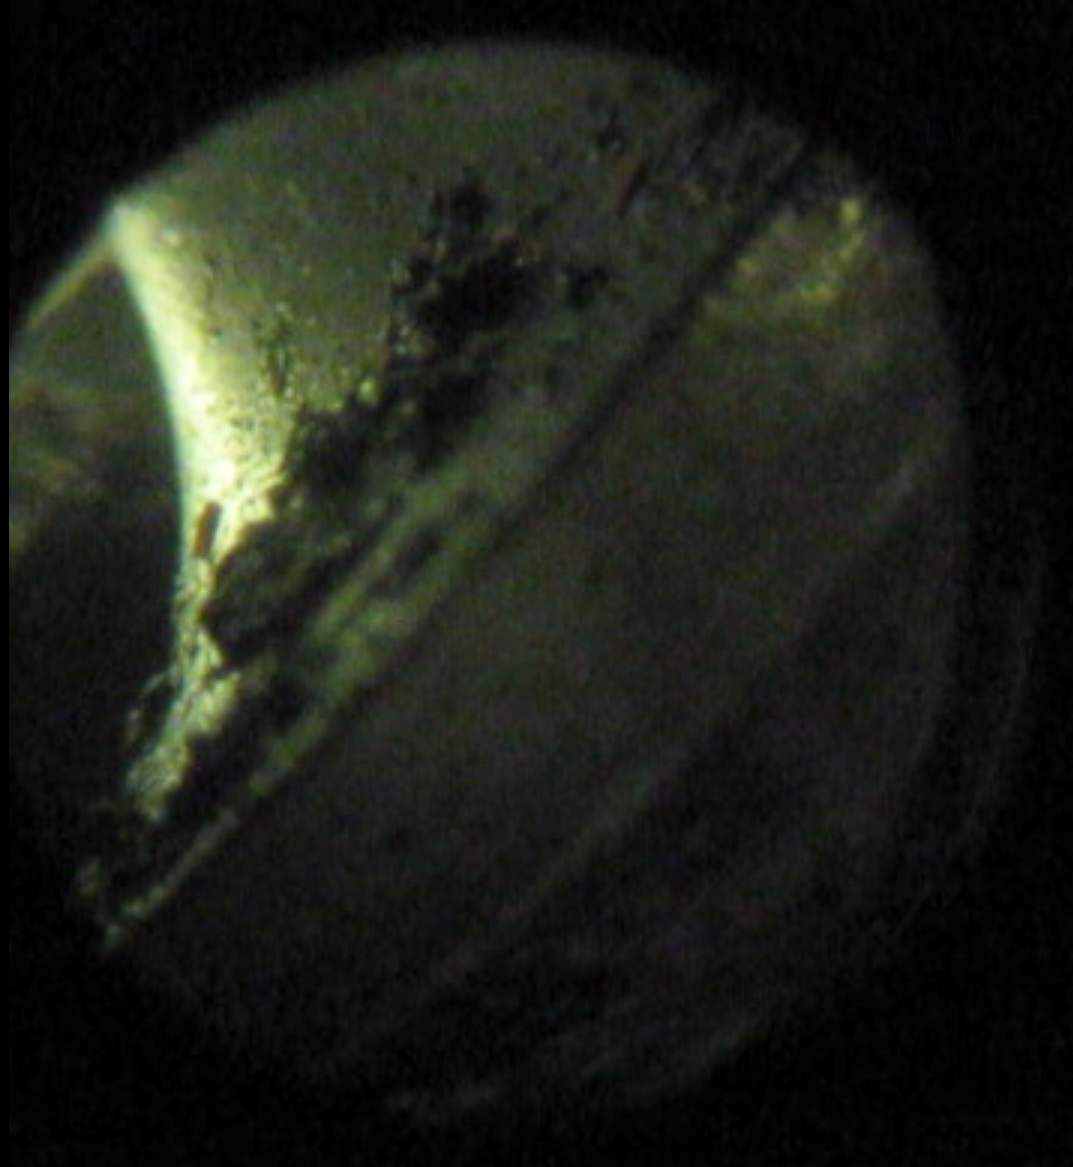
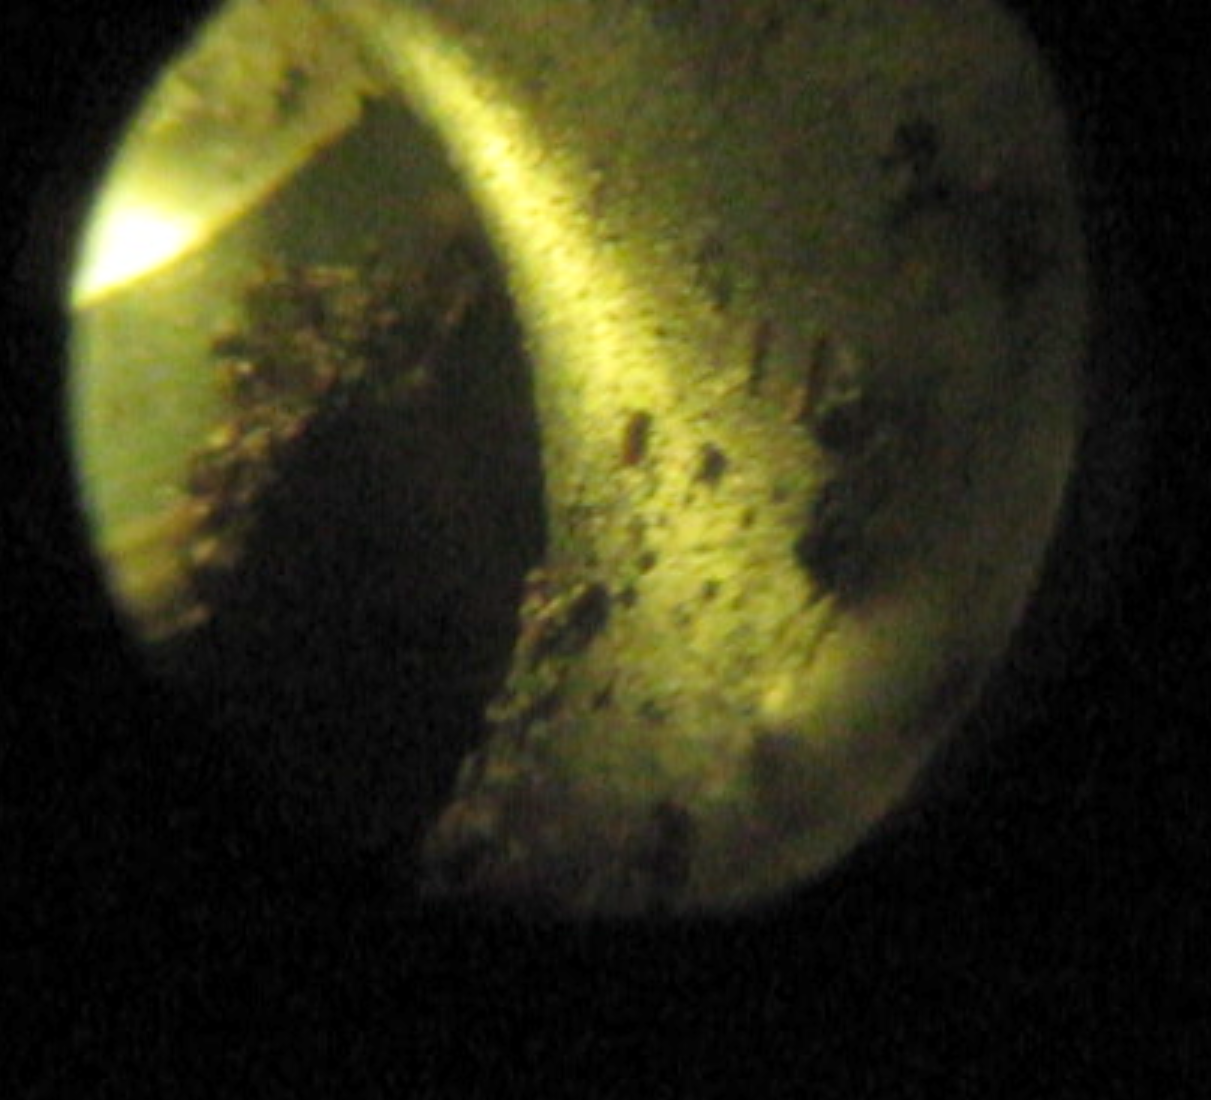
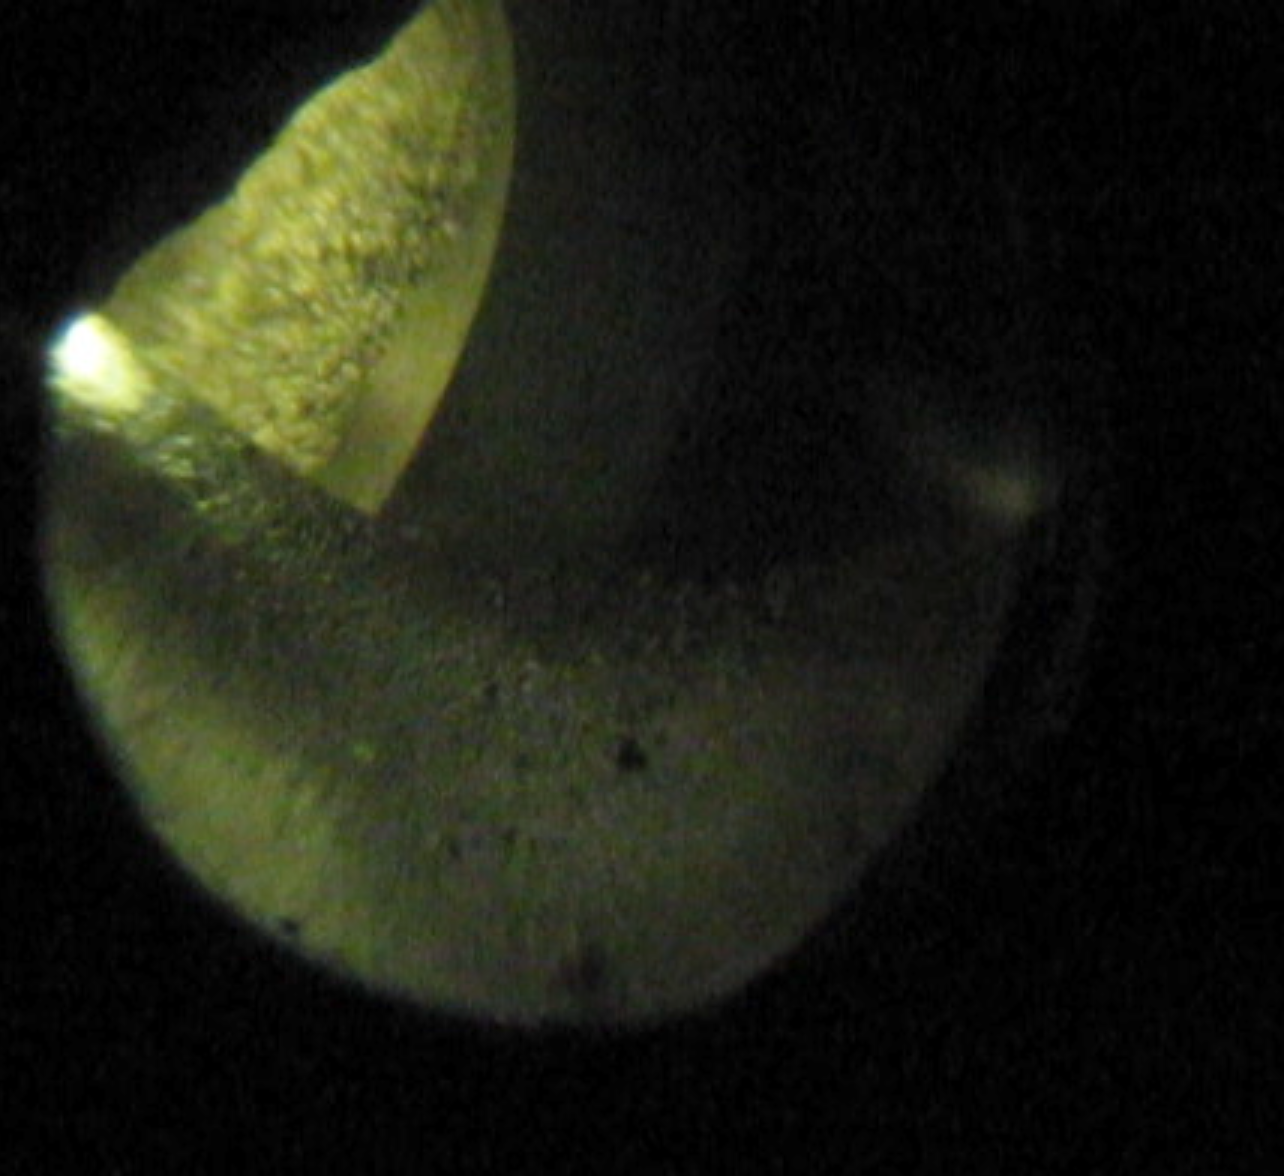
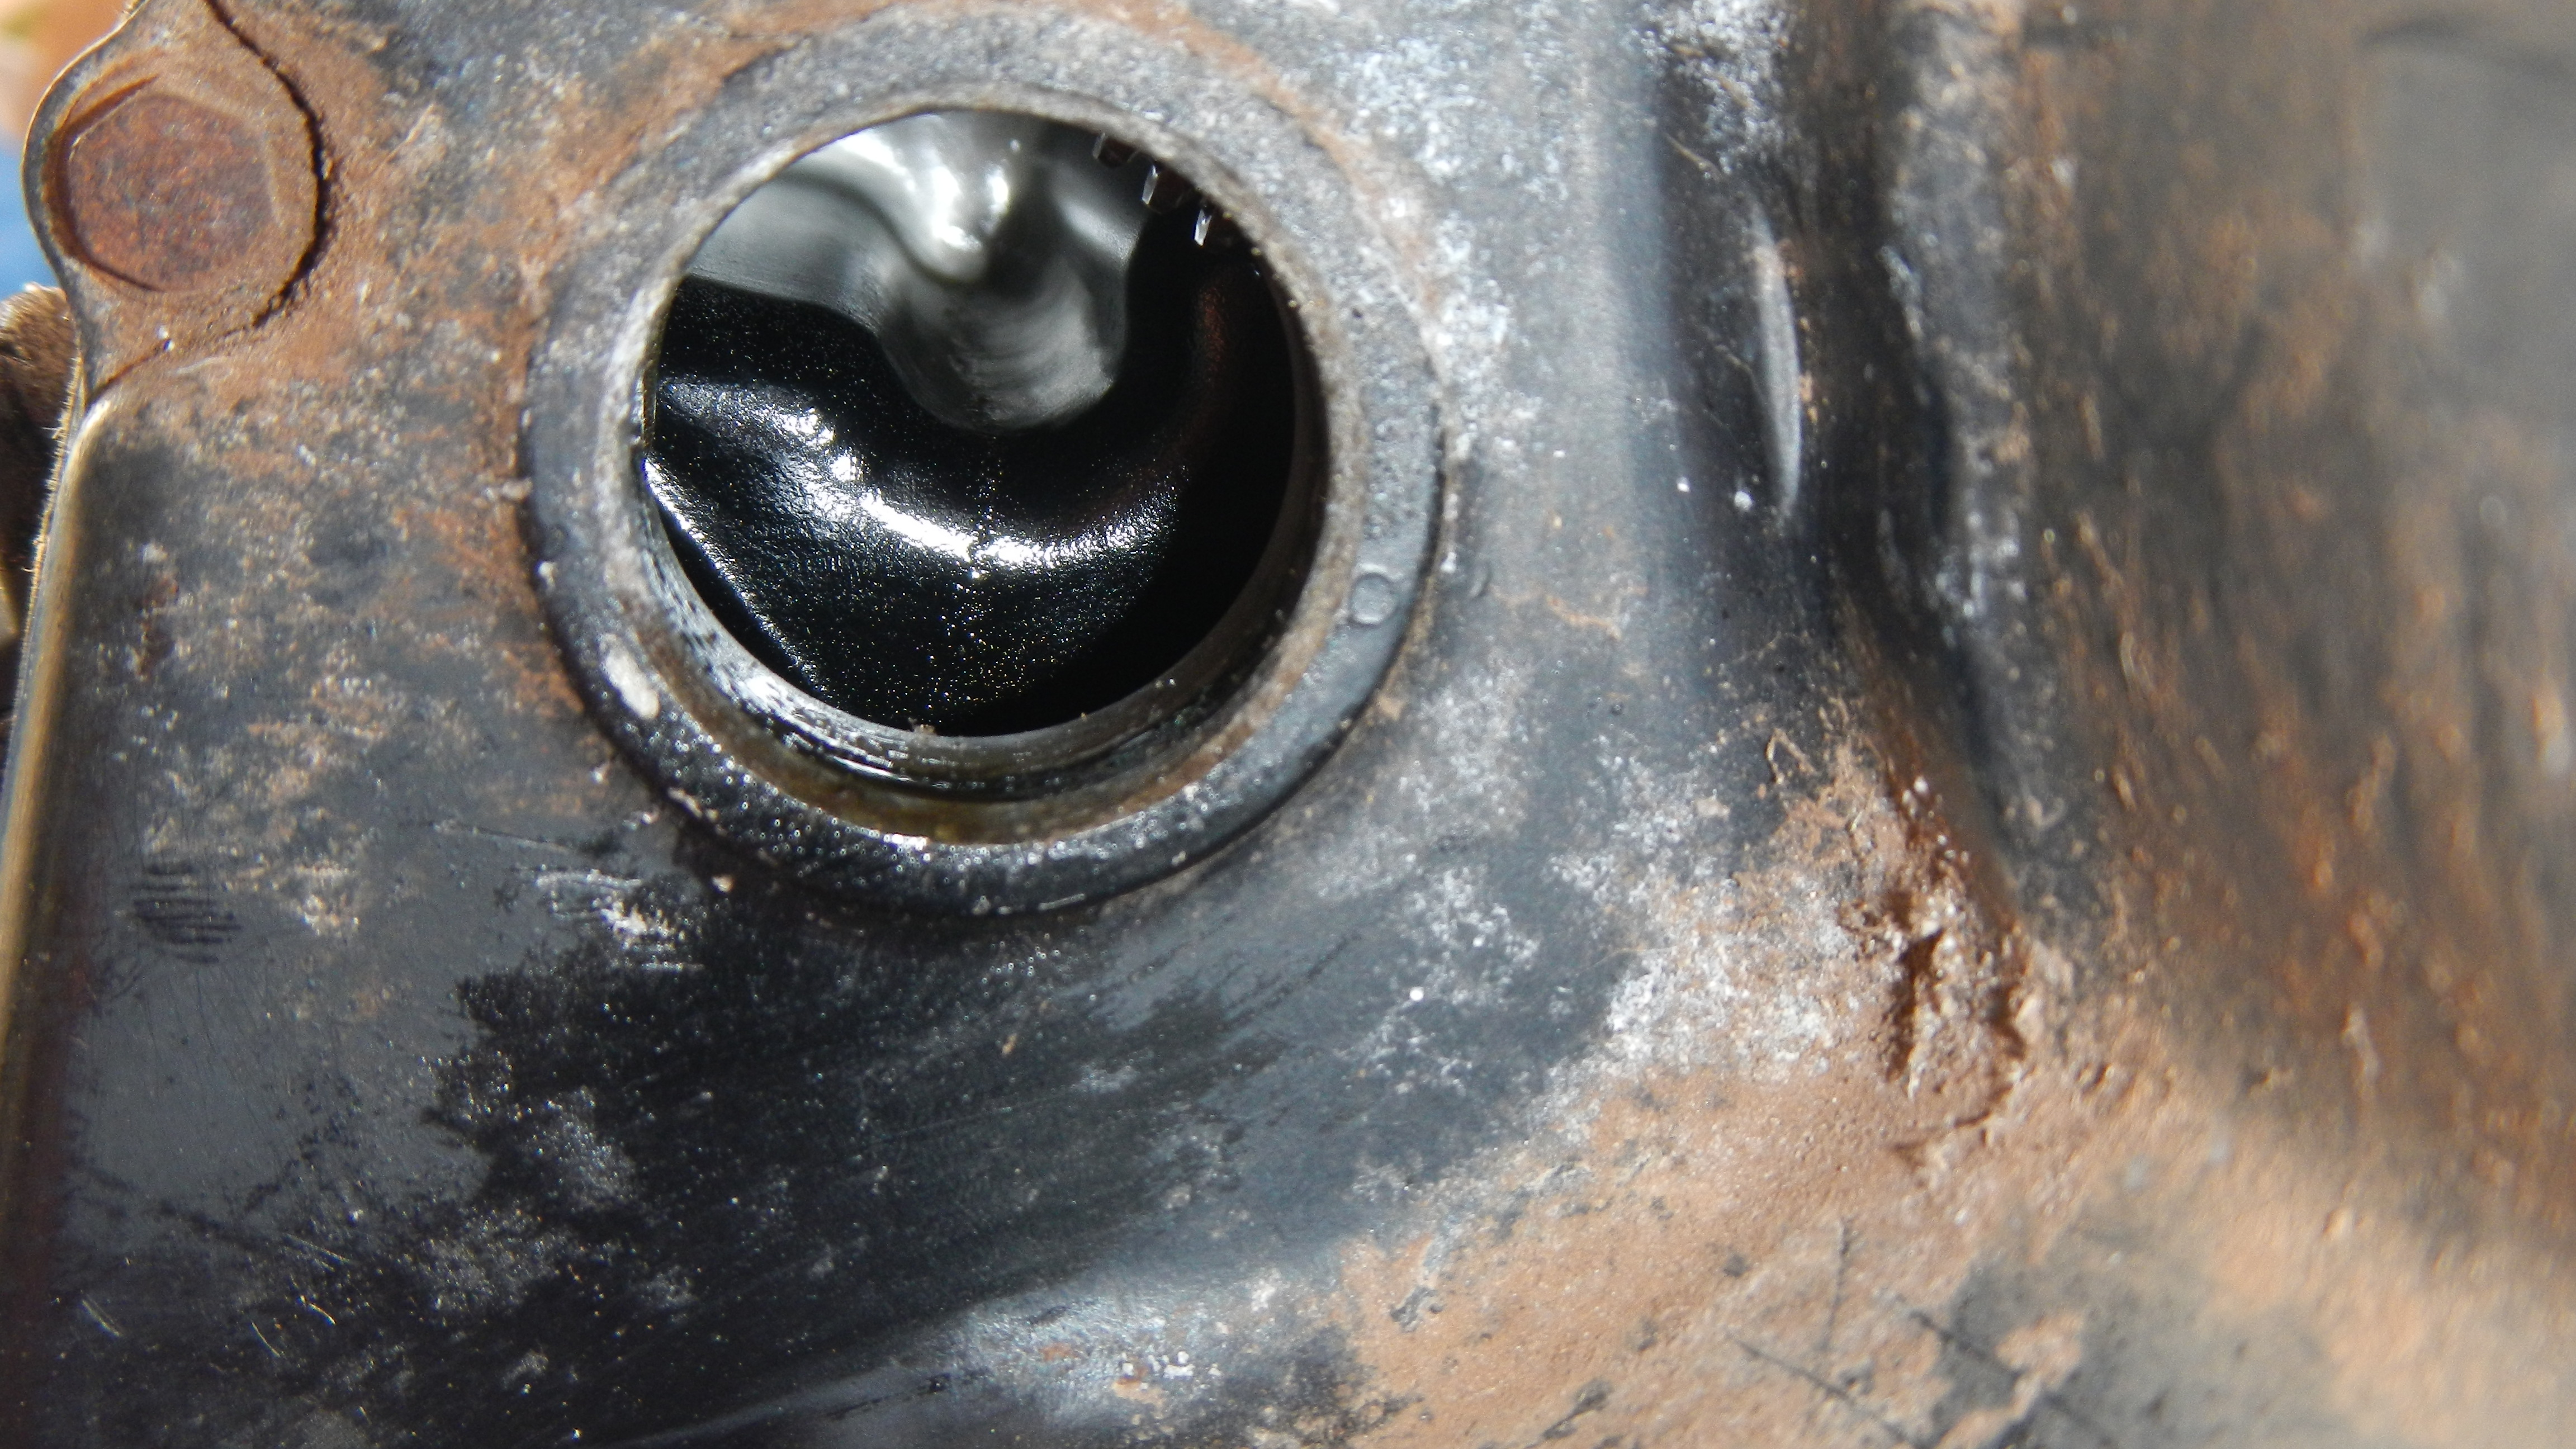
Turning the engine over with a 17mm socket on the timing gear on the front, I could feel that the pistons moved up and down smoothly. Excellent. But what about the cylinder walls and the valves? I have a rigid ureteroscope made for looking into your bladder, that was thin enough to put through the spark plug hole and could look at the cylinder walls and valves. I don’t have the light source that passes light out the end, but I put an LED on the tip and shined a strong flash light into the open ports on the heads to light up the valves.
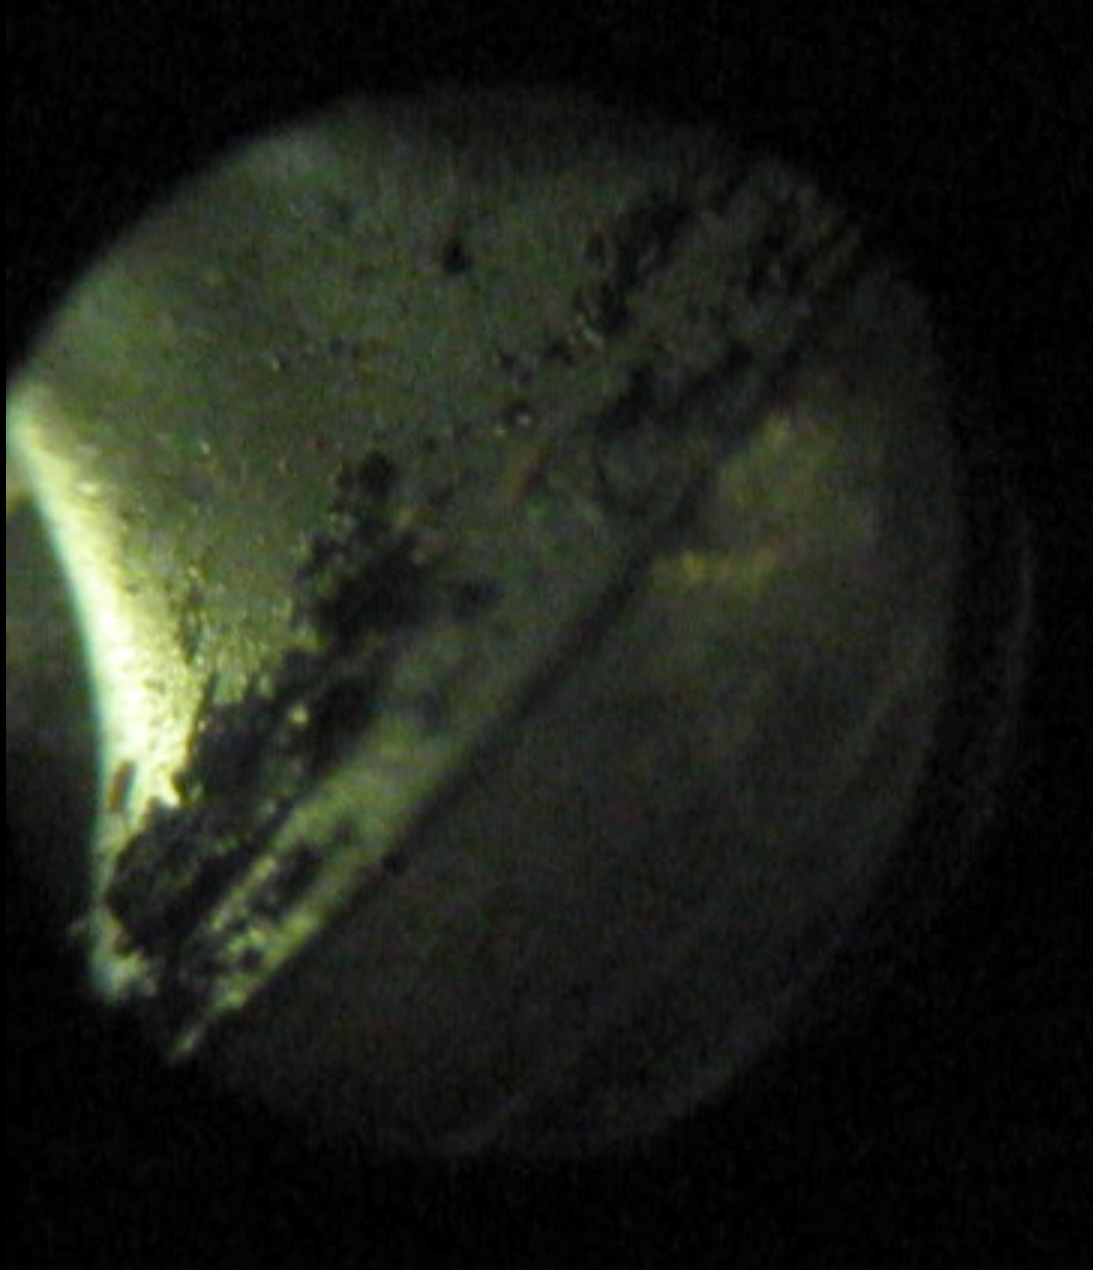
Good news! The intake valves all look good, although there was a fair amount of dirt on them. The sealing surfaces all look good. The sealing surfaces for the exhaust valves are darker and it was hard to tell if they were as uniform, but I didn’t see any great issues. I did see a small amount of spotting and pitting at the low side of the right cylinder where some water must have gotten in. And some small bits of scoring as well. Not good news, but not horrible either. I’ve elected to press forward and simply scope the engine from time to time to check that this issue stays minor.
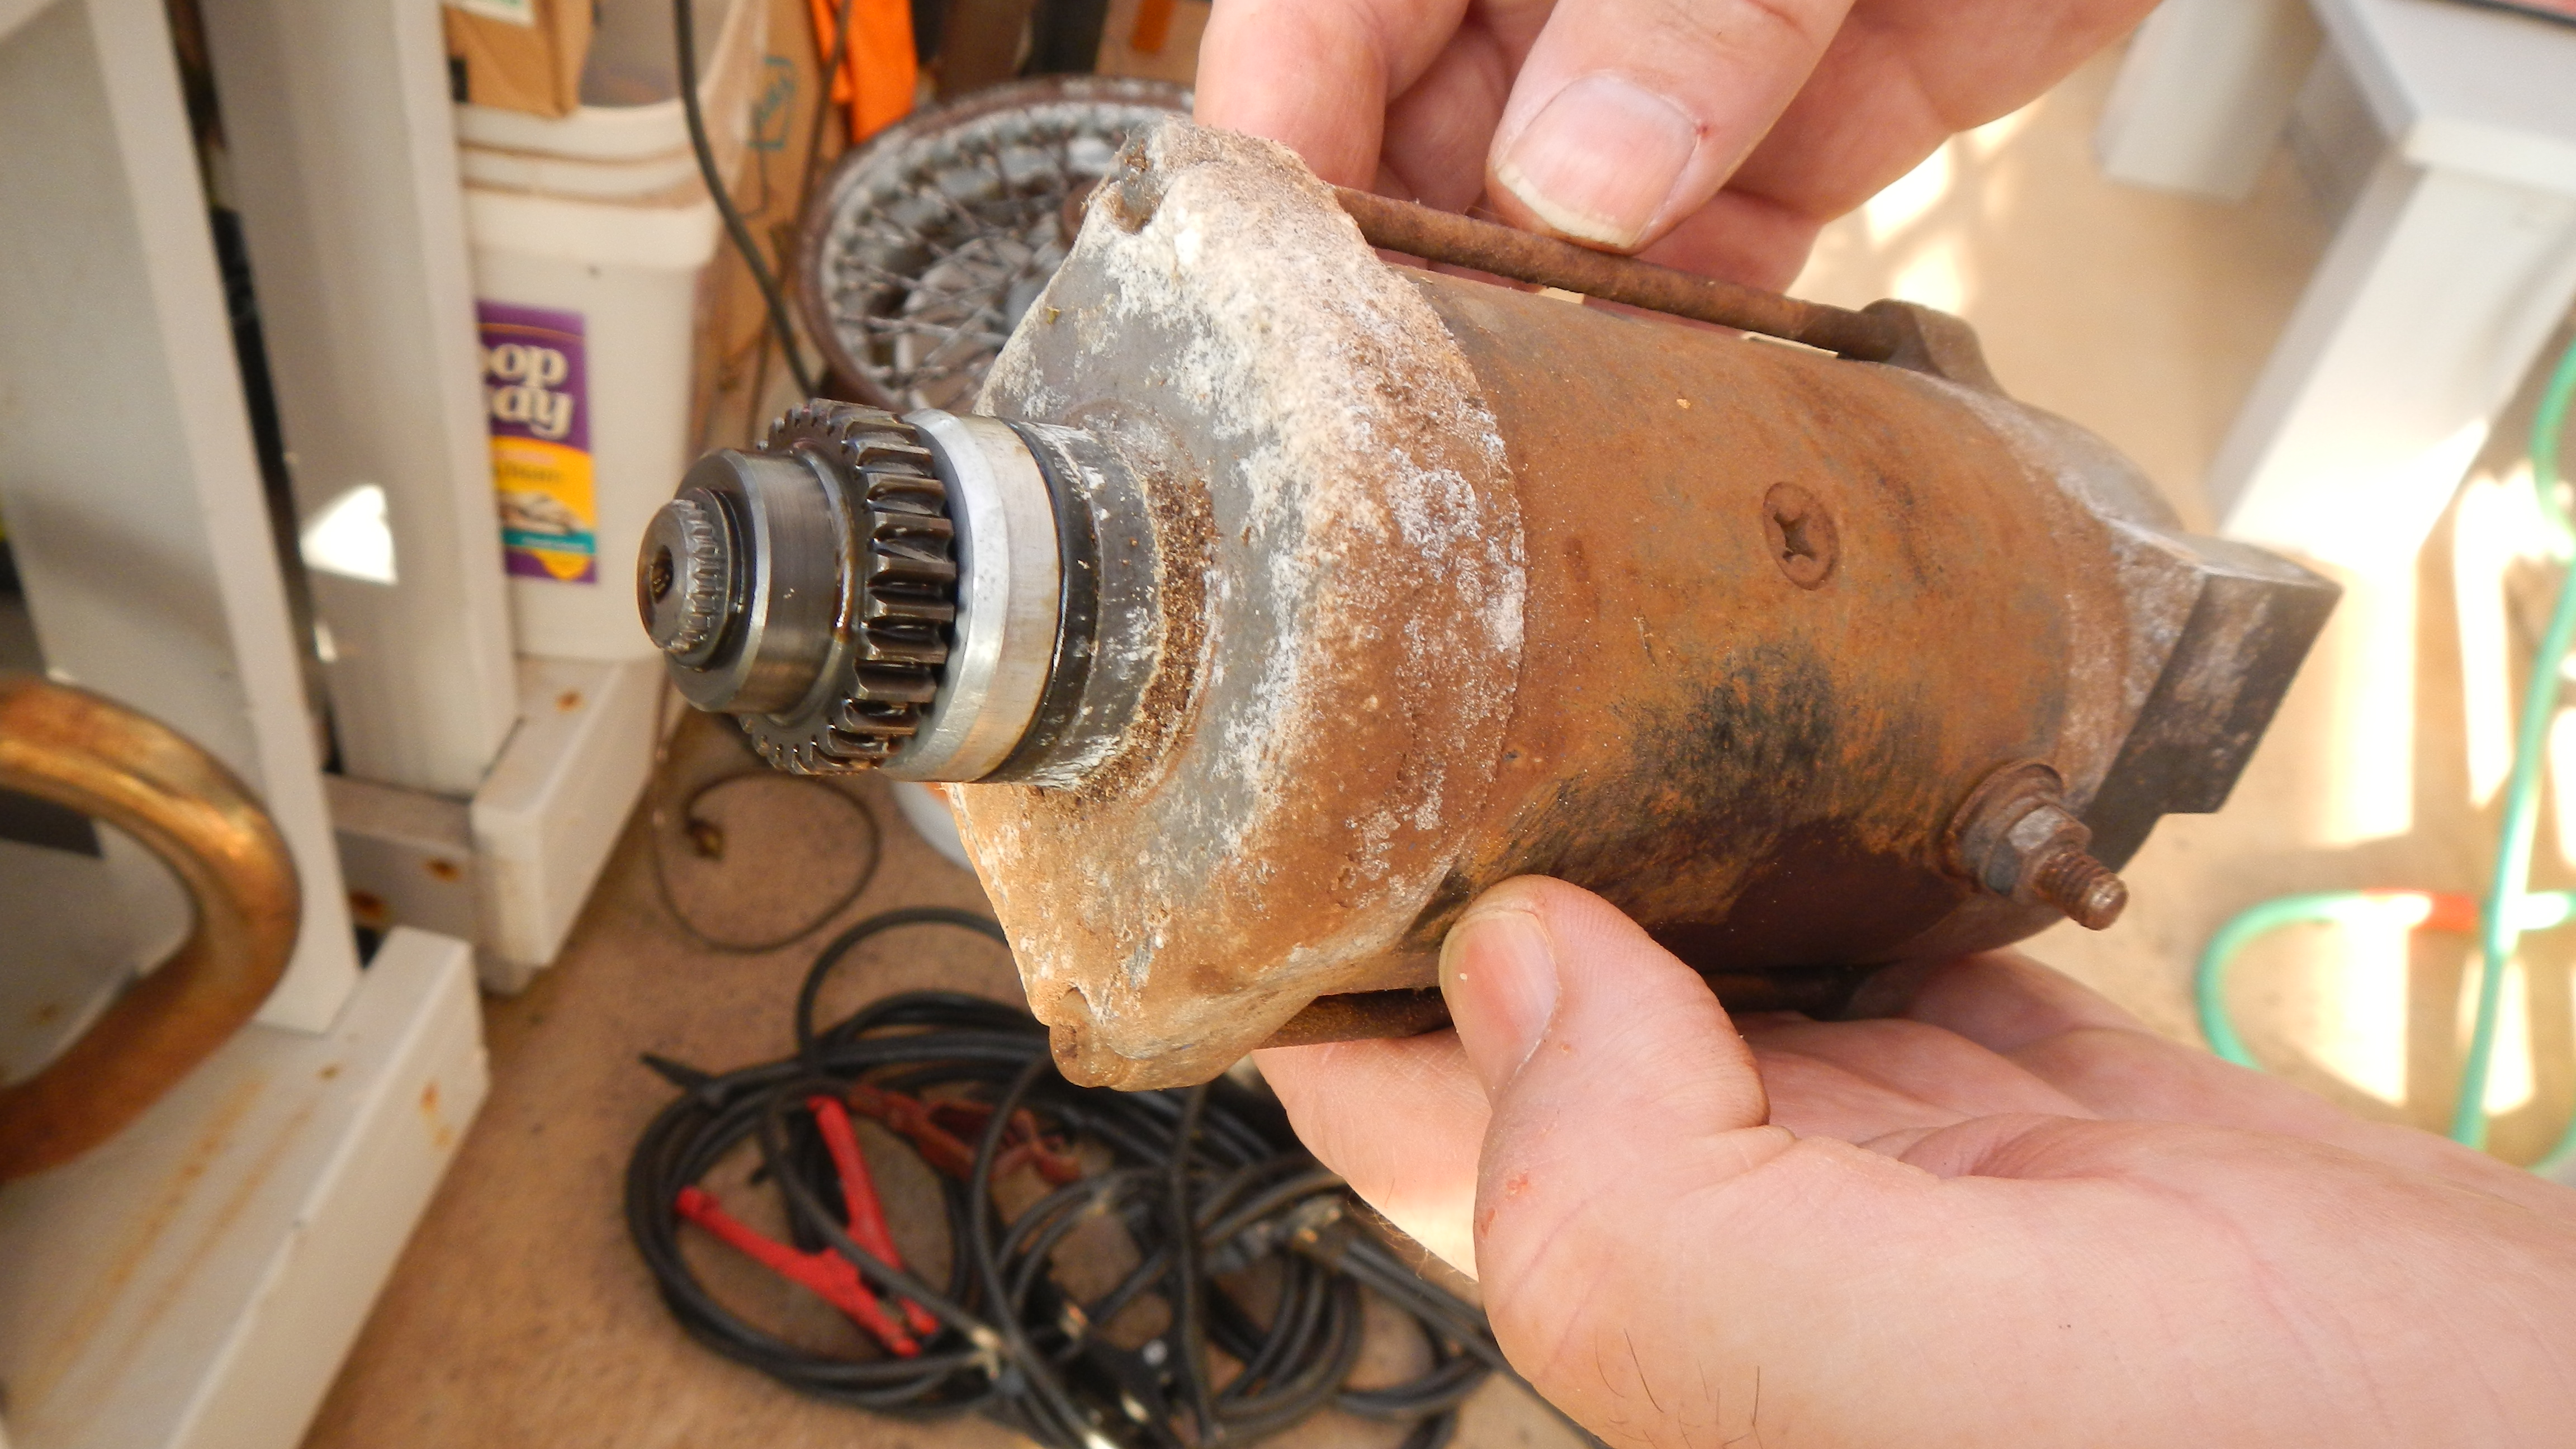
Starter unfrozen now DSCN3966 - iPhone
Right Cylinder intake valves MVI_0950 - iPhone
Successful Motor Spin DSCN3972 - iPhone
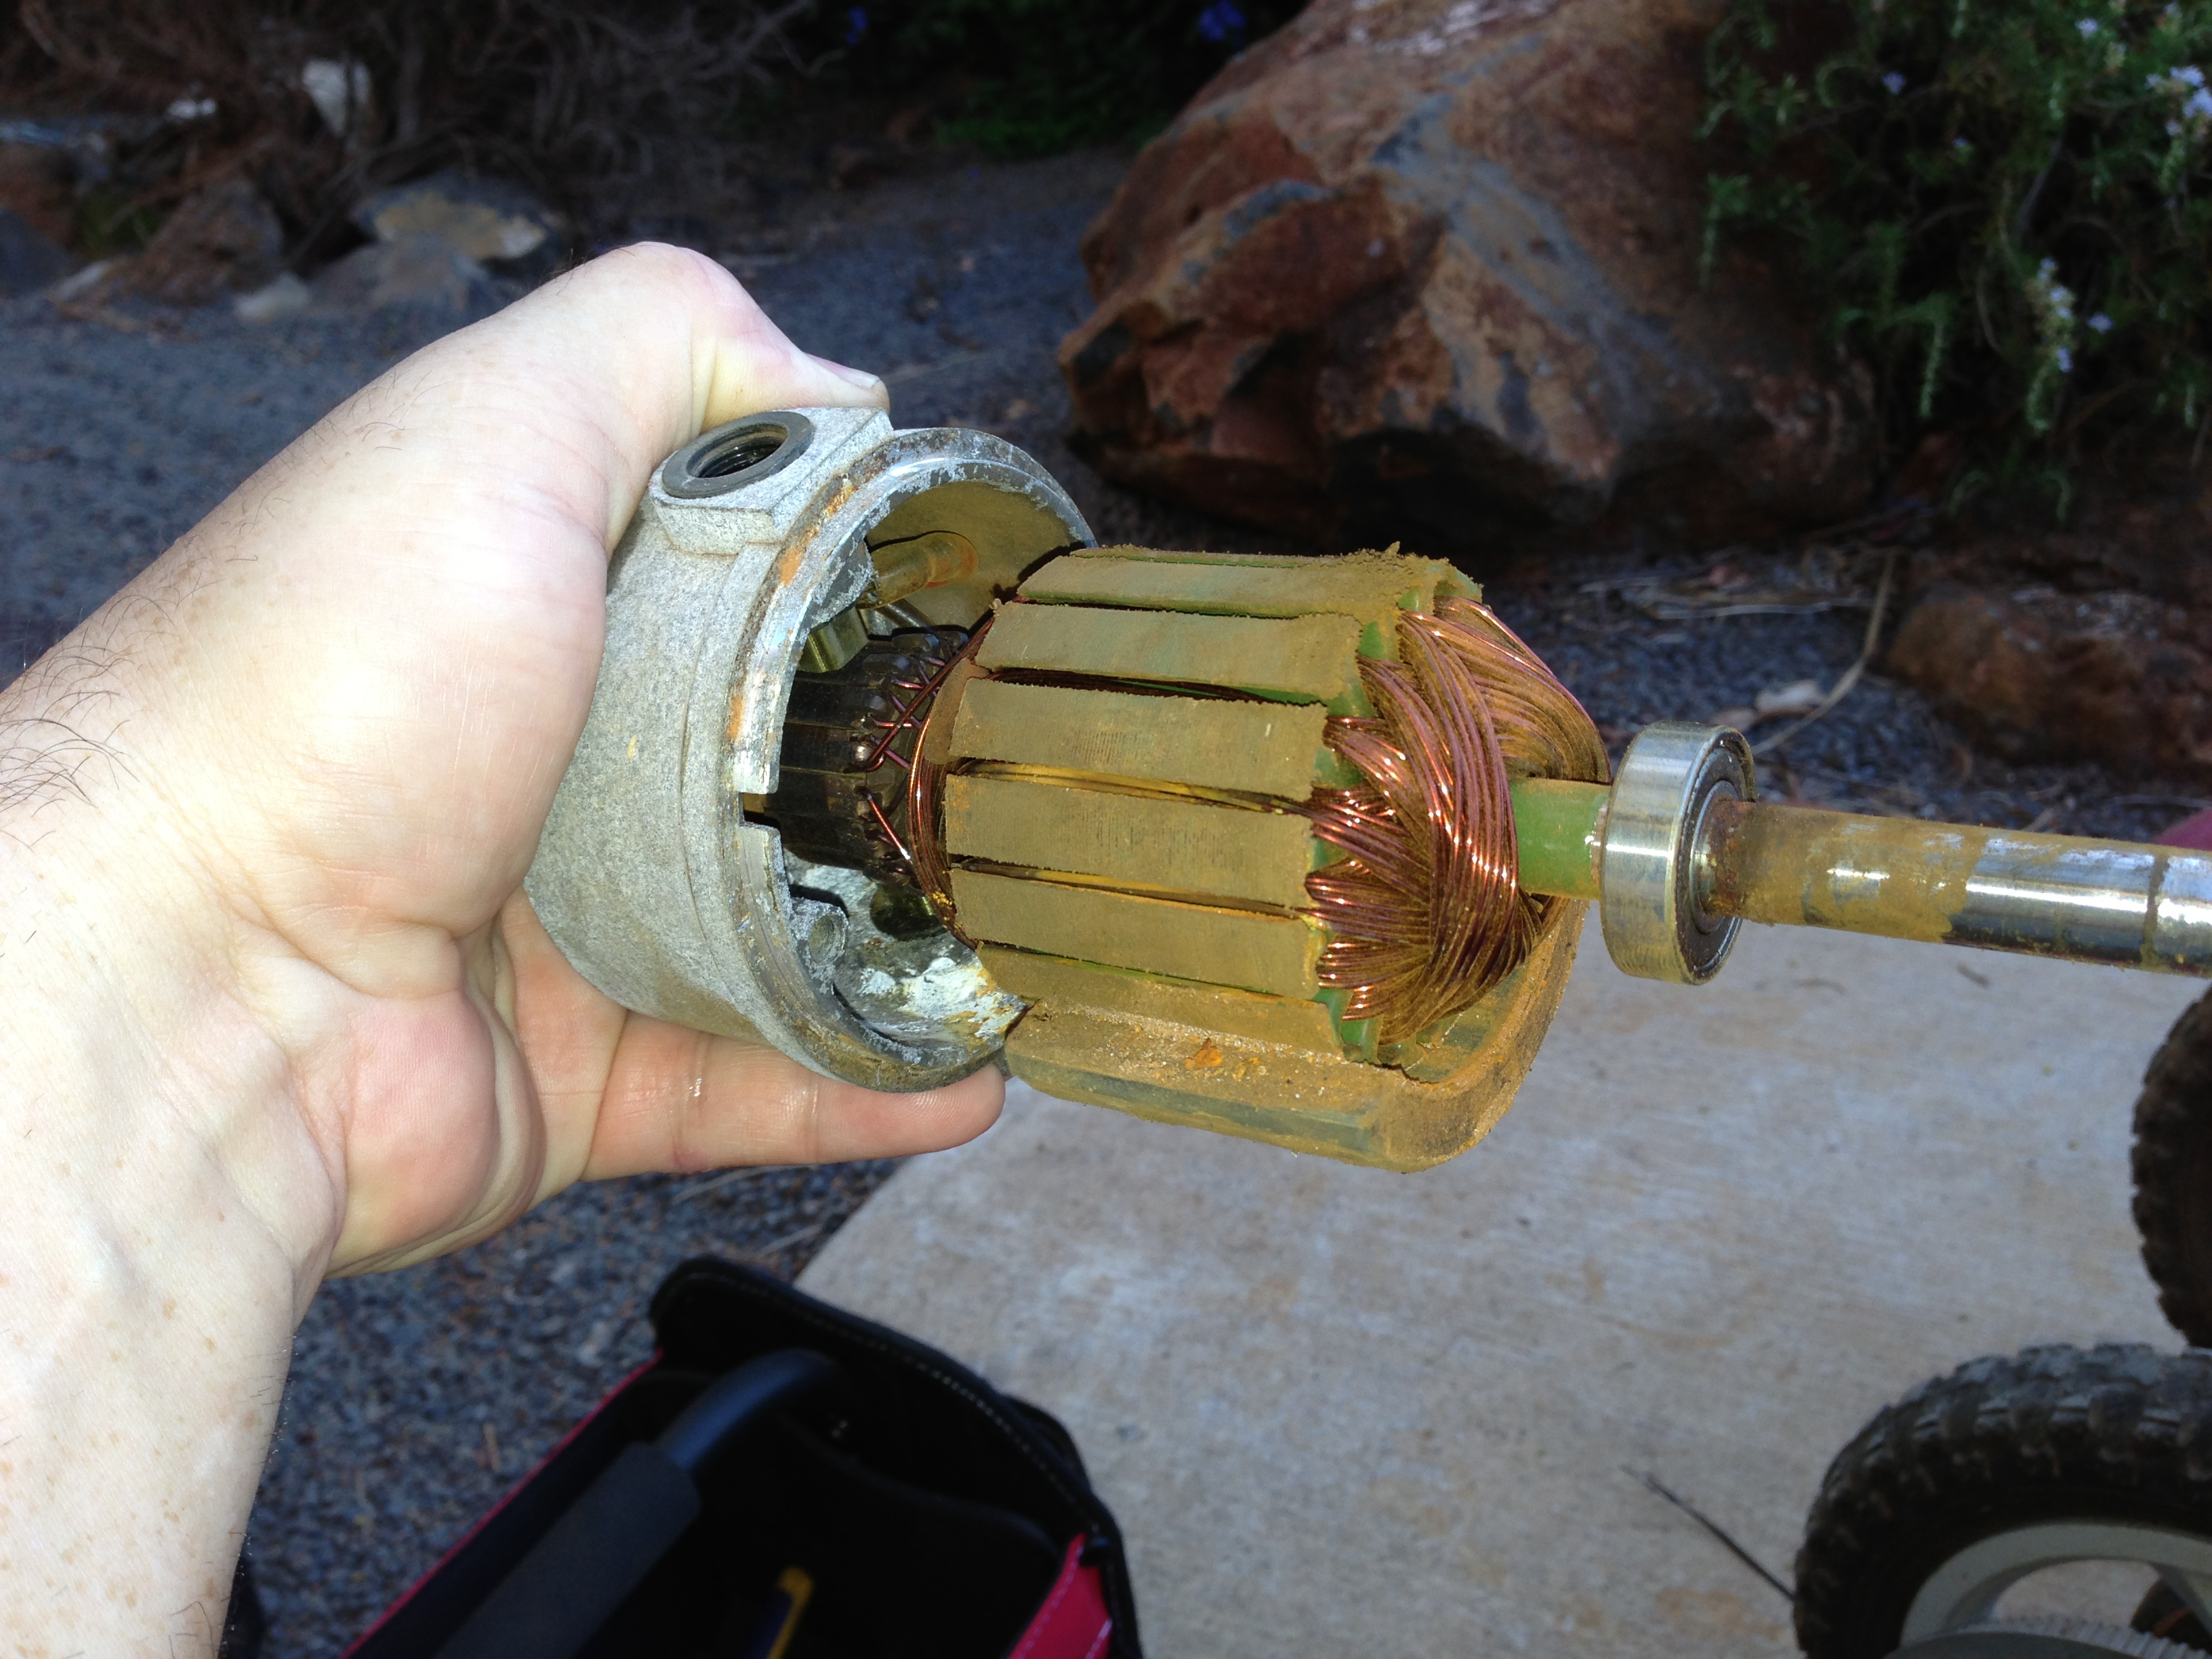
I took a couple of photos and videos through the scope. I also planned to run a compression test to see if I get a good seal. Pulling out a good battery and jumper cables, I applied power to the starter, but no joy. I was not rewarded with anything but a couple of sparks. I unbolted the starter and had to pry and jiggle it to get it out because of the corrosion holding it in. Applying power again got the same response, sparks but no spin. I grasped the gear end and found it binding, but able to turn with some force. After several turns, it seemed to work free, so I applied power and was rewarded. It spun up under power and made a nice hum. Back into the engine it went and I applied power again. The engine turns over nicely with no spark plugs installed. I didn’t want to stress the engine since it had no oil. I did put some oil in the cylinders to lube the rings. I was unable to run a compression test because of the small size of the spark plug hole. My tester doesn’t have the correct size fitting, so I’ll have to get one of those when I’m in town.
So far, good news. I’m looking forward to starting work on the frame now, though I can’t forget to make time to clean and rebuild the carbs.
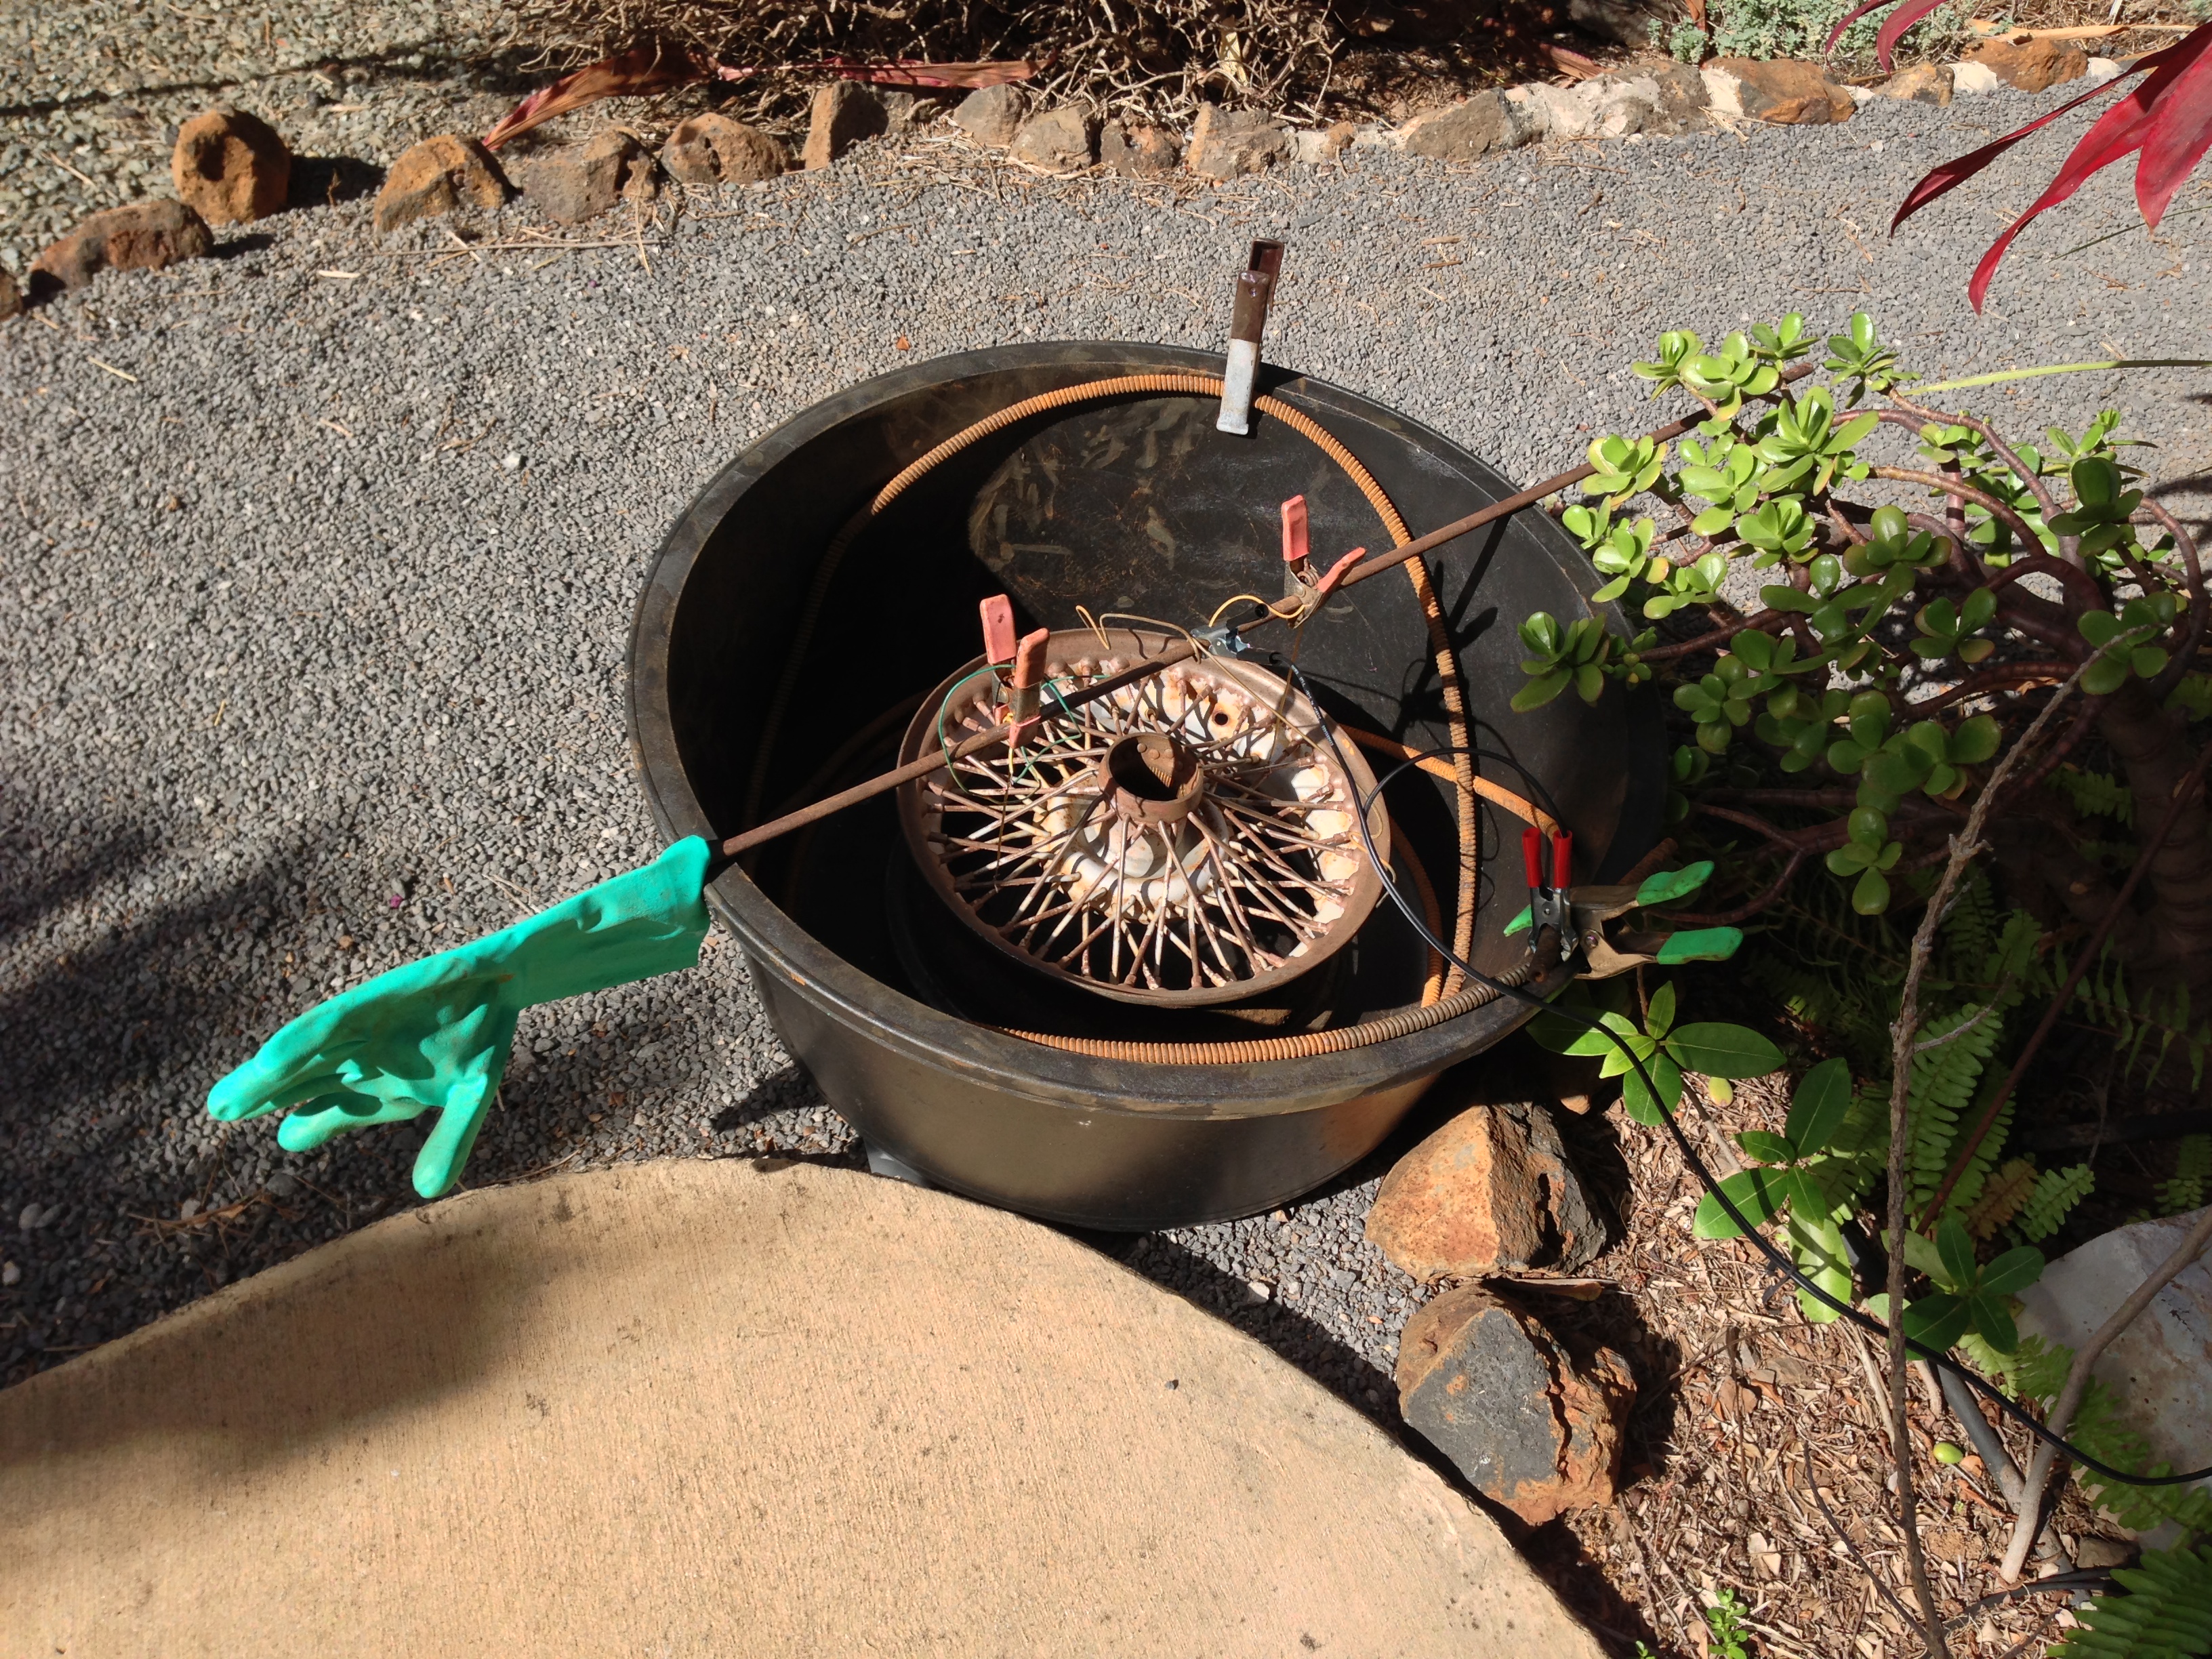
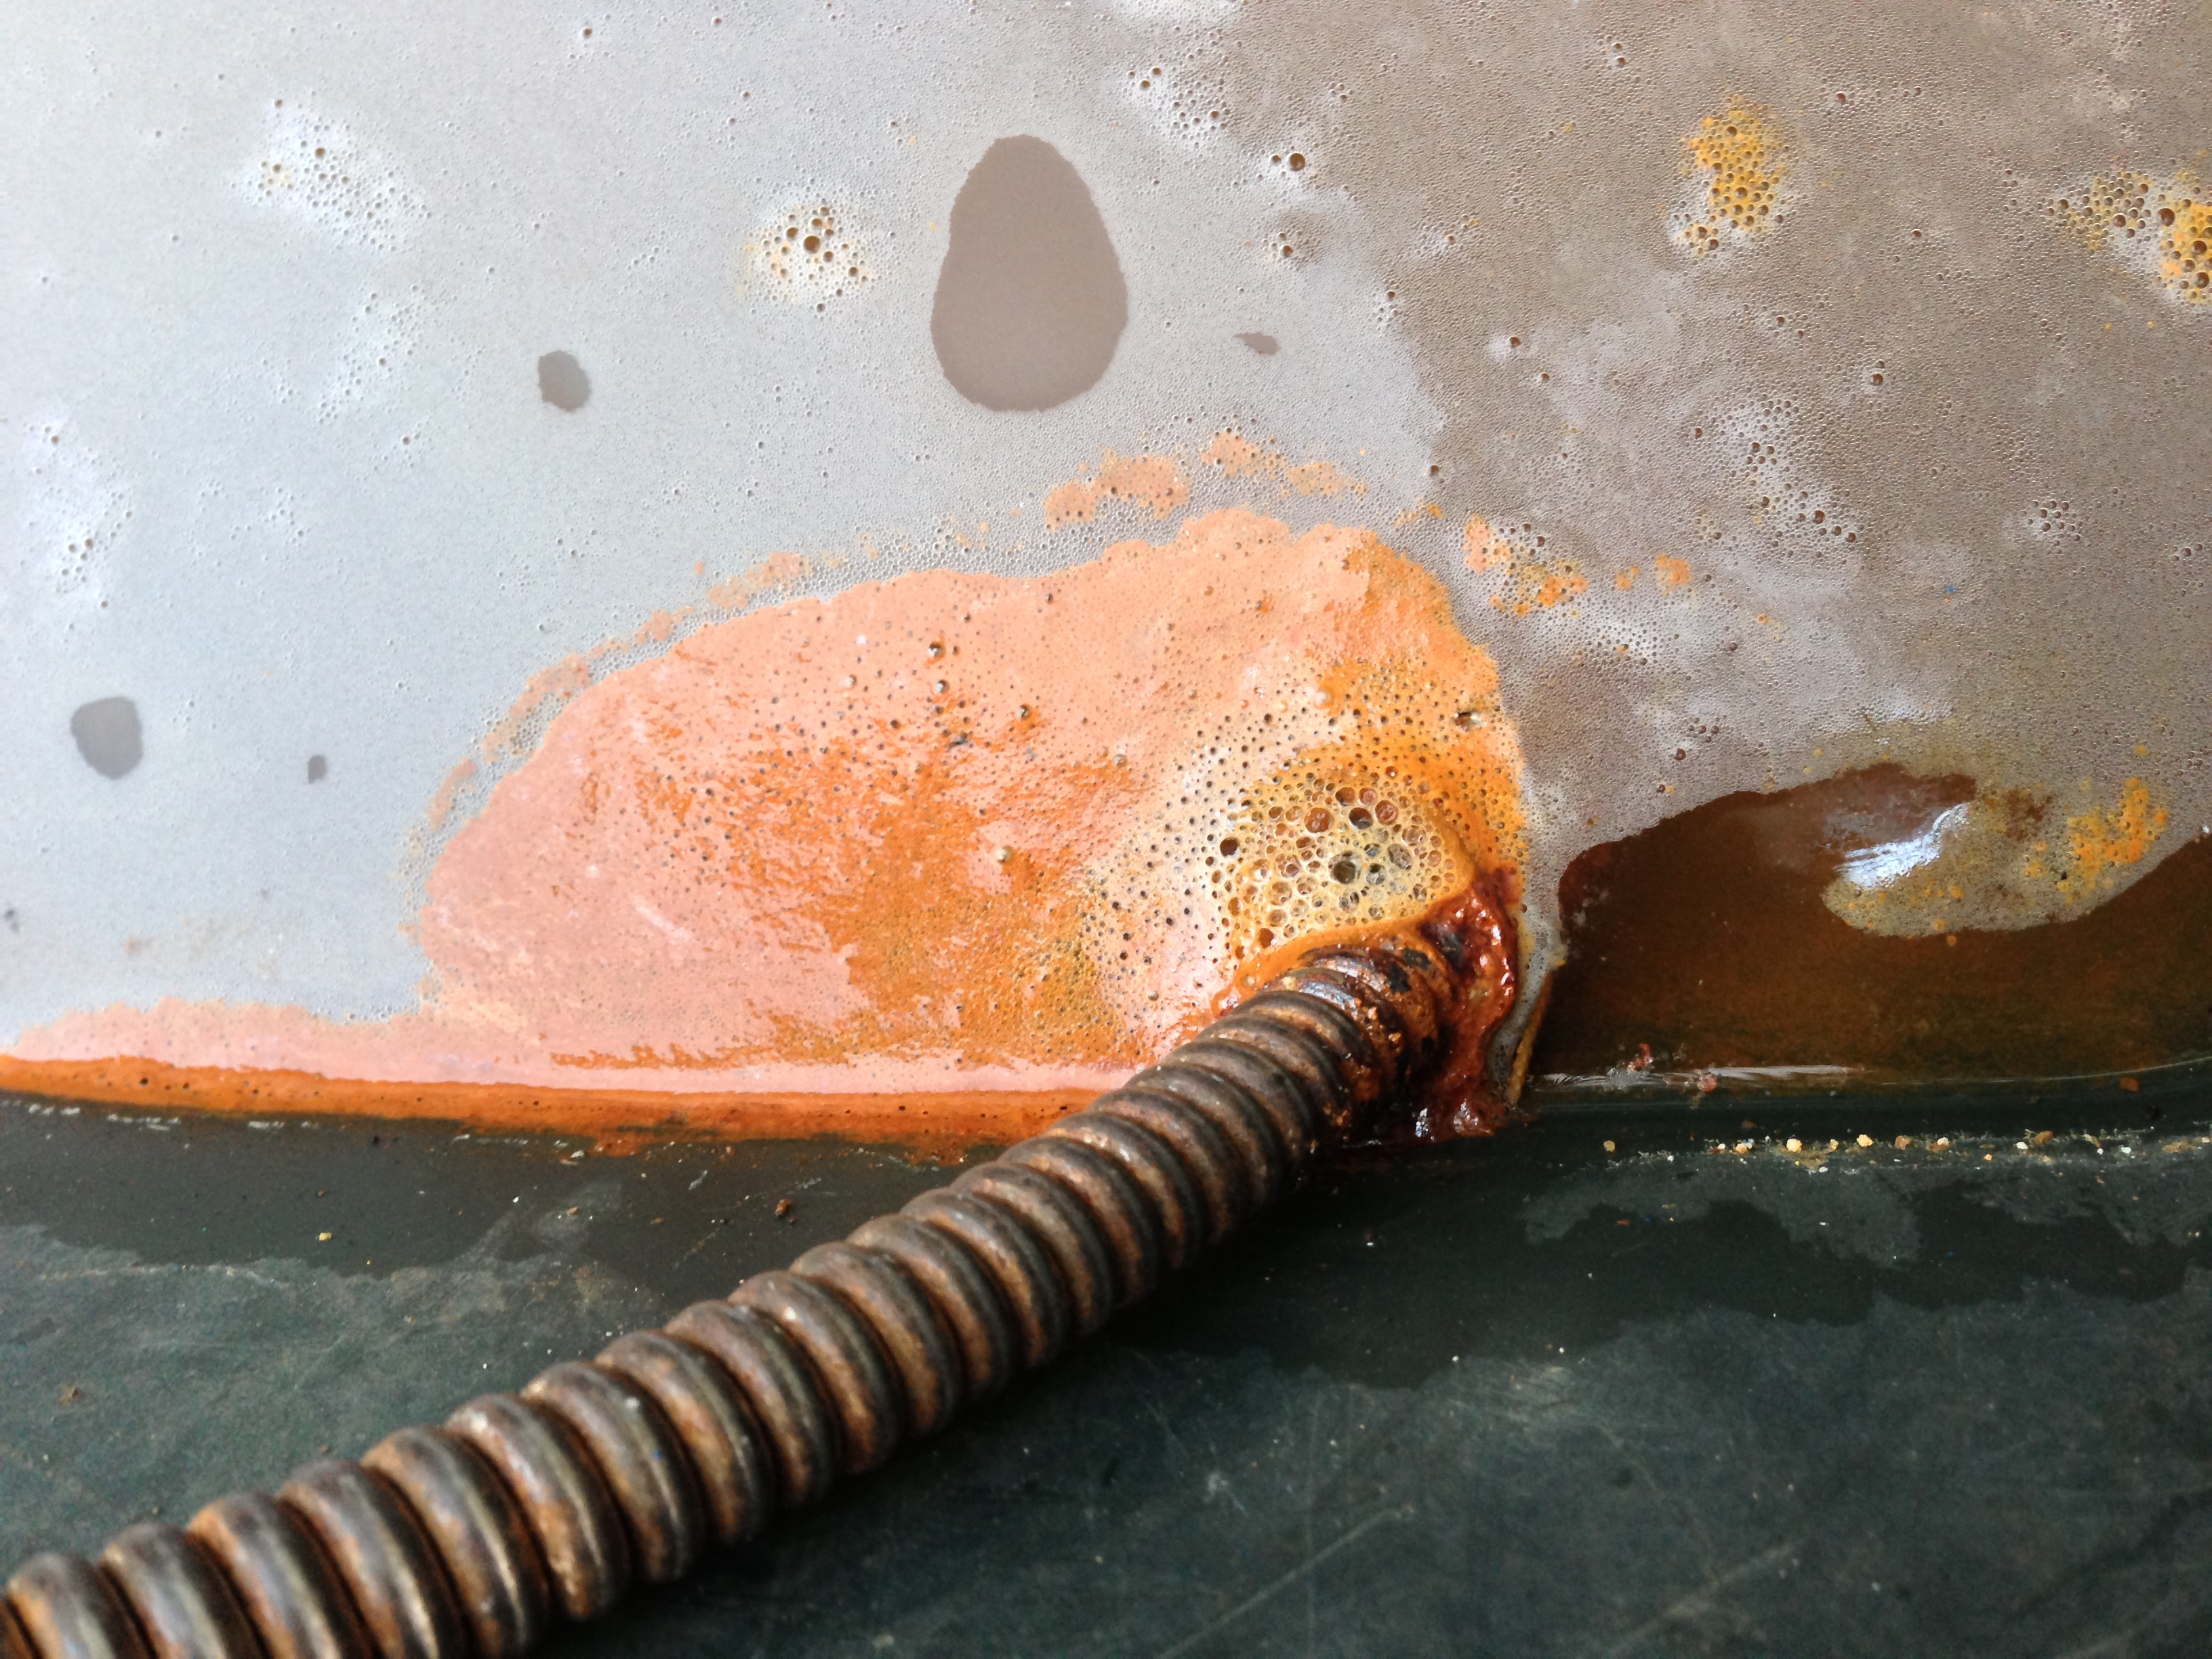
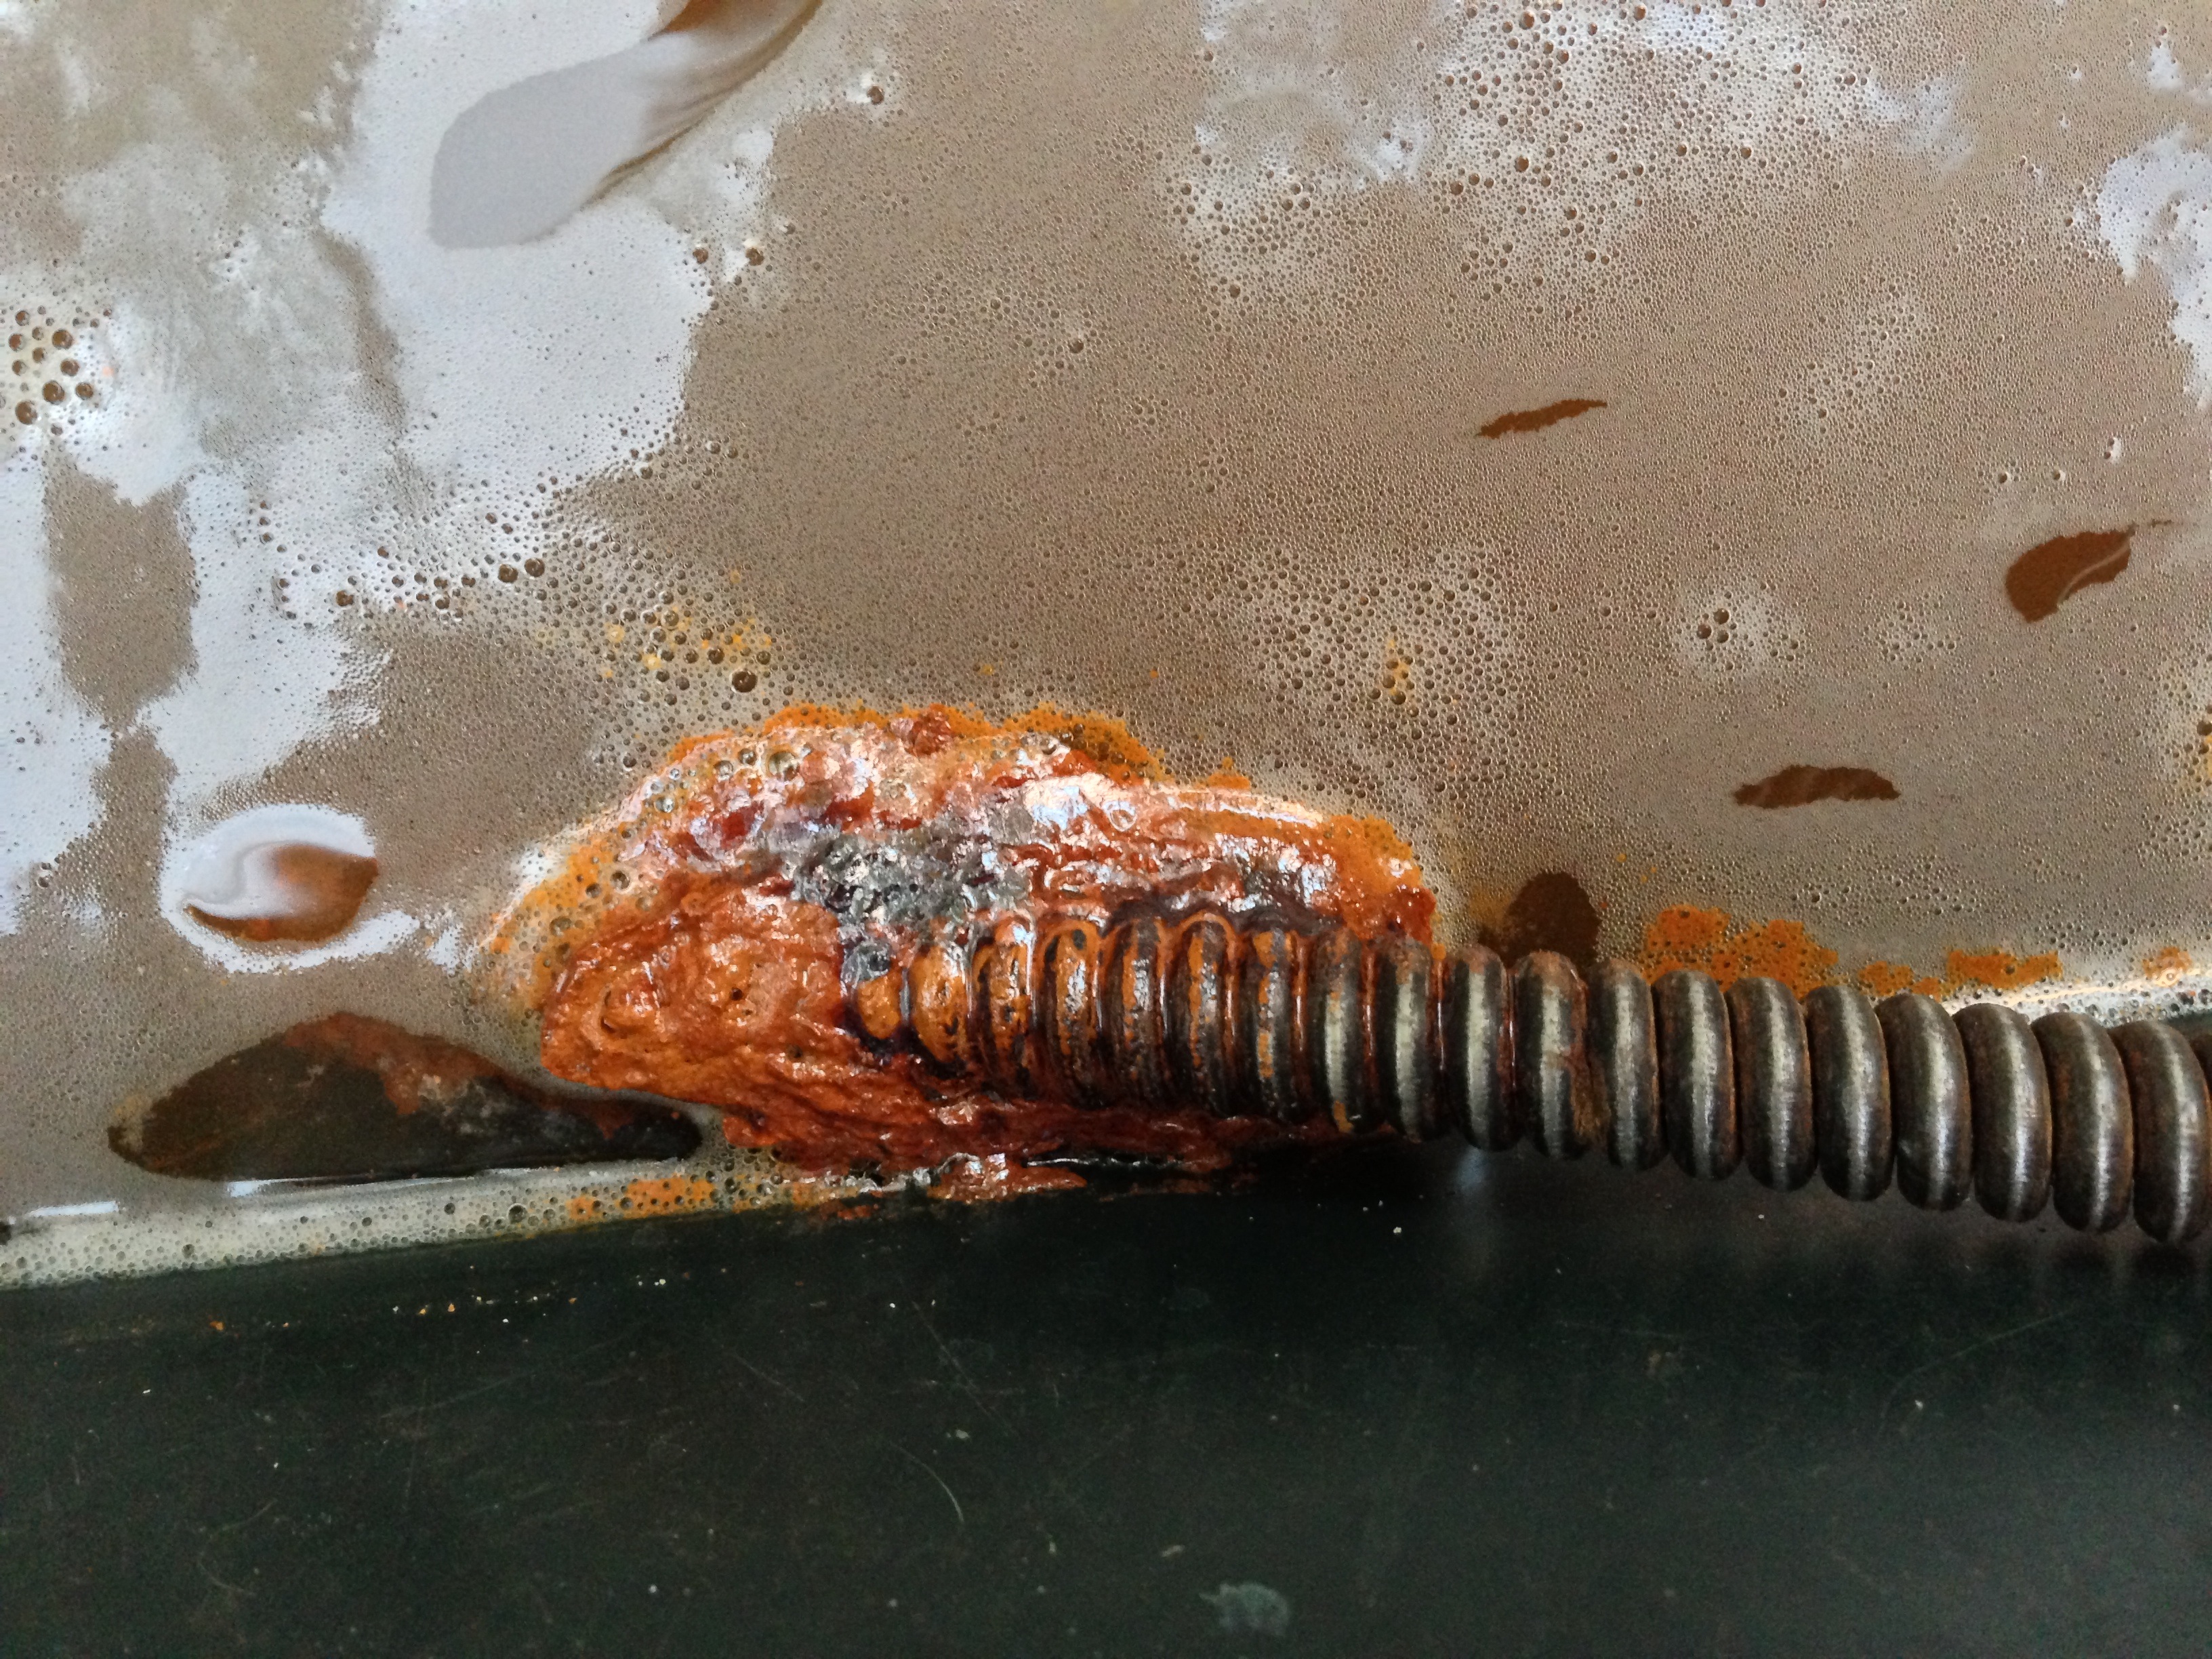
I’ve had a bit of a setback, the wheelbarrow has sprung a leak while working on the second wheel. I drained it and scraped out the several cups of rust in the bottom. Searching for a suitable replacement took me to several places in town. A 17 gallon bin from the discount store was not big enough to fit the wheel and clear the cable I’m using for the anode. I found a proper sized tub at the local farm supply store. Twenty Five gallons in size and made of 100% recycled plastic for a modest $21. Yay.
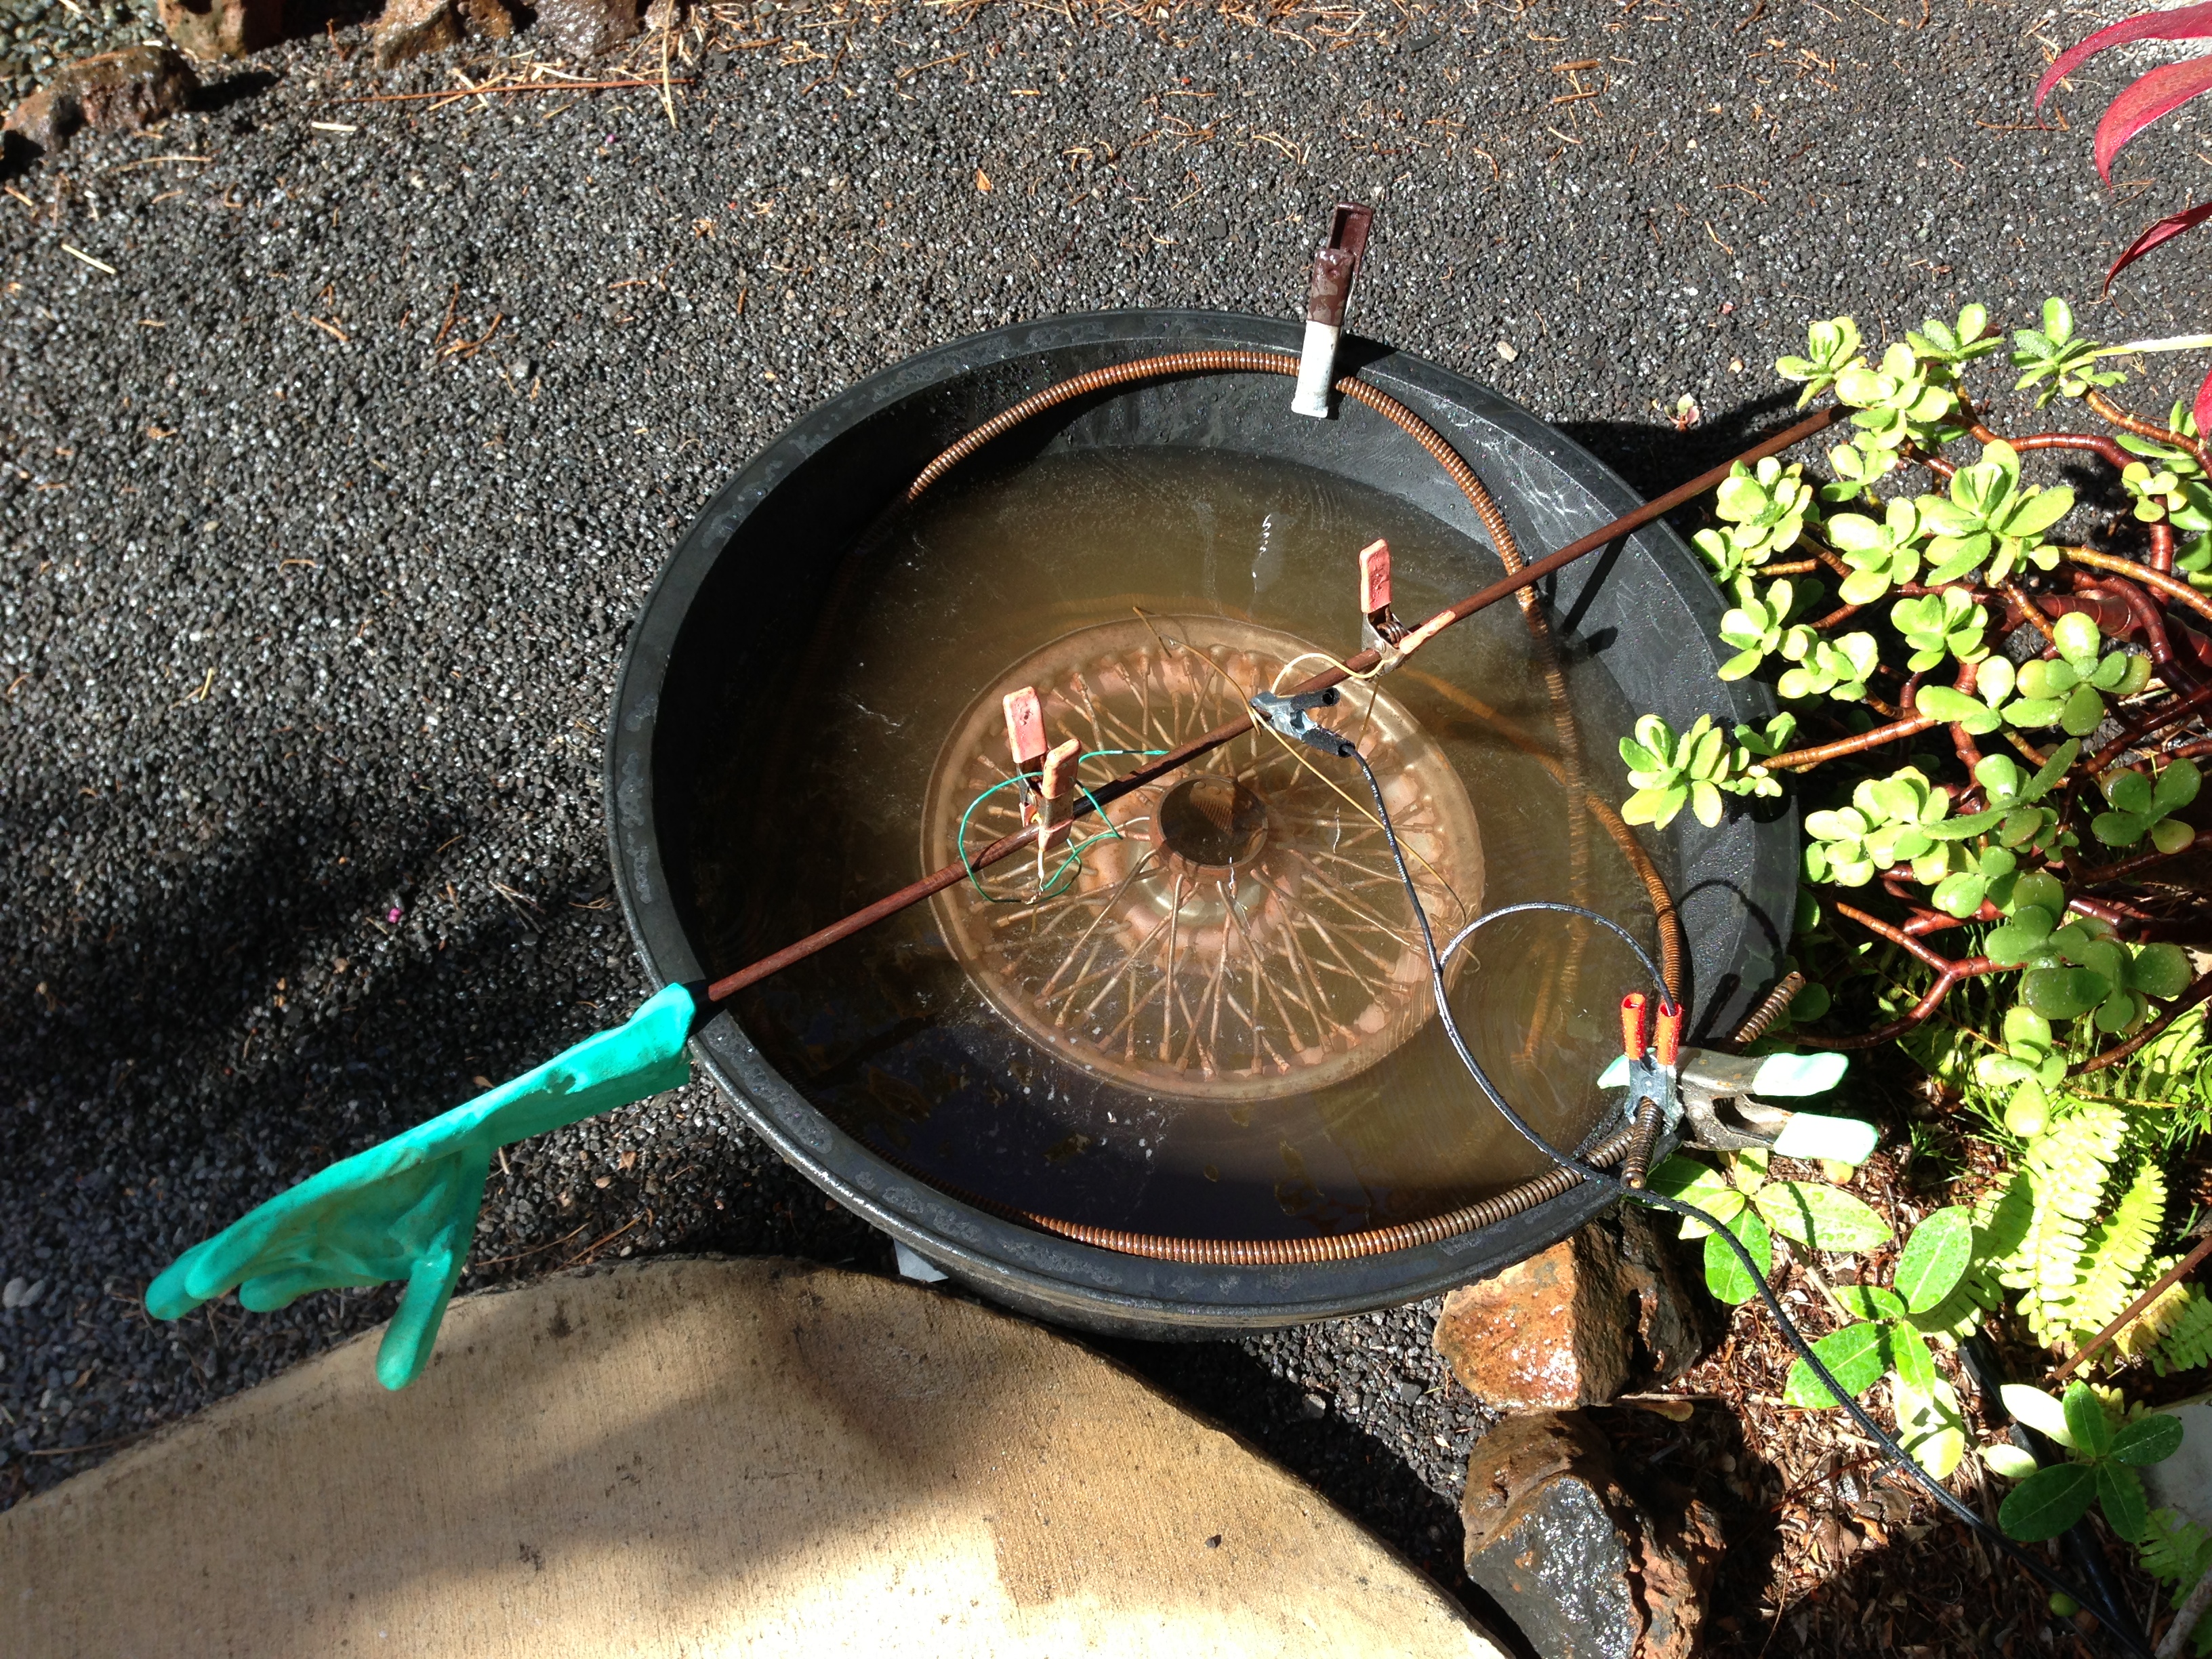
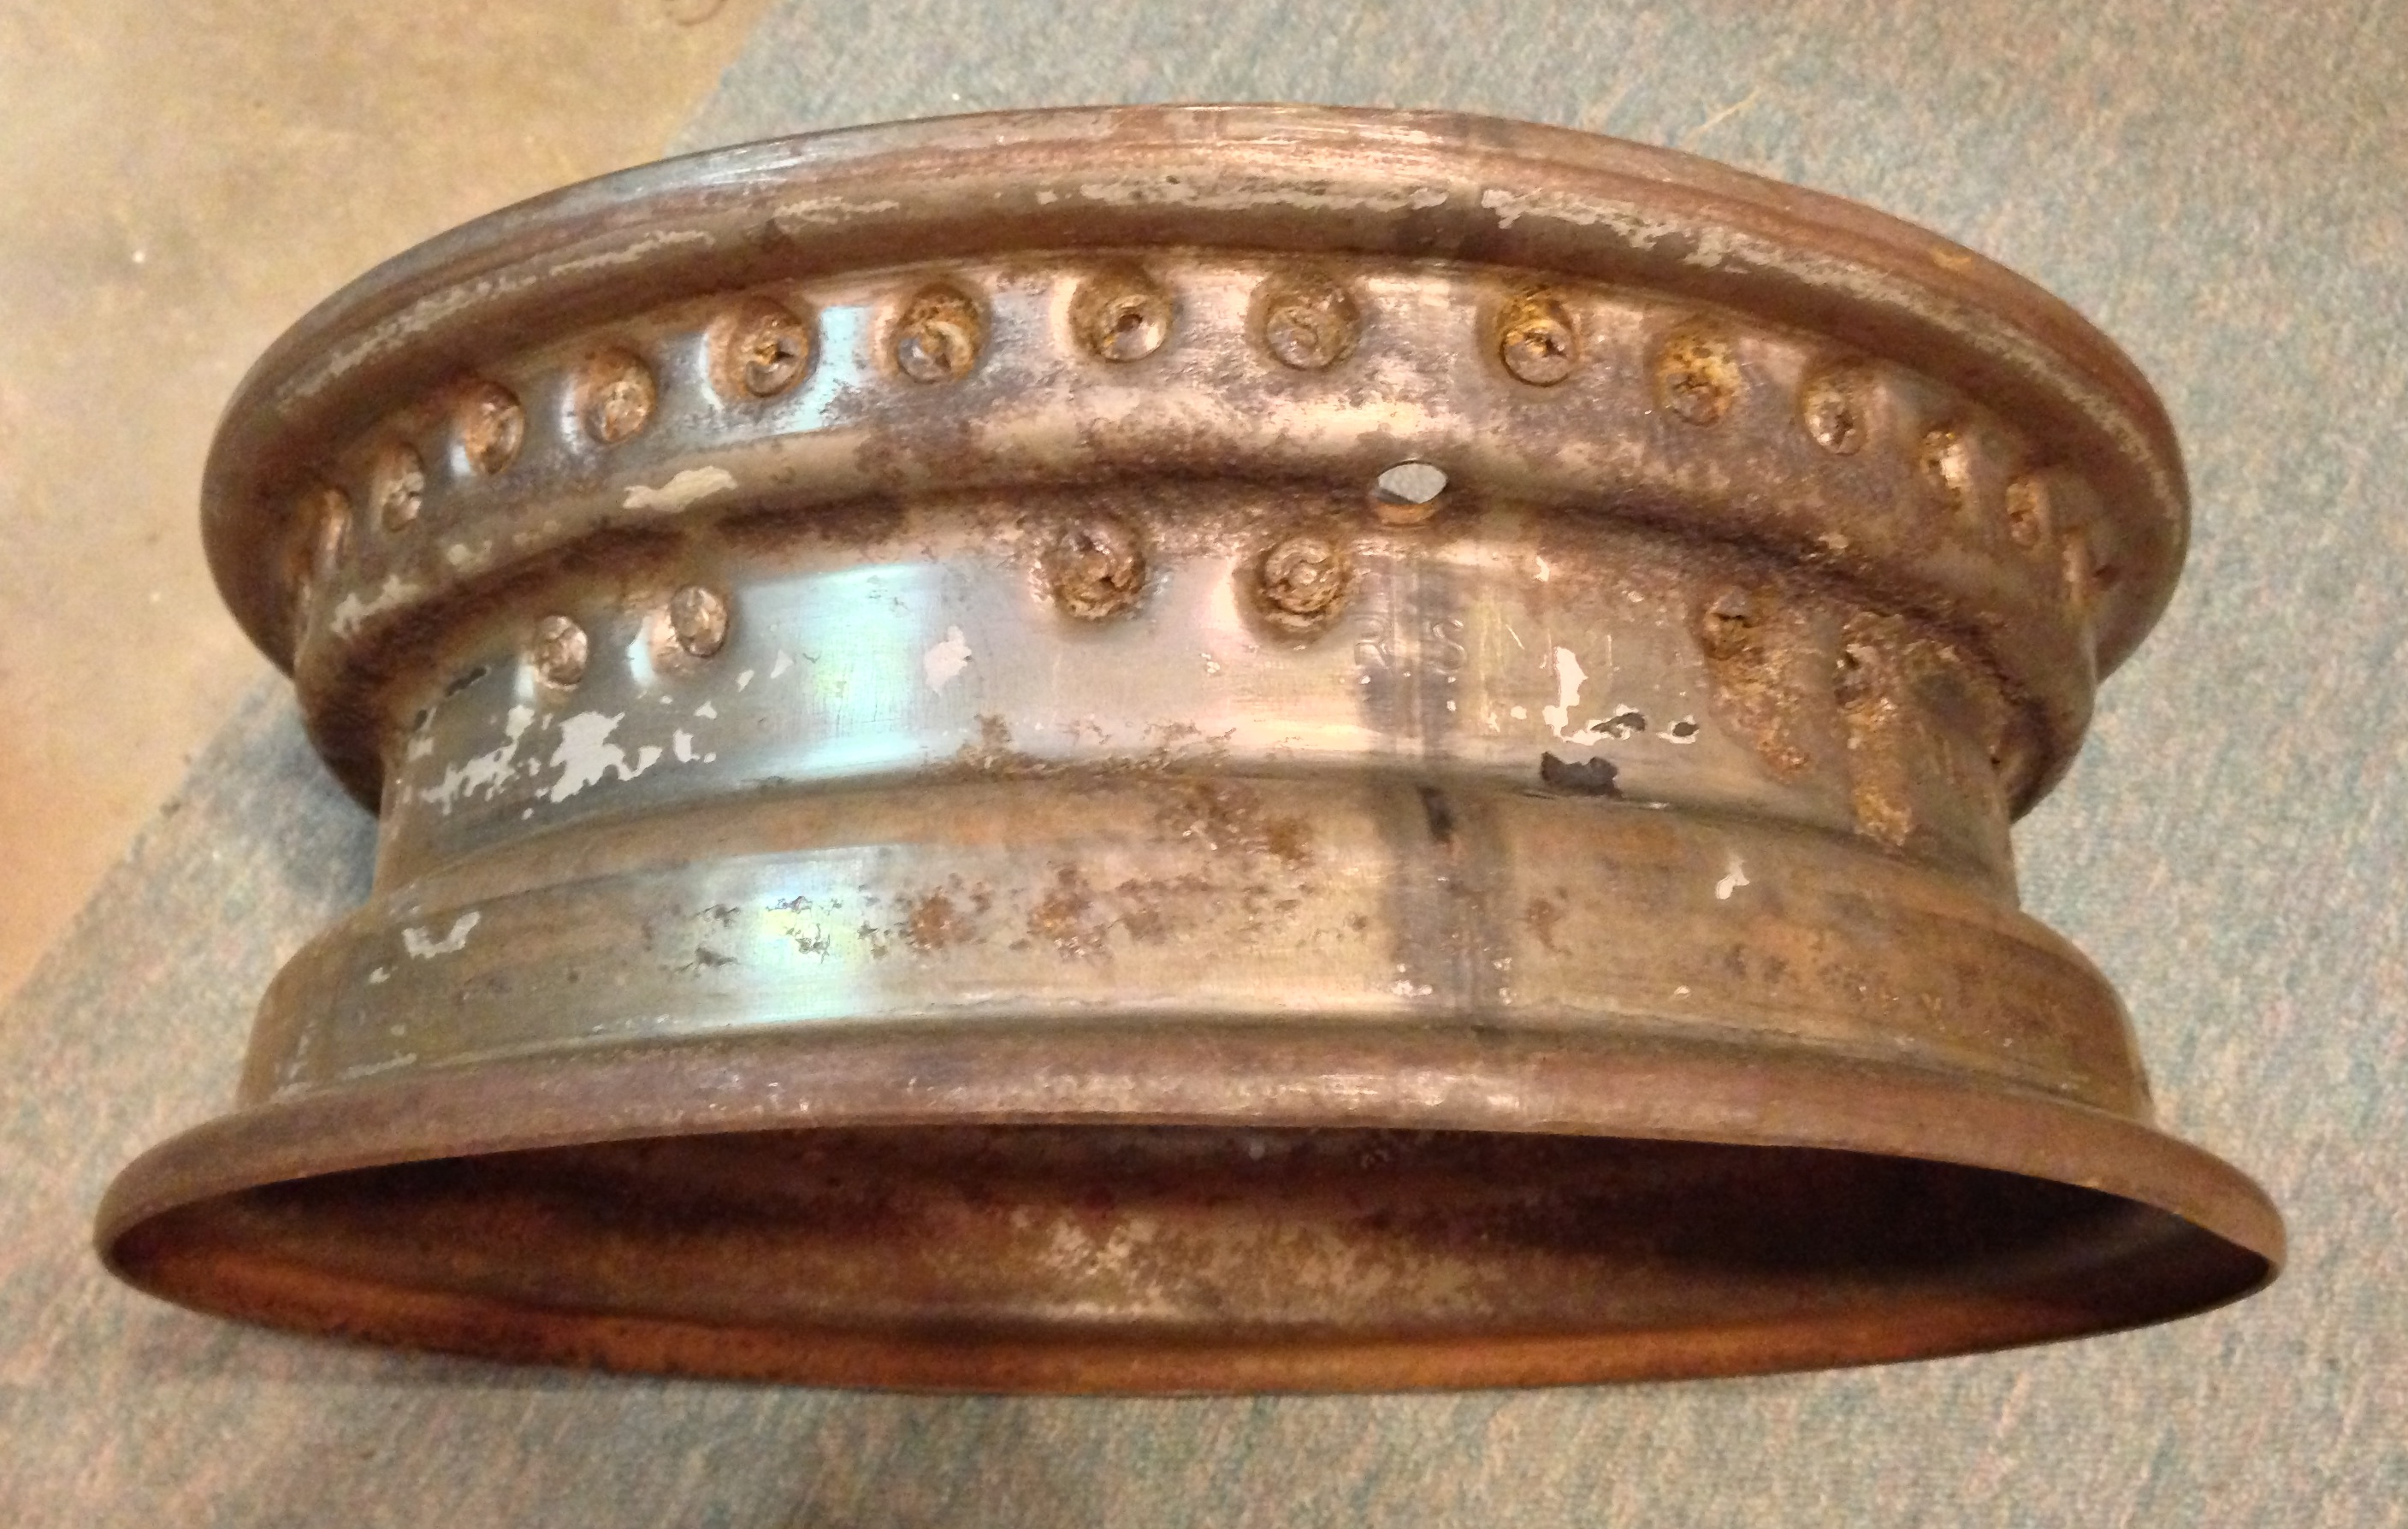
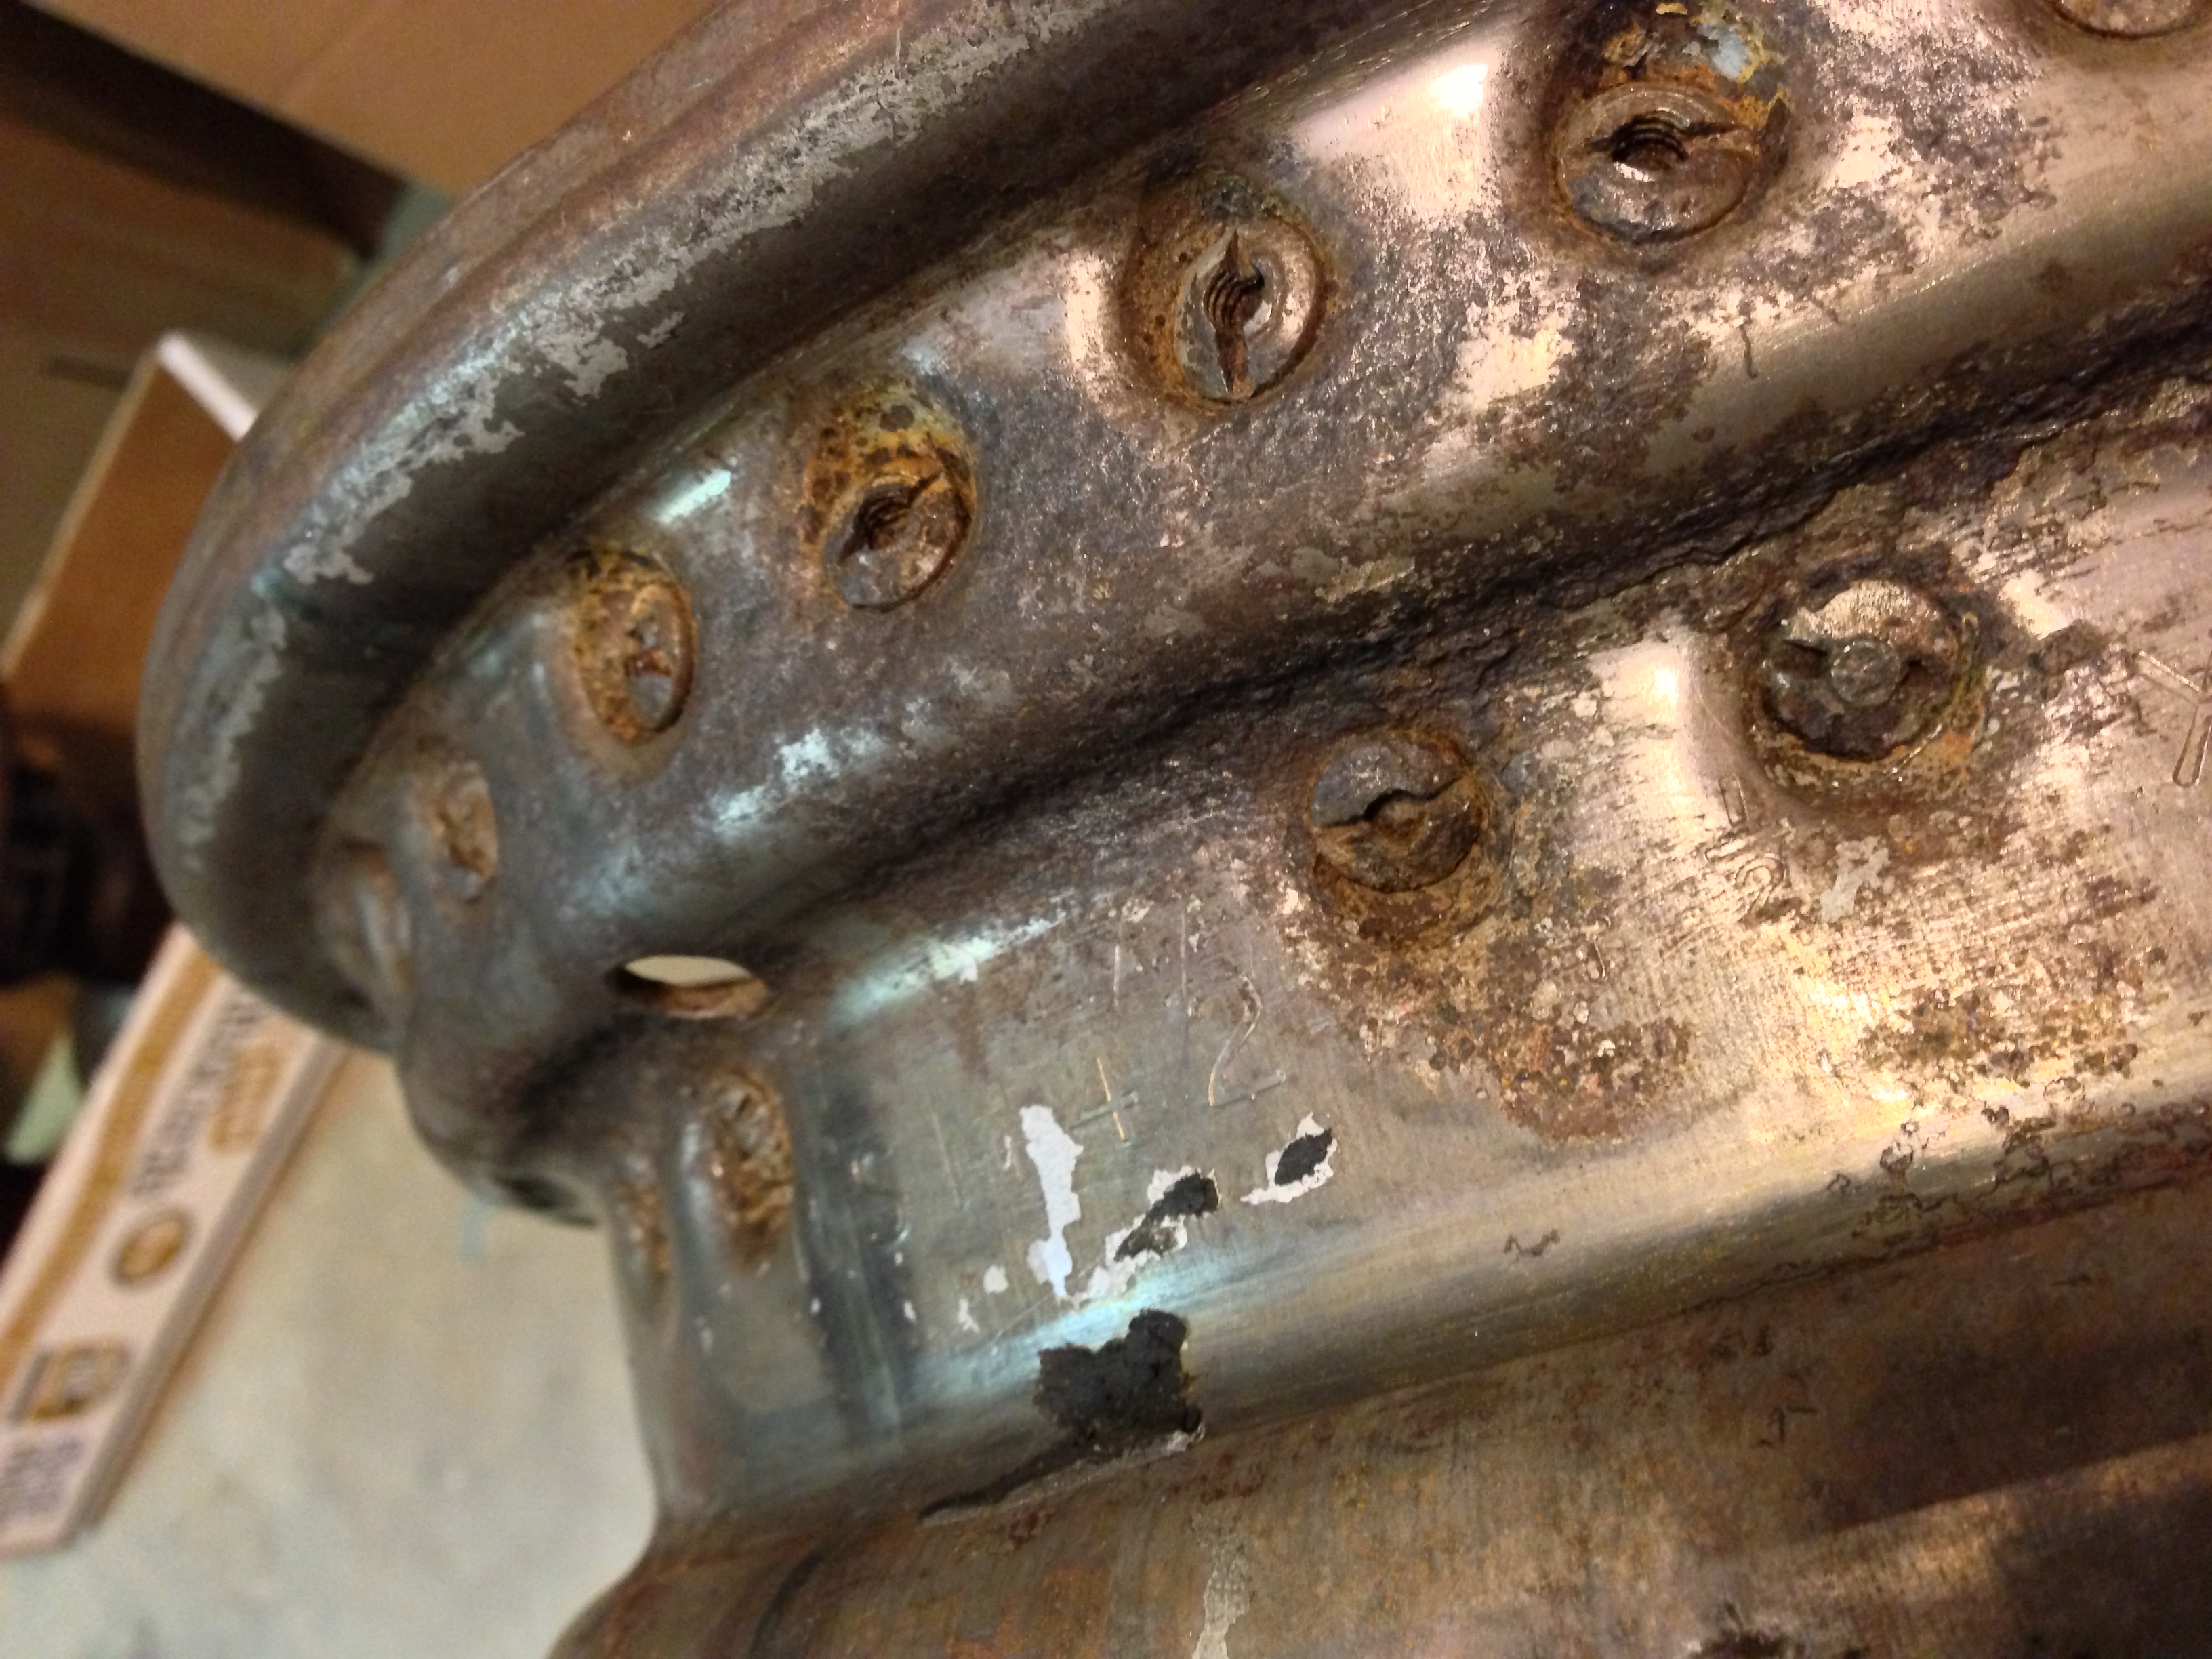
I set up the second wheel in the new bin and reconnected the battery charger. Unlike the first time when the ammeter showed a 6 amp draw, this time it only showed a 3 amp draw. Perhaps because I didn’t add as much of the OxyClean as before. Anyway, the process continued, although a bit more slowly. After leaving it in the bin overnight, I pulled the rim out and gave it a look. It was pretty clean considering the extent of the corrosion that was under the inner tube. About 20% of the rim still had corrosion on it.
I scrubbed the rim with a wire brush and hosed off the grey iron oxide. Not much of the red rust remained, but there was some left. Most of what remained had been turned into a black/grey form of iron oxide. Some parts of the wheel looked as clean and bright as brand new, other parts show substantial surface pitting. Since I’ll be running inner tubes, I’m not so concerned about absolute perfection of the rim. I believe that it will be quite satisfactory. I’m not sure how much the power will cost to derust all my wheels, but at 38 cents per KwH, it’s not insignificant. Still, it won’t be a deal breaker.
I’m thinking about paint options, what type of primer, what color to paint the wheels. I have a color scheme in mind, more on that later.
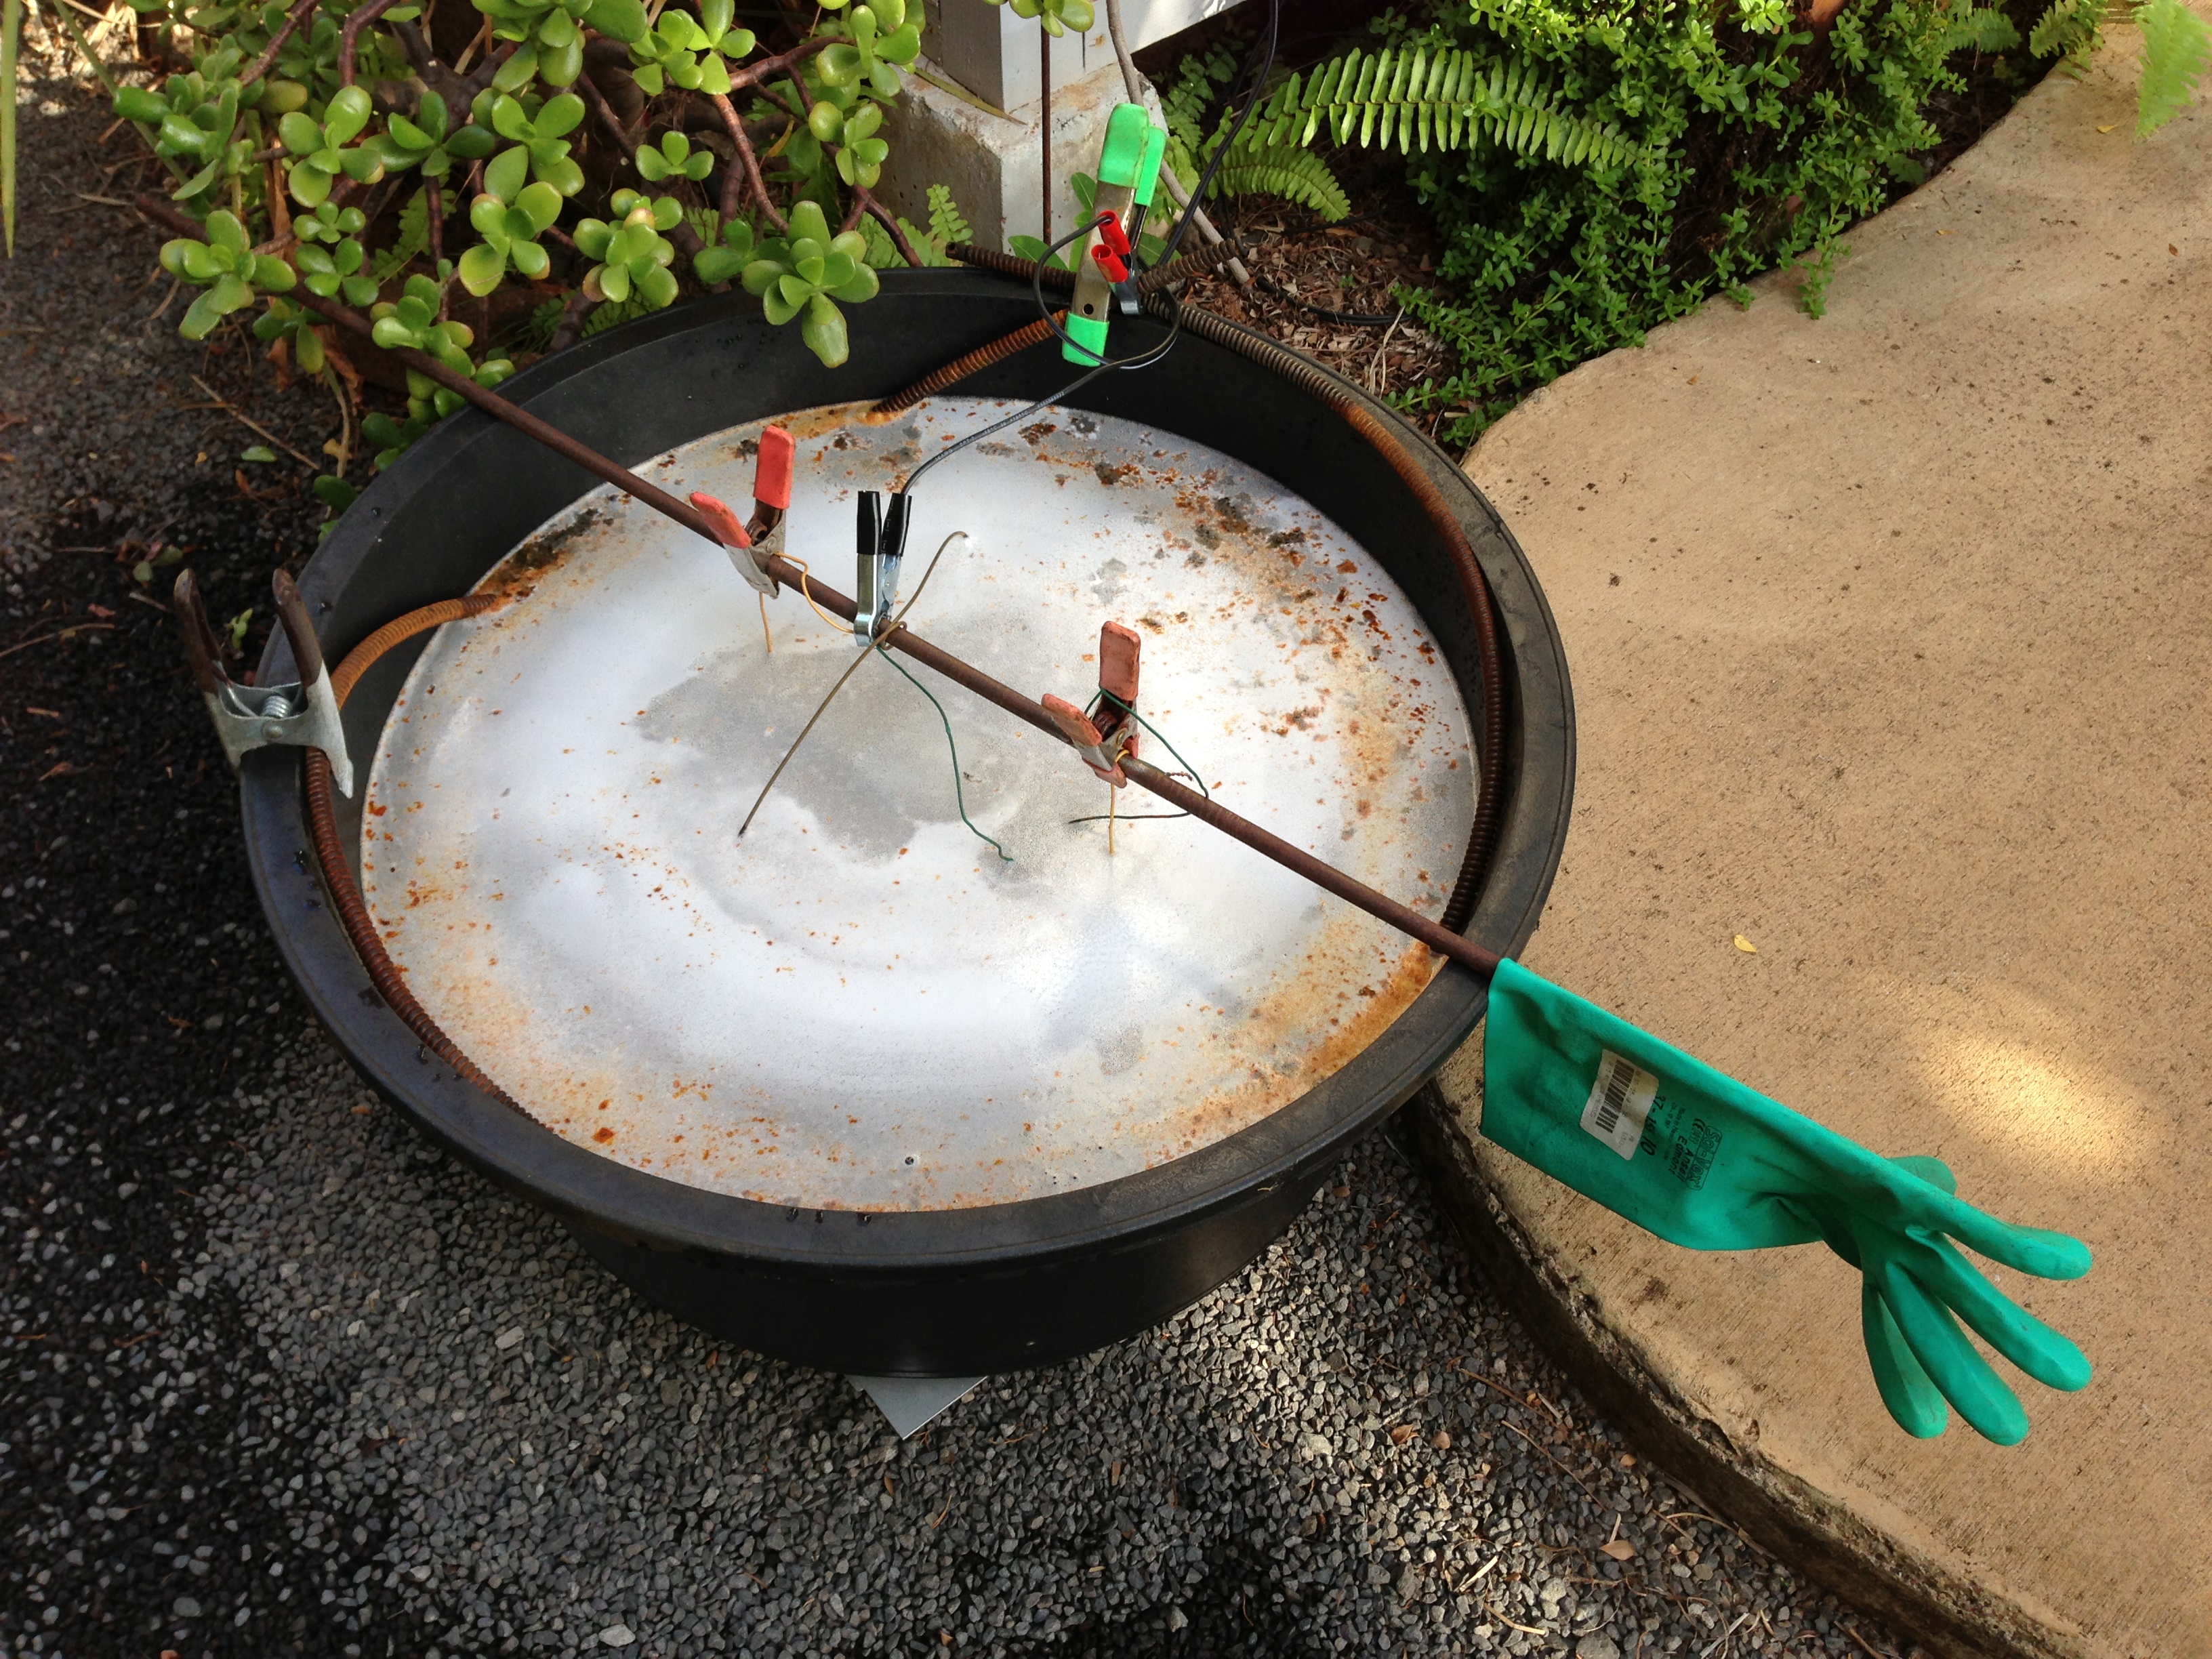
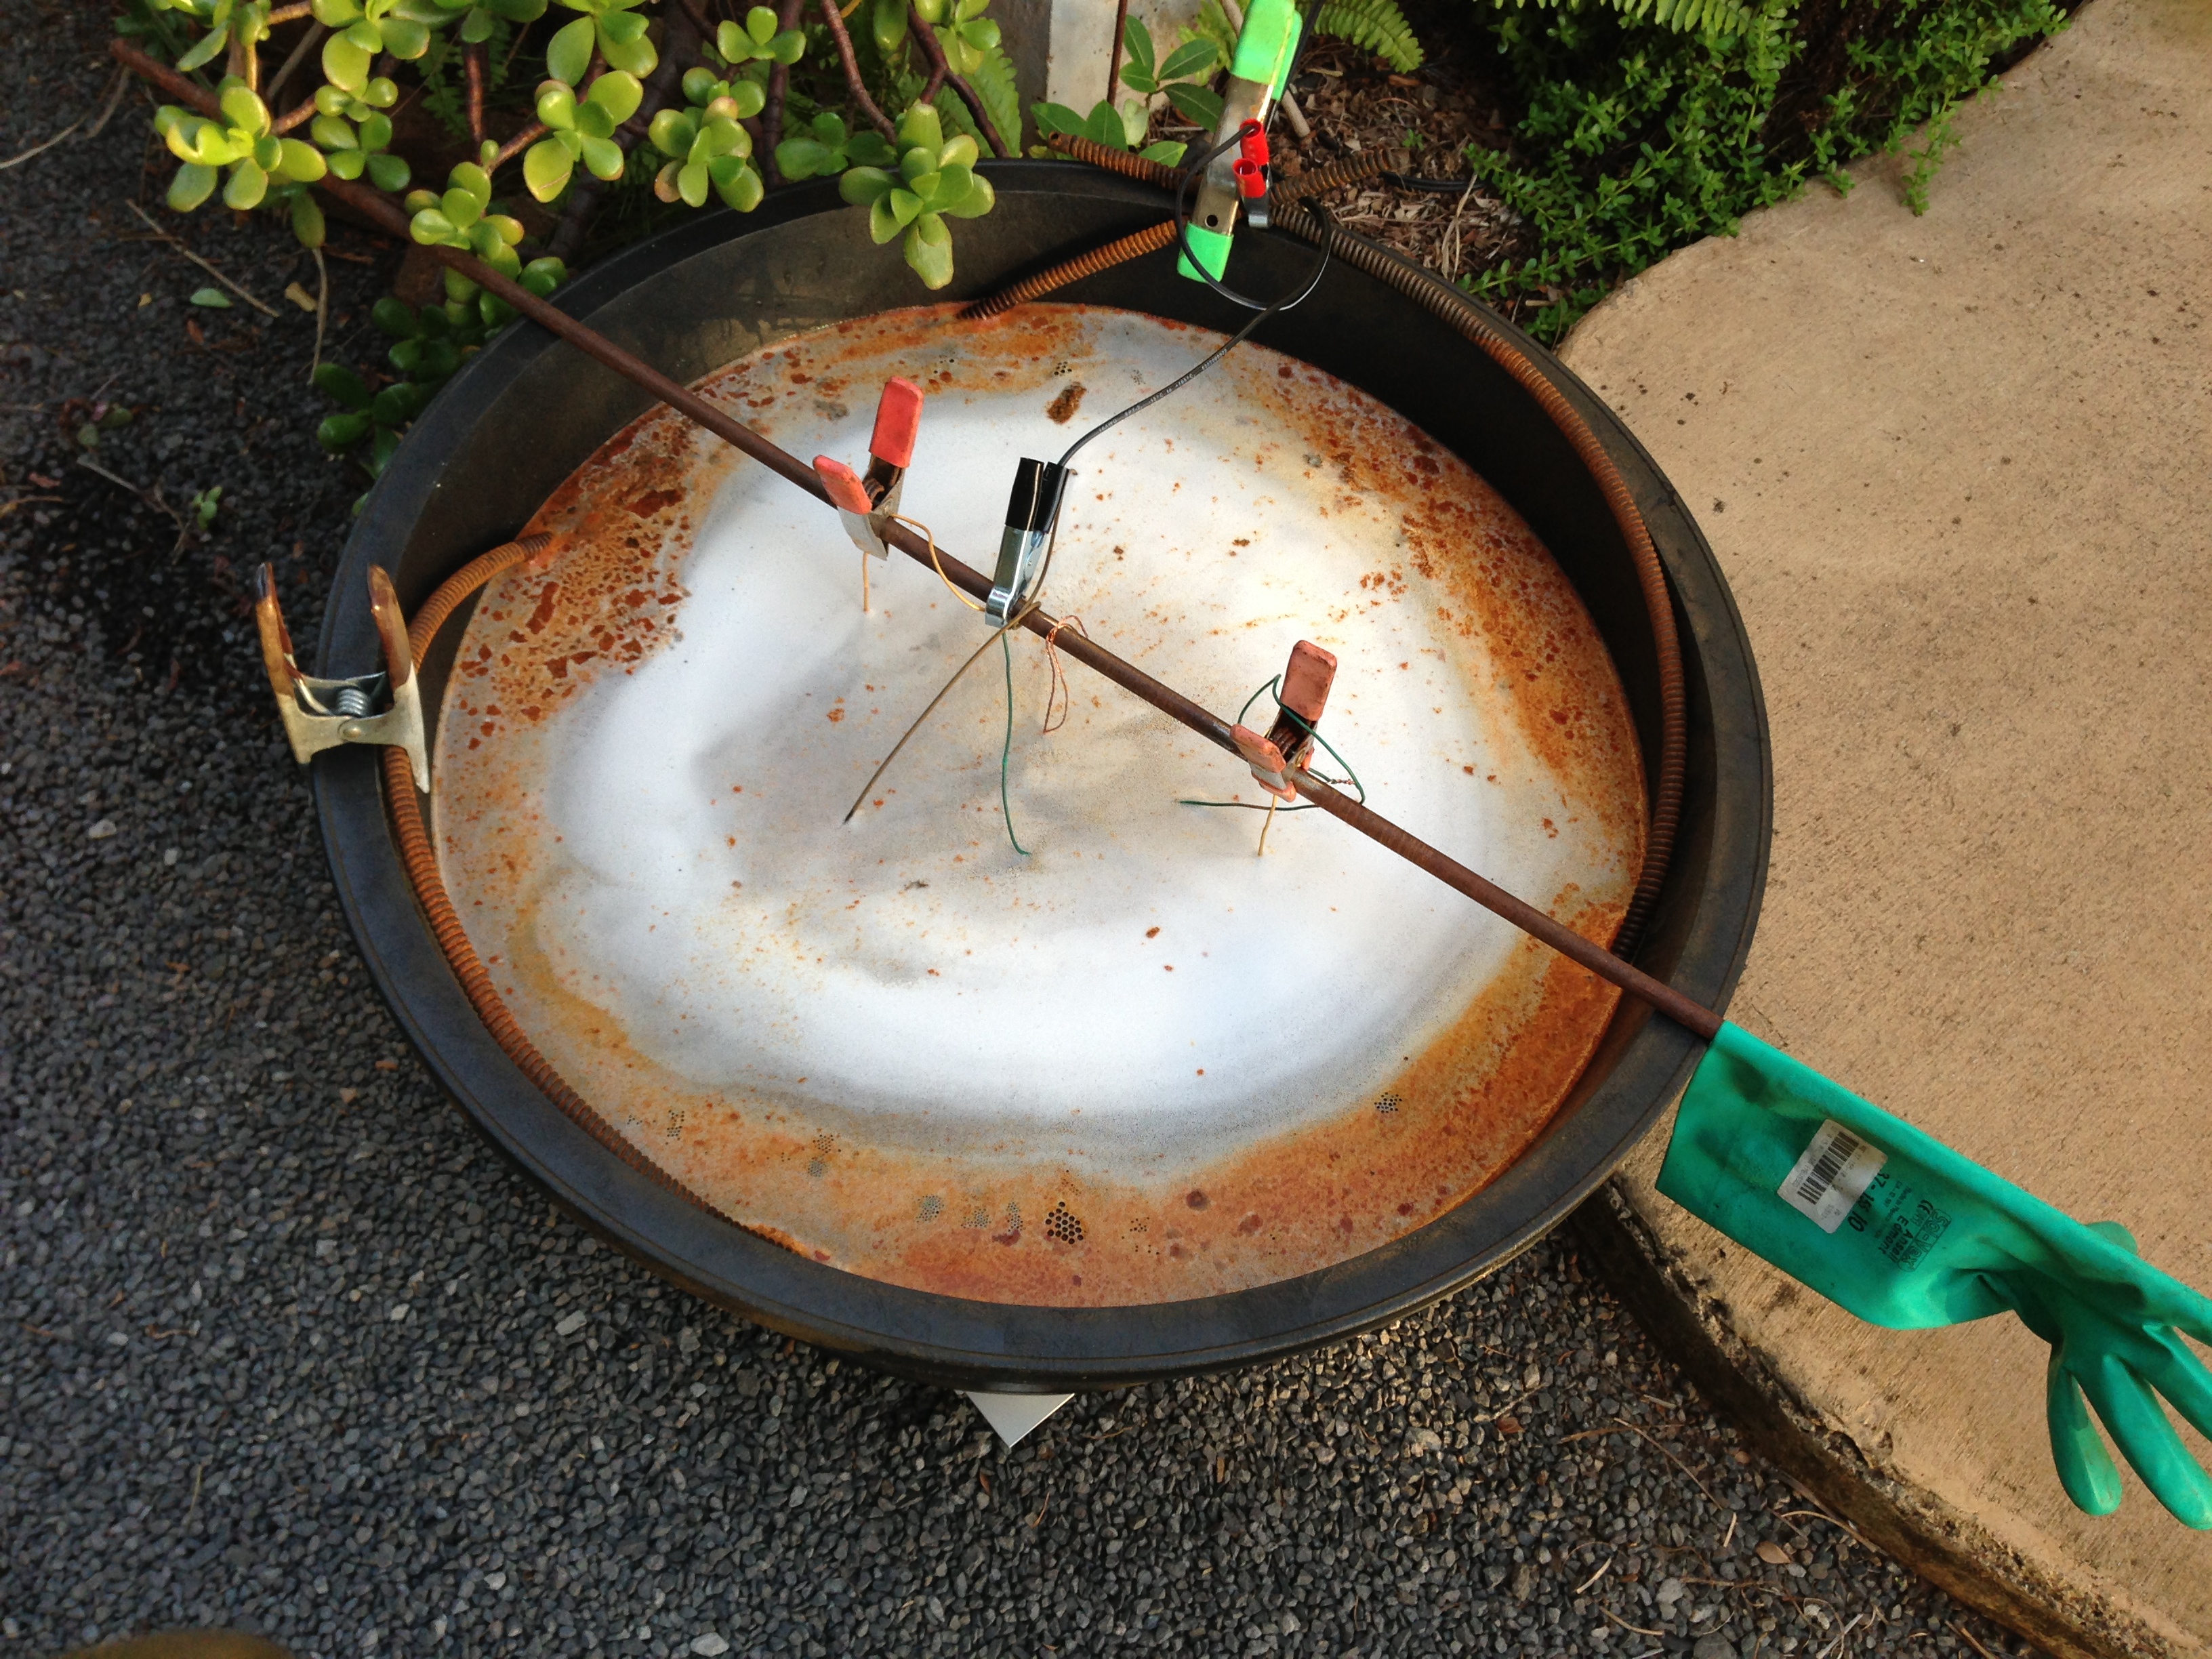
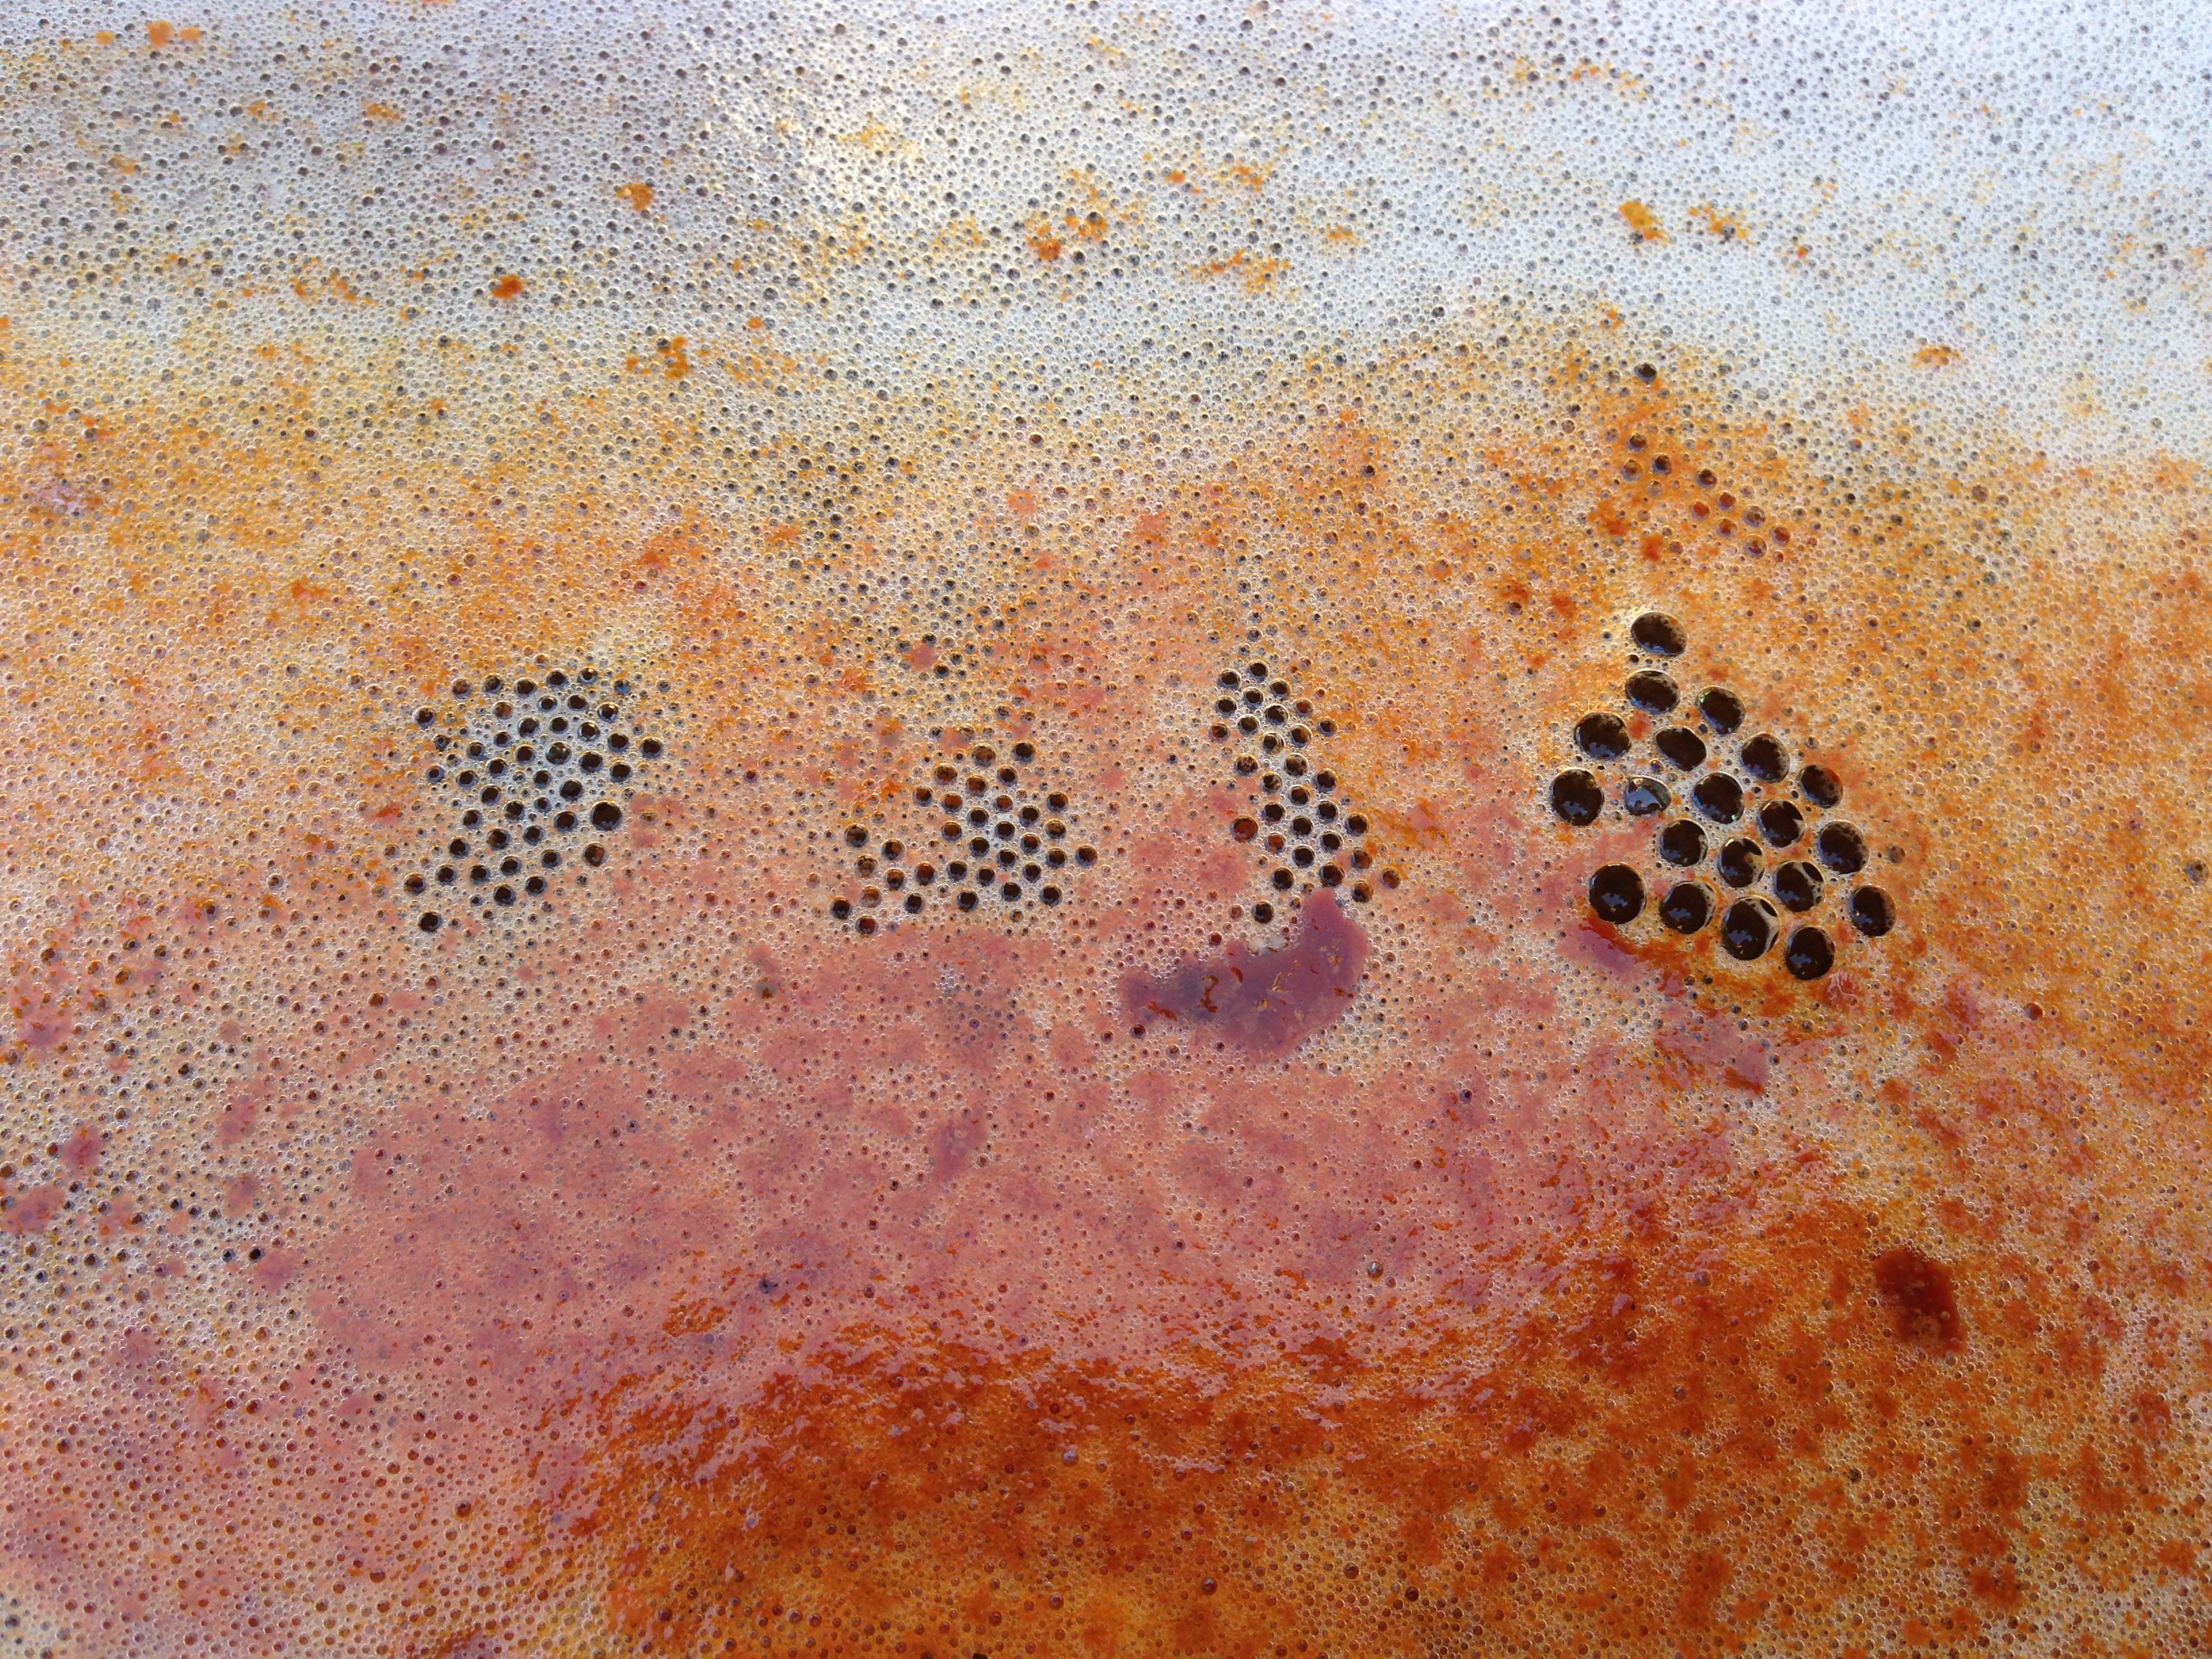
I let the wheel stay in the electrolysis wheelbarrow for several days. The bubbles continued and then gradually tapered off to nothing. The battery charger’s indicator showed little current flow. Examining the wheel showed that the majority of the paint had softened and a good deal of the rust was gone. The side that was up did have more rust than the down side so I’ll flip the wheel over and give it another day or two in the bath.
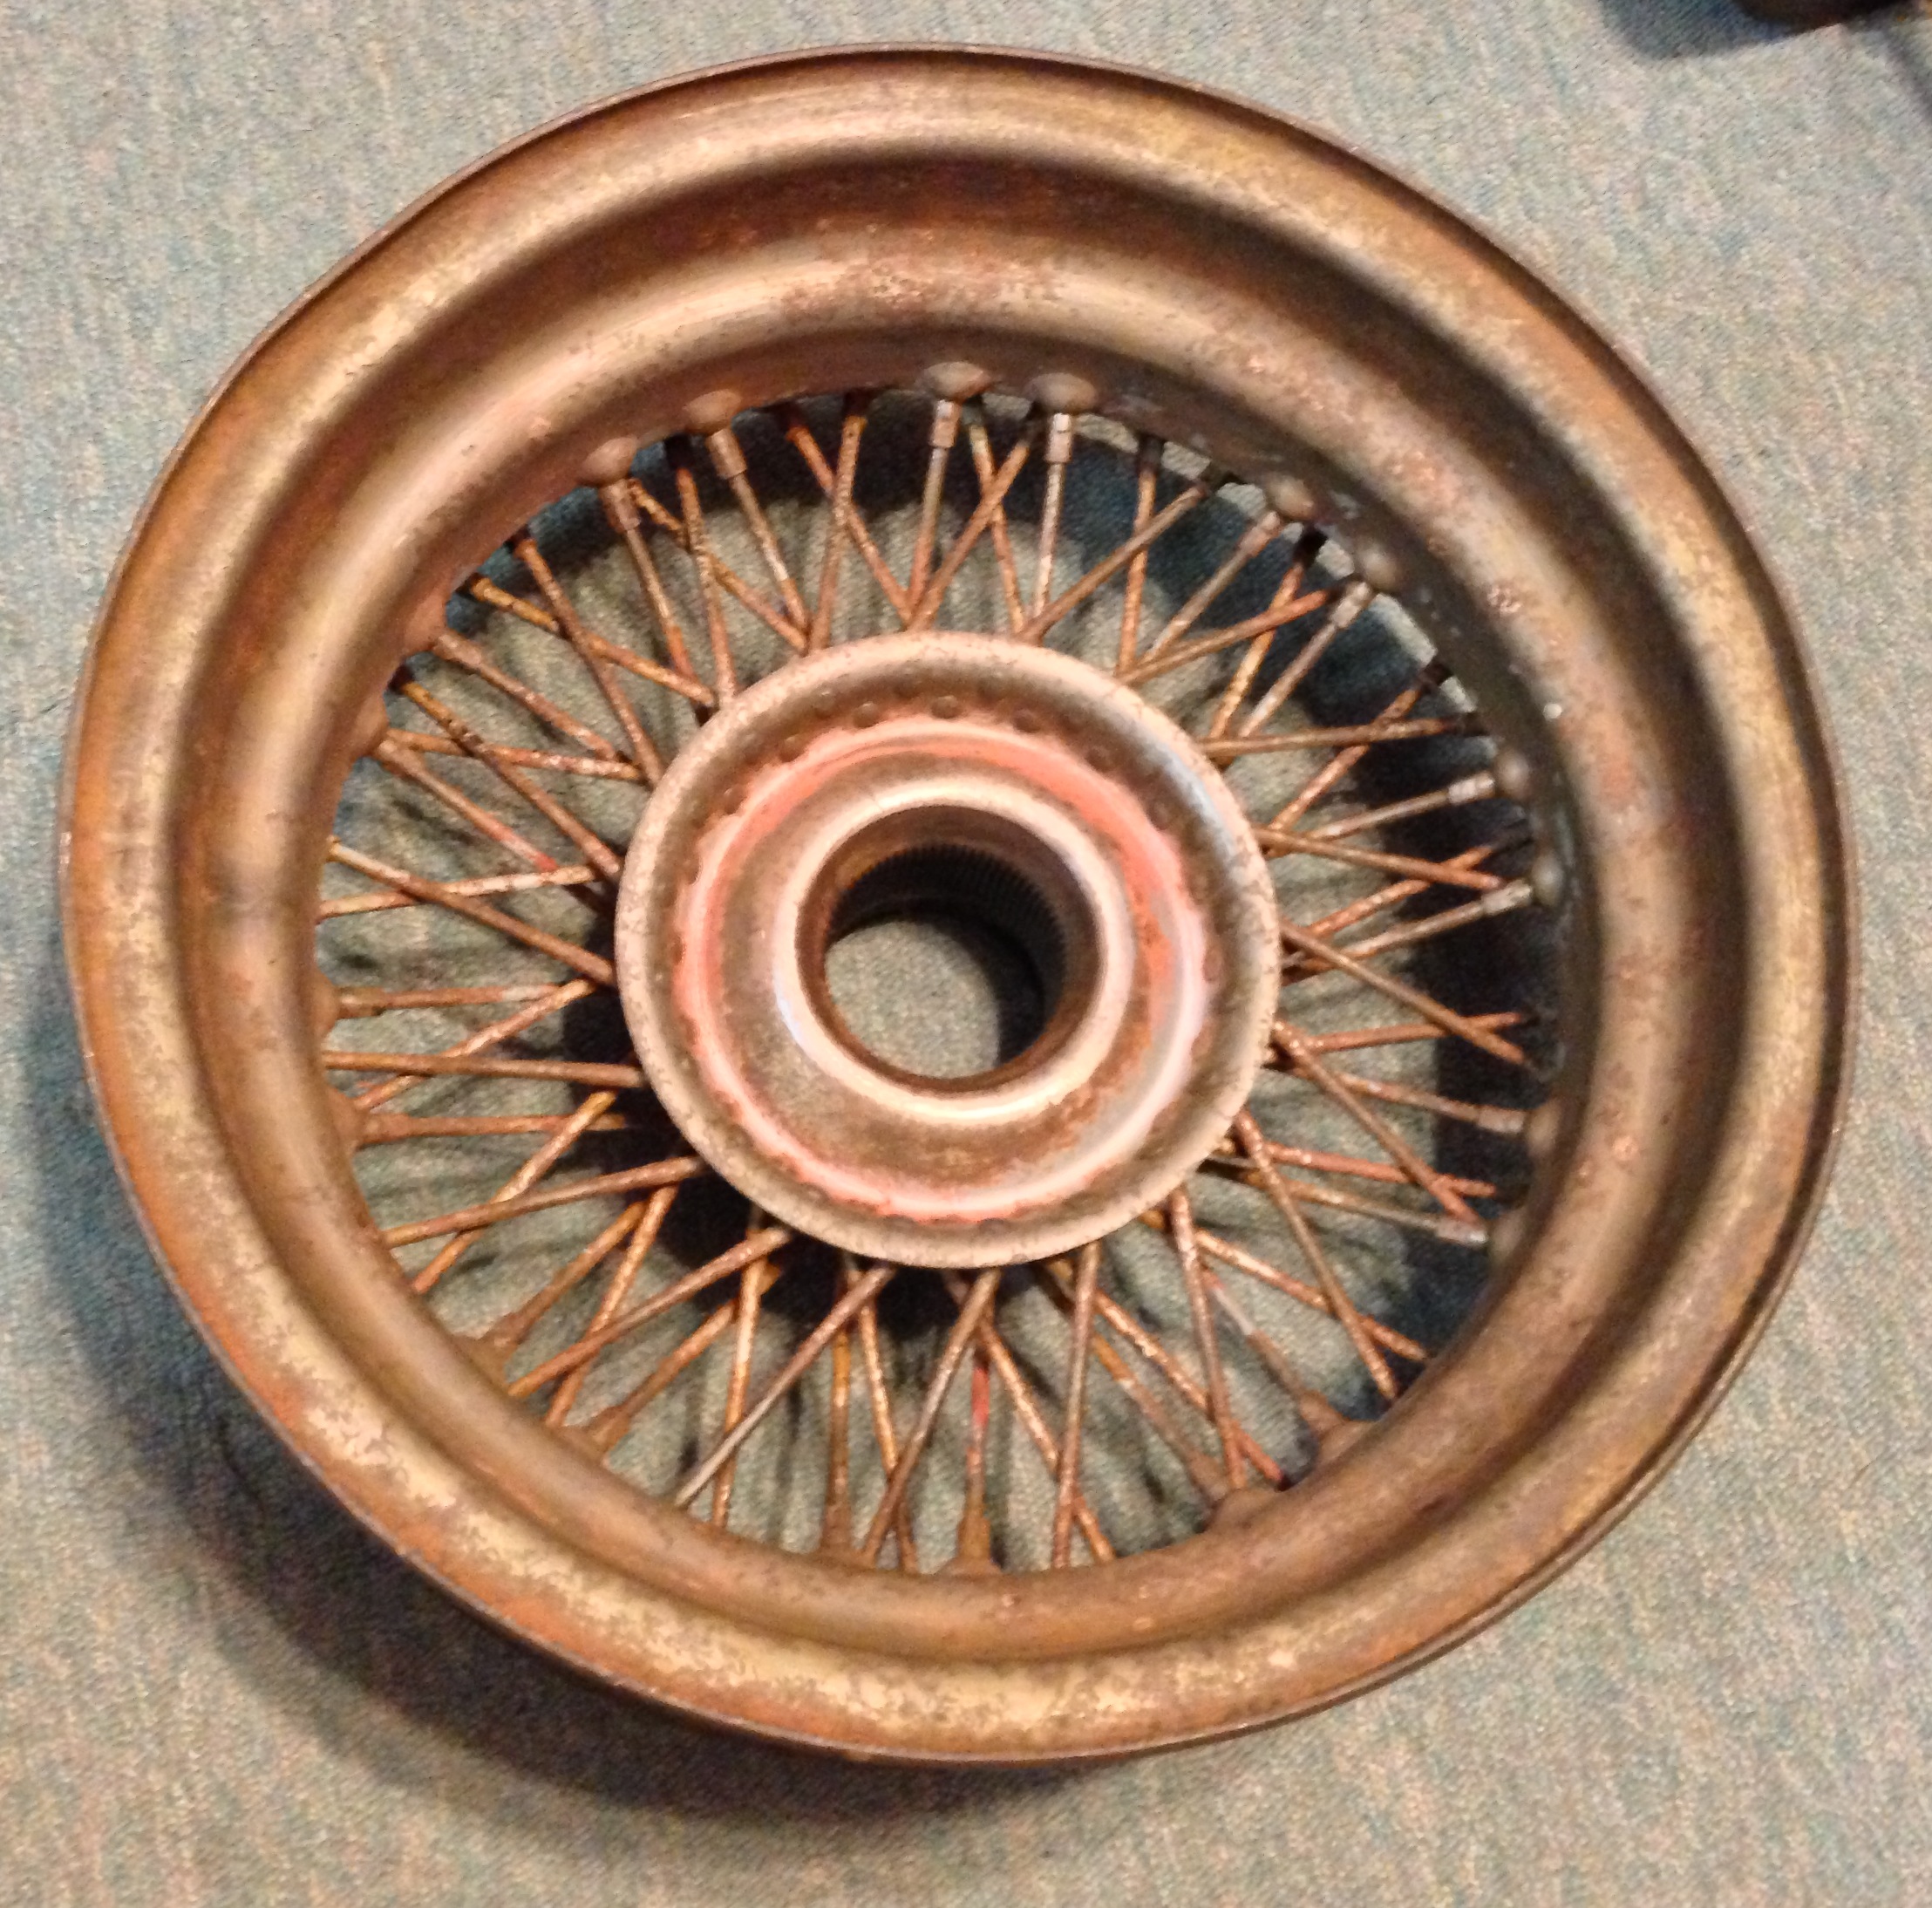
A majority of the paint washed off with a hose and a wire brush got a good deal of the rest. The rust was mostly gone in some spots and the wheel looks pretty good. If only I had more wheels as good as this one. I’ll finish this one and start on the next best wheel. Not a bad start.