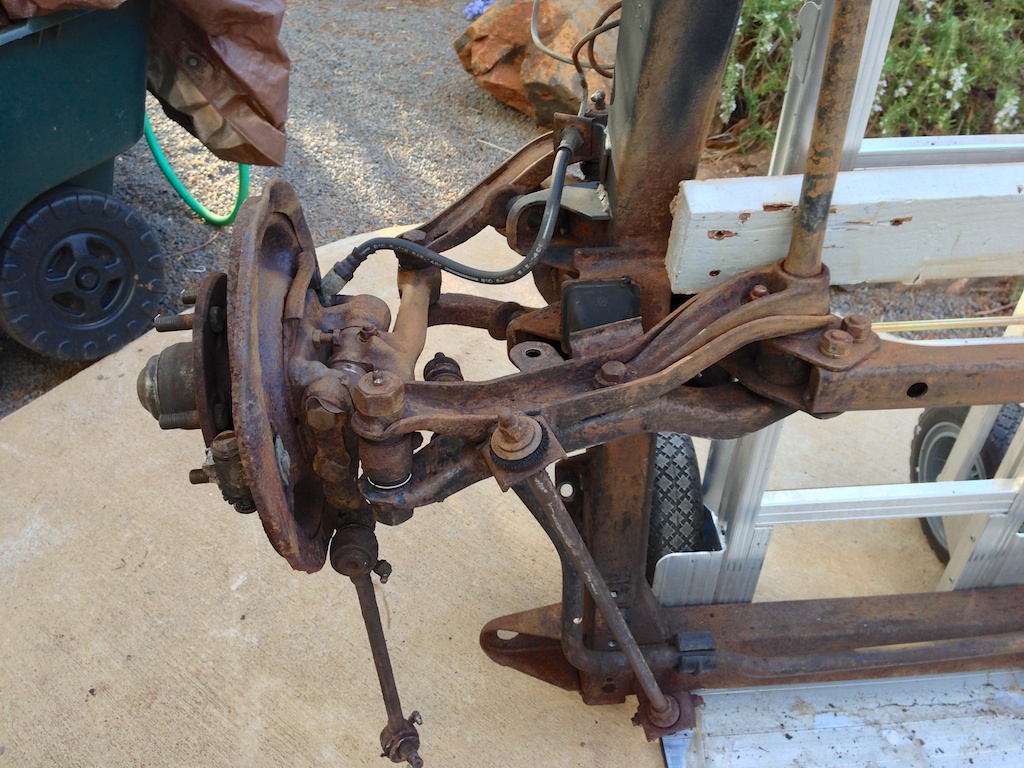
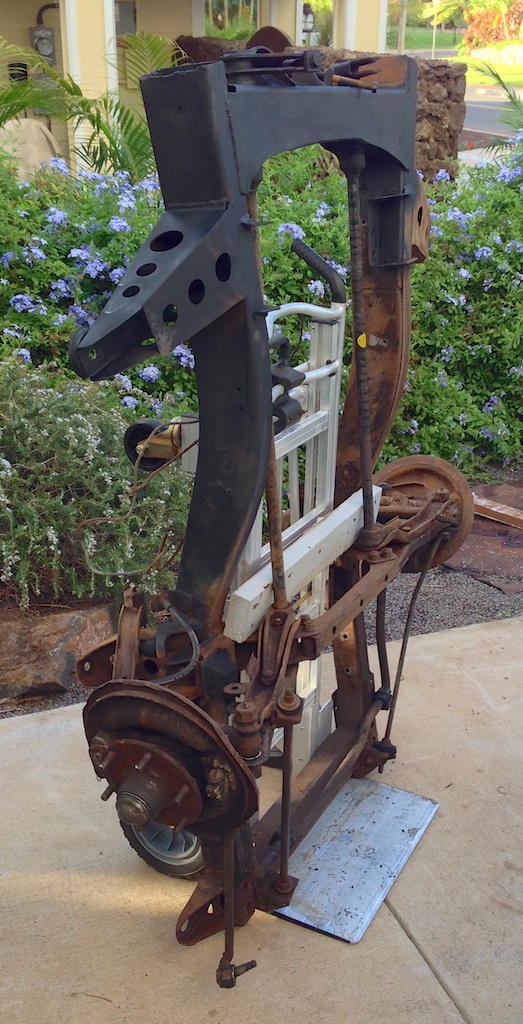
Recently I’ve had a setback in the progress of the build. Super busy at work and some bathroom remodeling have not allowed any time for construction. A change of location may be in the works to allow for a proper shop setting. A few months will tell.
Please stand by.
Back in gear
I’ve been a bit busy with work and some house related chores so the build progress has been minimal. I’ve decided to have the steering rack shortened by a shop that does such work and is familiar with the process. That will mean shipping the rack to and from the mainland once I pick the appropriate machine shop.
As of yet, I haven’t found that vendor.
A lot of the build decisions hinges on the placement of the motor, and that will be determined by the placement of the steering rack, so this is a critical step. Once I have it shortened, I’ll be able to create the mount points to attach it to the frame.
Other parts have been trickling in, such as LED tailights from Speedway Motors.
http://www.speedwaymotors.com/1937-Ford-LED-Tail-Light-Assembly,25334.html
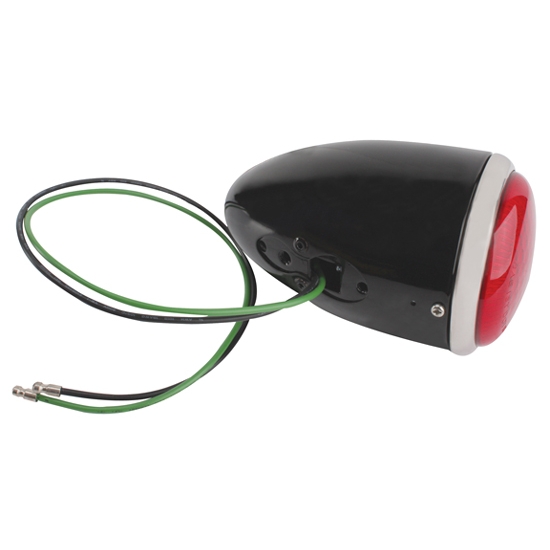
I’m a long way from needing those, but it’s good to get parts once I’ve decided on what I need. Speedway has a huge amount of parts, mostly for racing and American street rods, but there are some useful things for me there as well.
The build progress should pick up a bit as the summer progresses, I have a nicely running Miata to get me to work and I think the Volvo’s issues are resolved. Once the clutch is replaced in the other convertible, all will be good, leaving more build time.
Steering towards the future
I’ve had a bit of a setback, or lack of a setback, depending on how you look at it. The steering rack I had planned to use, a stock Mustang II rack is too long. It can be shortened, but requires some machine work to be done properly, and a lathe is one tool that I don’t have and probably won’t be able for afford or find room for in the near future. Having one custom shortened is a possibility, but at 4 times the cost of the stock rack, which is very common and inexpensive due to its popularity with hot rodders and other builders. The stock steering on the Datsun 620 truck is a steering box with a very low ratio that I didn’t want to live with as well as not having a collapsible column that would be dangerous if not illegal to drive with.
The original steering box connected to two tie rods that ran out to the wheels, Unequal lengths would mean that bump steer would be a bit different for each wheel, but I think that being about on the swing point for the left lower suspension arm it would be negligible and the long distance from the right arm would make is quite small as well.
Looking for alternatives I’ve found two. Hot rods sometimes use a cross steer setup where the rack is single sided and steers the right wheel and there is a tie rod that crosses over and steers the left wheel. This is doable, but that type of special steering rack is almost as expensive as the custom shortened one.
Another choice is to use a different steering box and basically replace the original steering setup with new parts. The Vega box is once such choice that available new. Not as cheap as the Mustang II rack, but half the price of the customized rack.
So the build is stopped for a bit until I nail down the solution to my steering. I hadn’t realized that the lower arms of the Datsun were so close together. Oops.
Bring the rain
Ah, progress has been slow of late, though I can’t blame the weather. Well, Not much anyway. With the end of the year, the available daylight at the end of the work day is nonexistent and we have had a very wet winter. No complaints, we need the rain, but since my workspace is not well protected, work stops when it rains or gets dark.
The frame had short supports sticking out to the side to help support the cab and I’ve cut those off and welded them back on at the ends of the frame to allow for easier connection to the body work. I’ll also be able to use the flanges that were for the rear transmission mount for attachment. I’ve been waiting to start the bodywork until I have the frame fully painted.
I finally got a day when the wind was right, not much rain and I had the time to make a bit of a mess. I bought most of a gallon of POR-15 rust protective coating at a discount. The local paint shop had a damaged can they transferred to a new empty and marked it down quite a bit as it had been exposed to air and wasn’t quite full. POR is unusual paint, or coating as they prefer to call it, in that it hardens when exposed to moisture, in addition to flashing off it’s solvents. I painted the outside of the frame with a brush and black POR-15 and it leveled out to look quite smooth and professional. The gallon I bought wasn’t black, but instead was grey so its easy to see where the paint dripped out from the inside. Not the prettiest, but it won’t be very visible. I will have to touch up the front. POR isn’t UV protective, so it should be overcoated anyway. Since I live near the ocean and this frame is already 40 years old, I wanted to protect the inside as much as possible against corrosion.
Eastwood has a new product designed the inside of frames, but it’s a bit spendy at $20 for a can and I’m not sure I’d be able to get it shipped here because of shipping rules with aerosol cans. And I’d have to drill more holes in the frame which I’m not keen on.
It’s called POR-15 Rust Preventive Coating. http://www.eastwood.com/internal-frame-coating-w-spray-nozzle-qt.html
Now that I have the messy bit done and the coatings have cured, I’ll be moving the frame to the covered protection of the back lanai, or porch for those not from the islands. I hope to get the basic frame of the bodywork done fairly quickly. I’ll be able to get the position of the engine and seats figured out and thus the spacing for the rear suspension and drive shaft placement. It’s all been theoretical until now.
I did find that the frame is just at my limit for single handedly moving it about. My lower back complained the next day about the stress placed on it hoisting and turning the frame. It’s easy enough to move with a dolly at the moment, but when I add the bodywork, it will have to be moved on small trucks. I have to do some careful measuring, I’ve been counting of being able to turn the build on its side to get out the door and back around to the garage when the frame building is done, but it will be very close.
Perhaps I’ll just have to get everything set, begin the body build and only weld in the lower half. Then I can more easily move the build to the garage and complete it there. There’s another project currently in that space, so it will have to be completed and the vending machines moved out to their retail locations before that happens.
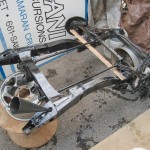
- Frame ready for paint pour
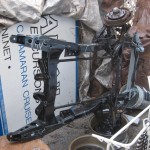
- Pouring done, a bit messy
- A must have when using auto paints
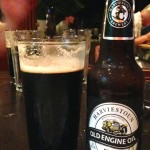
- What to do with old engine oil? If it’s from Harviestoun, you drink it. Mmmm.
New (Old Stock) Metal
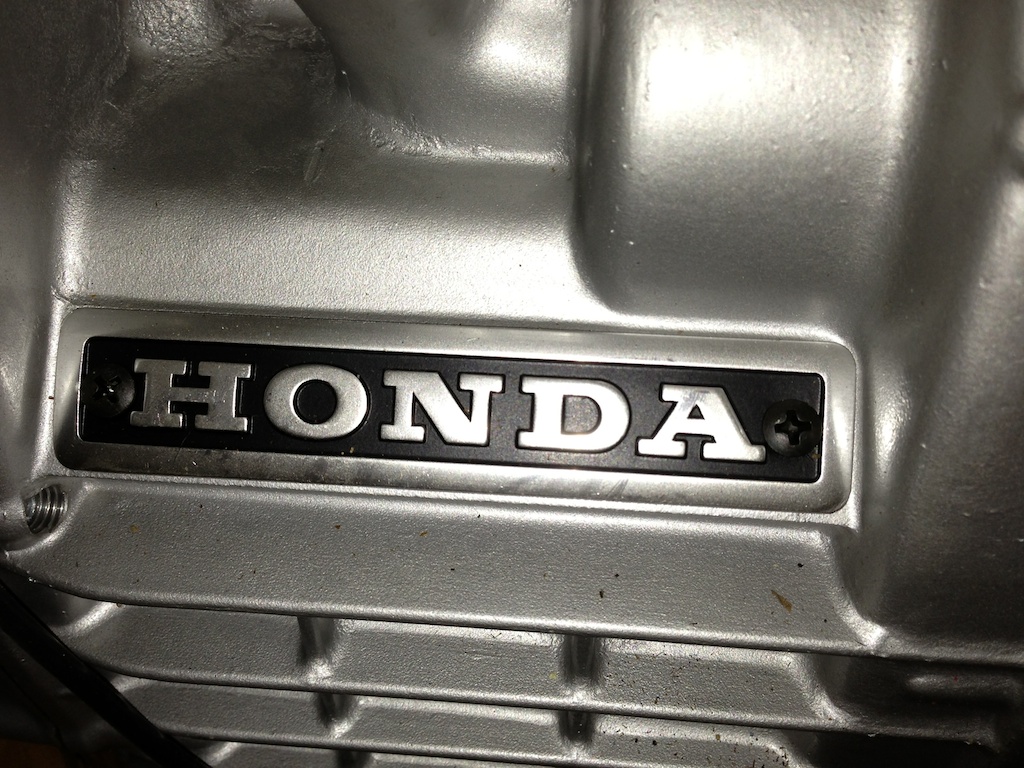
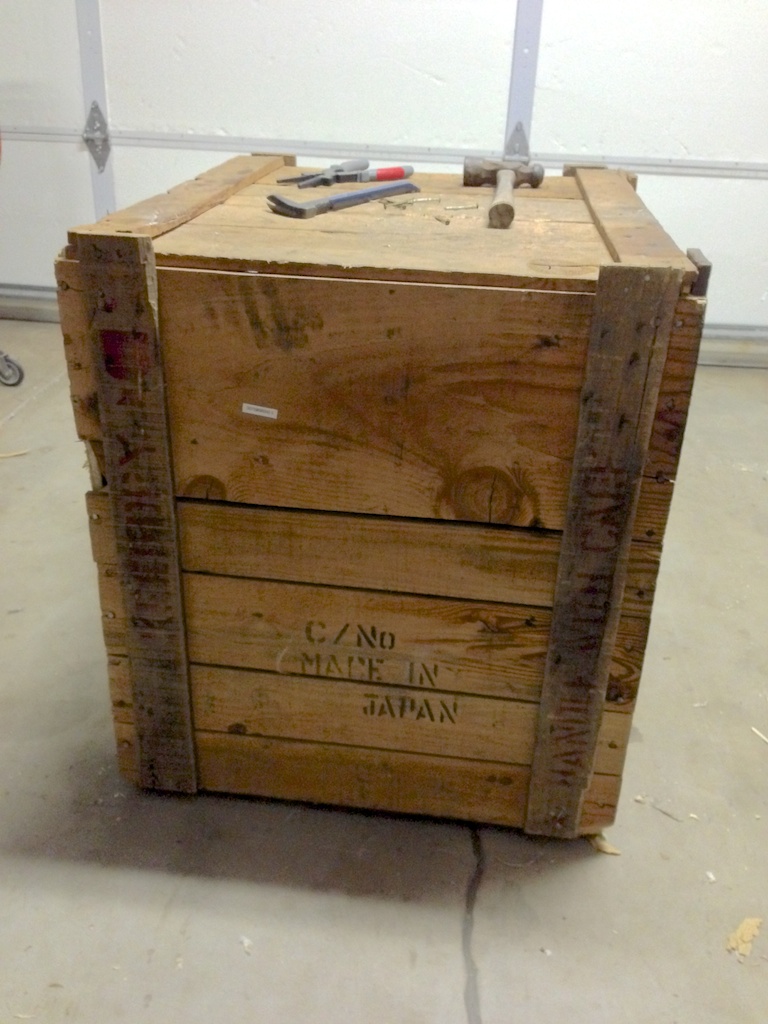
I’ve gotten the New Old Stock engine shipped from St. Louis and it’s in the garage now. It’s a beauty, showing just now nice these were when new. I hand thought it was shipped empty and dry, but it has both oil and antifreeze. Fortunately there was no active leaks, but there are signs that there was some small leakage from the top radiator hose over time.
The truck frame was greasy from years of use and after several passes with the pressure washer and wire brushes, I’ve gotten it clean enough to paint. I power washed the inside of the frame tubes as well and have sprayed some “rust death” primer down them. It’s not going to be enough to give it a good coat, so I’ll have to pour some down each tube as well.
I’ve noticed some surface rust showing on the steel tubes I purchased, so I’ll have to get them painted pretty soon. I’ll dip them in a weldable primer to protect them and still allow ease of welding.
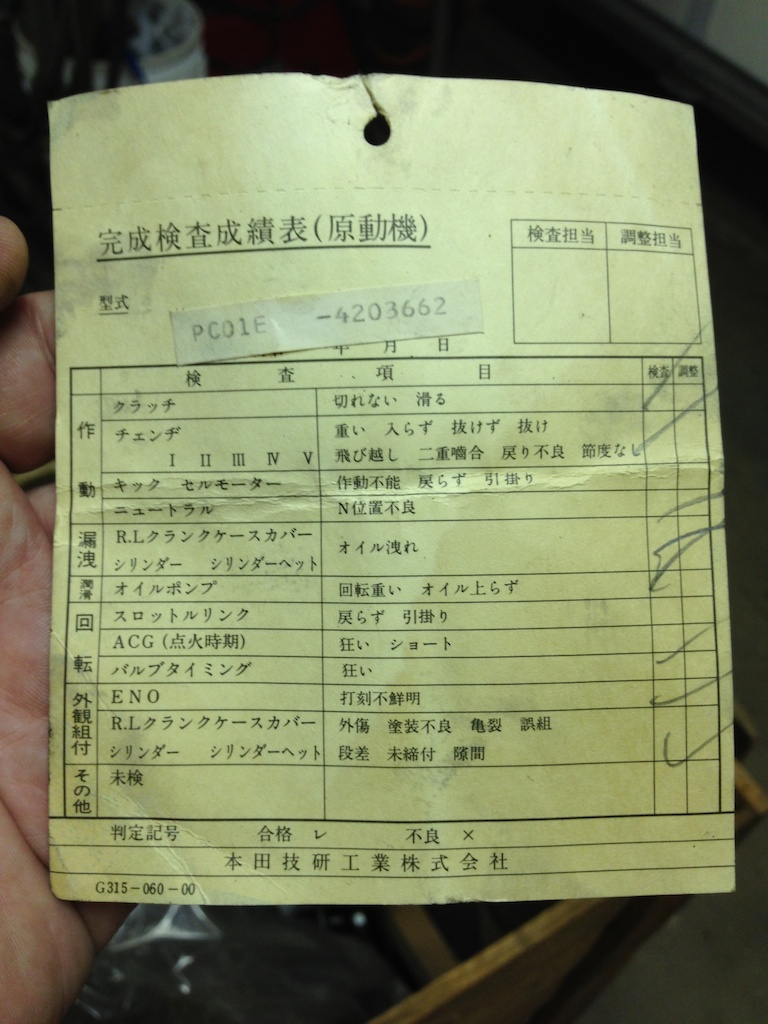
I’m not sure what the check list that came with the says, but the check marks make it look like all is good.
While I was painting the frame, I misjudged the length and dropped it on the my second toe. Fortunately it didn’t break anything but it did bruise it and I’ll probably loose the toe nail. I’ll have to be more careful in the future.

