Back in a new bin

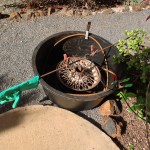
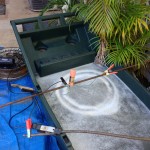
I’ve had a bit of a setback, the wheelbarrow has sprung a leak while working on the second wheel. I drained it and scraped out the several cups of rust in the bottom. Searching for a suitable replacement took me to several places in town. A 17 gallon bin from the discount store was not big enough to fit the wheel and clear the cable I’m using for the anode. I found a proper sized tub at the local farm supply store. Twenty Five gallons in size and made of 100% recycled plastic for a modest $21. Yay.
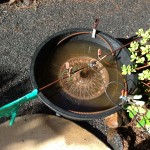
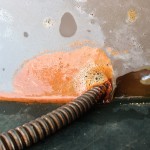
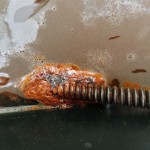
I set up the second wheel in the new bin and reconnected the battery charger. Unlike the first time when the ammeter showed a 6 amp draw, this time it only showed a 3 amp draw. Perhaps because I didn’t add as much of the OxyClean as before. Anyway, the process continued, although a bit more slowly. After leaving it in the bin overnight, I pulled the rim out and gave it a look. It was pretty clean considering the extent of the corrosion that was under the inner tube. About 20% of the rim still had corrosion on it.
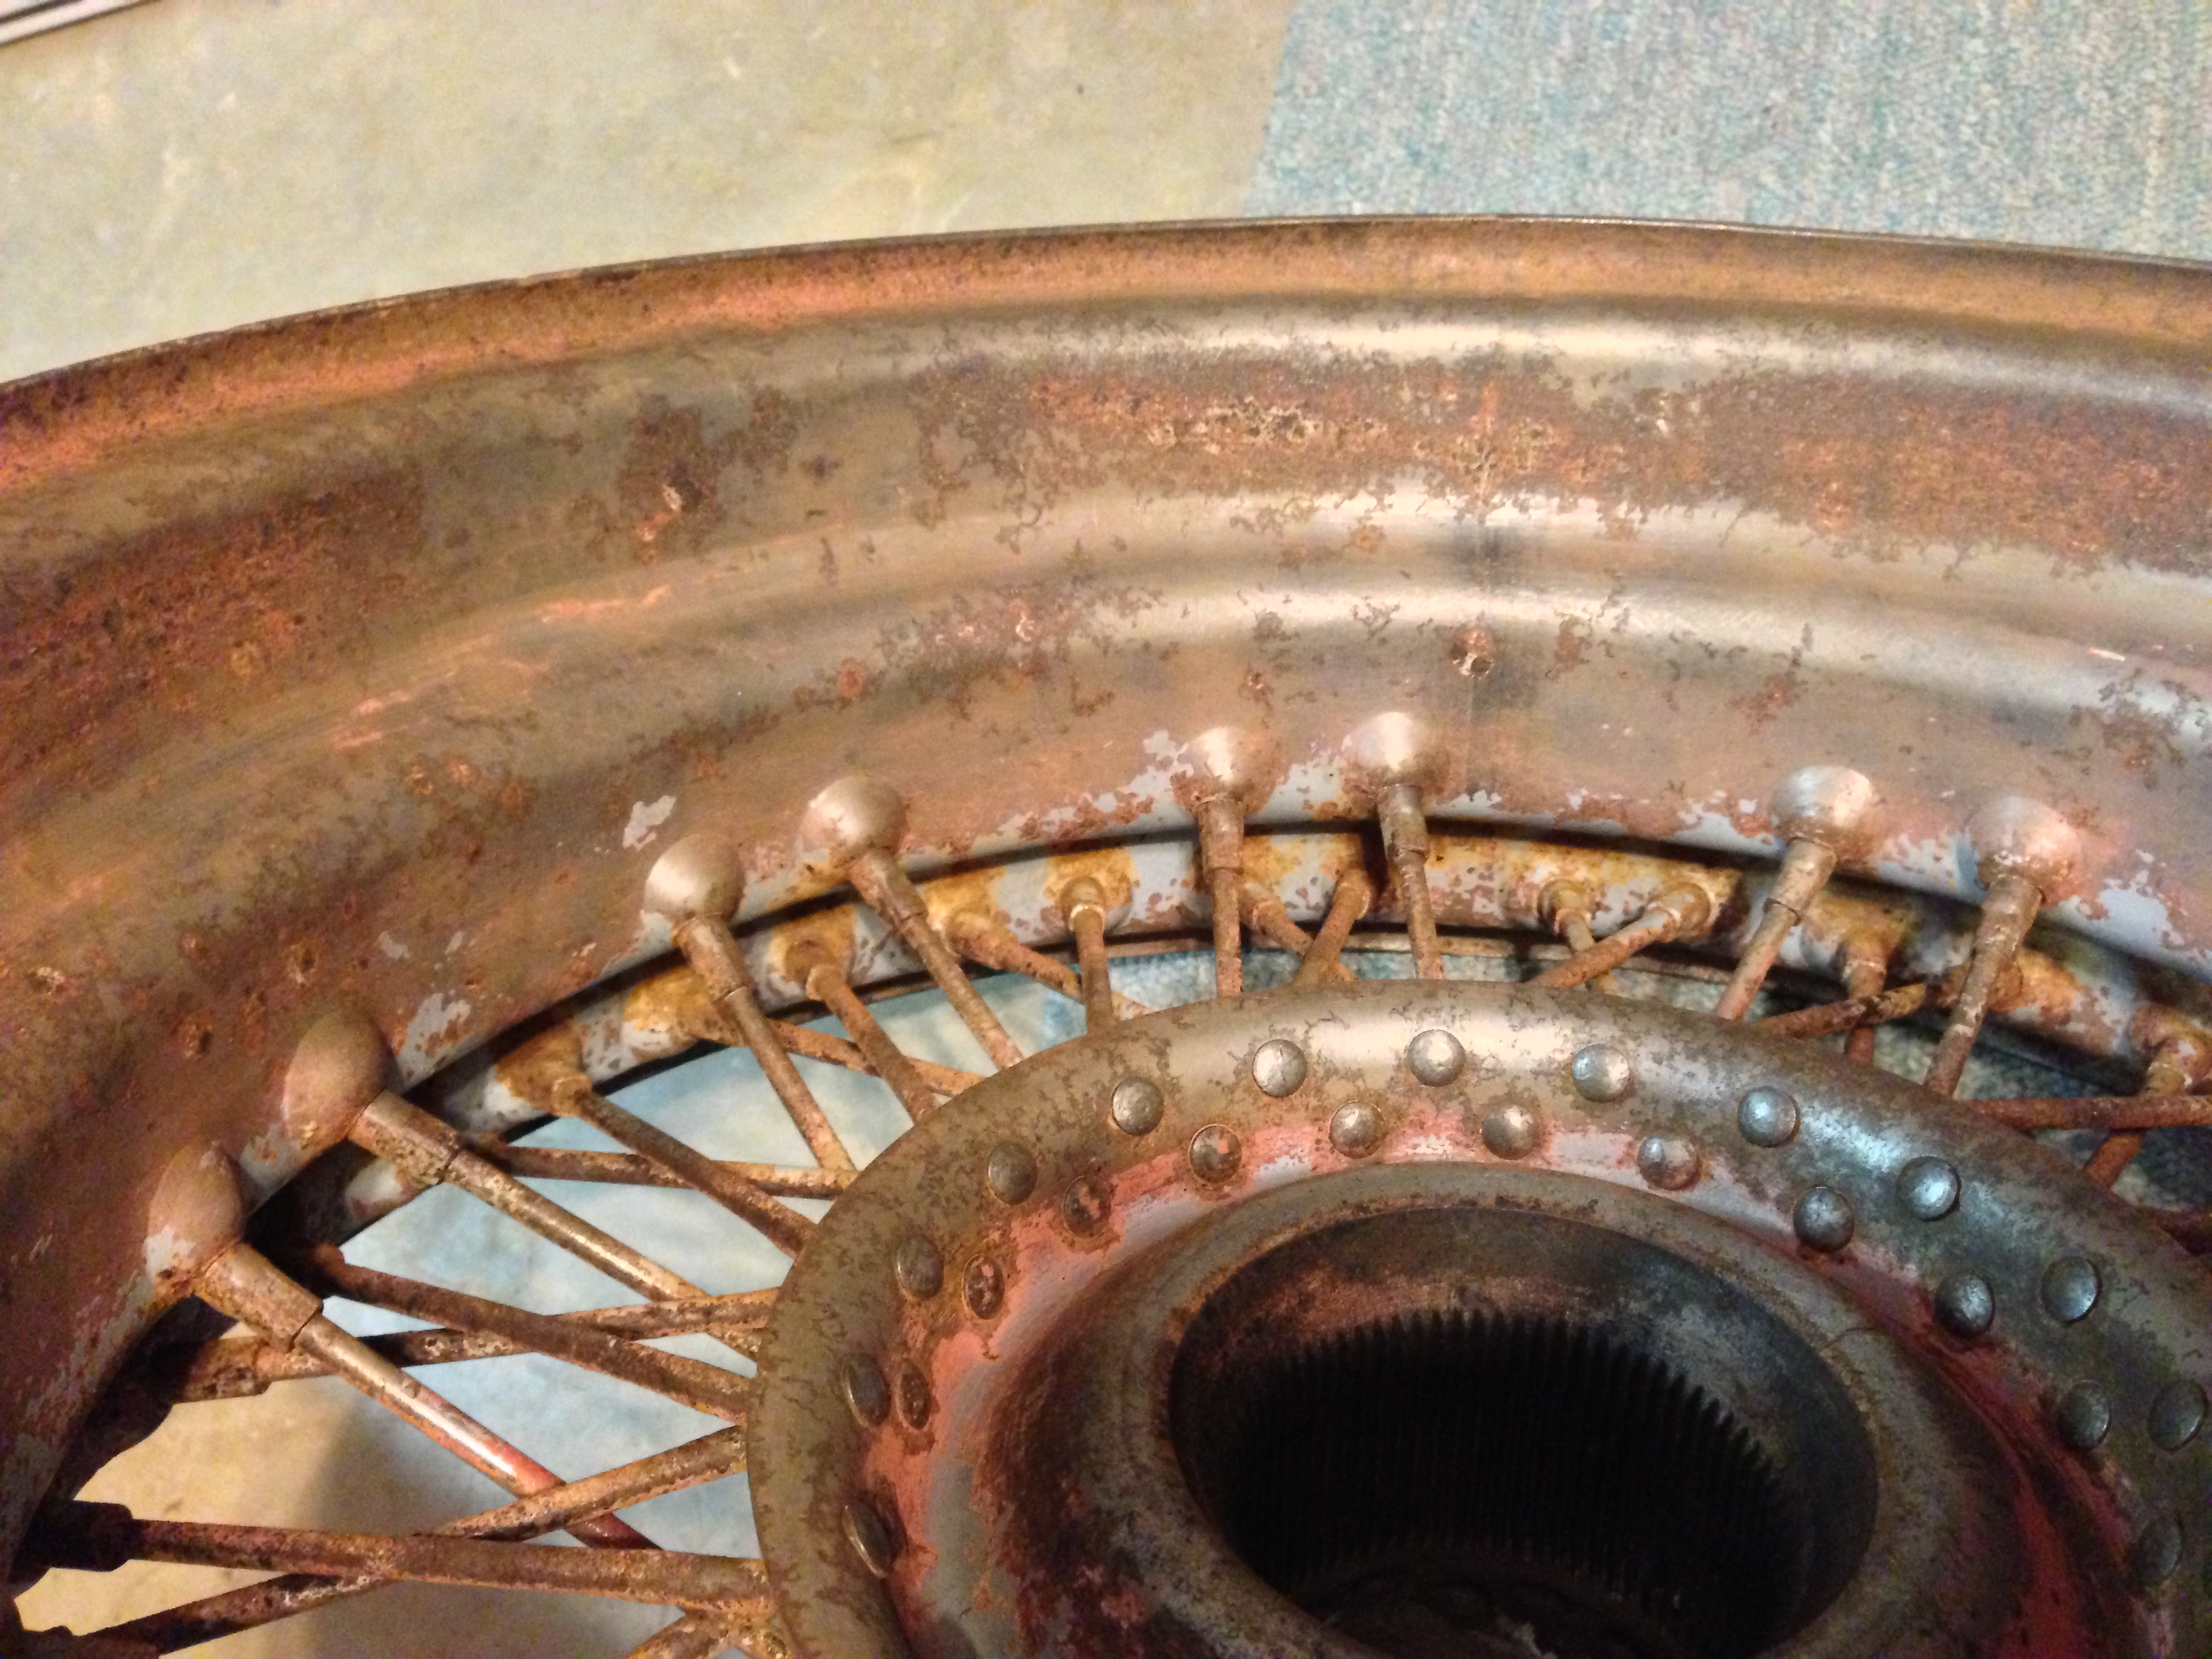
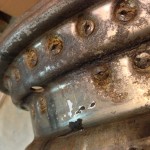
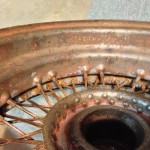
I scrubbed the rim with a wire brush and hosed off the grey iron oxide. Not much of the red rust remained, but there was some left. Most of what remained had been turned into a black/grey form of iron oxide. Some parts of the wheel looked as clean and bright as brand new, other parts show substantial surface pitting. Since I’ll be running inner tubes, I’m not so concerned about absolute perfection of the rim. I believe that it will be quite satisfactory. I’m not sure how much the power will cost to derust all my wheels, but at 38 cents per KwH, it’s not insignificant. Still, it won’t be a deal breaker.
I’m thinking about paint options, what type of primer, what color to paint the wheels. I have a color scheme in mind, more on that later.

Bubble, bubble, toil and trouble…

Wheel 1 after cleaning inside rim

Apologies to Will Shakespeare…

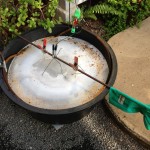
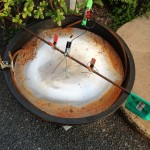
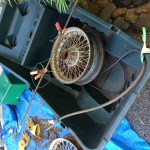
I let the wheel stay in the electrolysis wheelbarrow for several days. The bubbles continued and then gradually tapered off to nothing. The battery charger’s indicator showed little current flow. Examining the wheel showed that the majority of the paint had softened and a good deal of the rust was gone. The side that was up did have more rust than the down side so I’ll flip the wheel over and give it another day or two in the bath.
A majority of the paint washed off with a hose and a wire brush got a good deal of the rest. The rust was mostly gone in some spots and the wheel looks pretty good. If only I had more wheels as good as this one. I’ll finish this one and start on the next best wheel. Not a bad start.

A fizzy bit in the bin

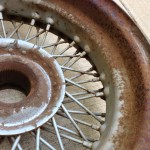
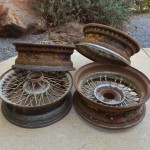
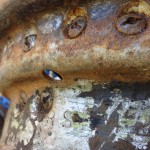
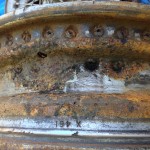
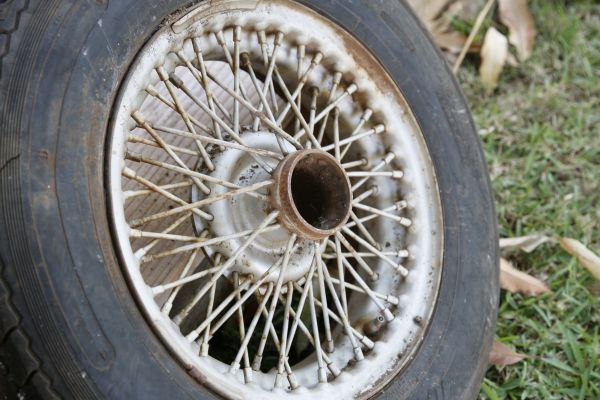
I’m trying to clean up the wire wheels I got last week so I can get them painted. I had the tires dismounted and was sad to find that there was considerable rust inside the rims. Tubeless tires make a good seal with the rim and keep out the environment, as long as there is air in them of course. Wire wheels require tubes, and don’t always seal against the rim perfectly. Water can also sneak in via the spokes.
At least one of rims has substantial metal missing by the valve hole due to rust. It makes that one a backup spare only. I have one that is in really good shape, albeit I found it has a broken spoke. So I only need one more good one from the remaining five to get up and running. I was hoping to have two complete wheel sets, but that remains to be seen.
To clean up the rust, I initially figured I’d get the wheels sand blasted clean. I’m having a bit of trouble finding someone who can provide that service. If I do, I’m afraid it will cost more than what the wheels cost. I have already shelled out $72.50 to get 4 tires dismounted and discarded. Yes, services on the island cost more than on the mainland. So I try to do what I can myself.
I found a video on YouTube that describes removing rust via electrolysis. There are a number of videos but the basics are the same. It looks easy enough and I have all the materials needed. A big plastic container, a battery charger and sodium carbonate, aka OxyClean. Some electrical wire, wire brushes and sandpaper should be all I need.
I removed the remaining rubber ring around the inner part of the wheel and the knocked off the largest rust bits. I suspended the wheel in the plastic wheelbarrow with the electrical wire and filled it with 25 gallons of water with the disolved OxyClean. I had recently pulled a 15 foot length of plumber’s snake from the dumpster near work so I coiled that up in the bottom to act as the anode. One video mentions that the derusting action is more or less line of sight, so I think that means I’ll have to flip over the wheel to get the other side clean. I may also have to loop the snake along the sides of the wheelbarrow to get the inner part of the rim clean, the part where the ends of the spokes are and the tire mates.
I’ve had the current on for about an hour and am seeing some bubbles, so believe that I’m getting some action. I’ll probably have to leave it at least overnight since the battery charger is a maintenance type with an output of two amps. We’ll see how it looks tomorrow.

More parts arrive…

The postal service has brought me a nice large box of goodies. I ordered a few things from the frozen lands of the north. Ok not really very far north, but frozen anyway. Iowa to be specific and Karen, the person I spoke with to get a invoice for the combined cost of the 5 items and shipping to Maui missed a day of work because her car wouldn’t start. Brrr, I think it was 78 degrees that day here.
Being 2000 miles from the mainland, shipping is a significant expense and I take every advantage to save a bit. Amazon has free super saving shipping which is great but they don’t have a lot of parts needed for this project.
Ebay seller gonefishing69 seemed to have a good selection of parts I could use. I bought a new manual steering rack for a Ford Mustang II, apparently a popular choice for Hot Rod projects. It came with tie rod ends and mounting hardware. I chose a stainless steel cylindrical tank for the radiator reservoir. A proportioning valve and a 2 lb. residual pressure valve round out the brake parts and I chose red seat belts to complement the yellow/orange color scheme I’ve picked for the paint job.
Not very exciting but every bit brings me closer to completion.

A great find!

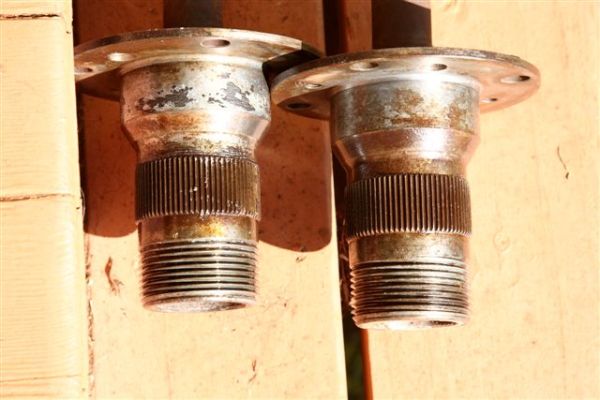
Today I purchased five wire wheels and hubs that I found on Craig’s List. Included were the chrome knock offs. They are 14″ rims from a MGB that have been sitting under the seller’s house for a few years. A bit rusty, but should clean up well. Aside from the difficulty of finding a set of wheels and hubs anywhere for a good price, I was pleased to find these a mile from my house for the sum of $150.
I was going to build the car with the slot style alloy wheels that I have from the Datsun truck donor and switch out to more authentic 19″ wire wheels when I could afford the $2000 plus cost that would entail. Now I can get a somewhat authentic look at a much lower cost. True, the taller wheels would look better, but I plan to drive this daily and so it will be good to have tires that are more easily available. The 165 SR 14 tires on the wheels I just bought should be more easily available, though I may look for taller ones to get a more period look. Either way, I can have a pair of spare wheels and tires on-hand to swap out when necessary.
This web site has excellent information on wheels and tyres, more than you will ever need to know. Ever wonder what all those marks on your tyres mean? He has the answers.
One issue with wire wheels is the fact that they need tubes in the tires. Having tried to find tubes for radial tires before and facing blank stares from all the 19 year old tire jockeys I’ve asked, I almost gave up hope that such things still exist. Yet exist they do and I’ve found an on-line retailer that carries them. Coker Tire has a nice range of historic tires and carries Michelin tubes. I’ll still have to find a garage that has worked with wire wheels and is willing to put in the talc power to keep them from over heating. Balancing wires is another issue as most tire machines don’t have the adapters to do a proper job. Surely someone here is willing or remembers the old days. It certainly won’t be Costco, as much as I like the store for modern things.
Previous to that, I’ll have to get the tires off, so I can get the rims sand blasted and painted. I’ll keep tires on two of them so I can use them for fitting and moving the build around when that time comes.
A lot of work remains to be done, but finding wires locally makes me quite happy since I’m keeping good parts from the steel scrapers, saving money and getting a more authentic look. An even happier fact is that these parts were basically free to me. I took a computer that was given to me that had a failed part, replaced that with another donated part and sold the computer for more than my new wheels and hubs cost. So, I converted computers that would have gone to the scrappers into working machines, found a home for them and got parts that I needed, again keeping them from the scrappers and bringing my project closer to reality. Sweet!