A giant leap forward

I’ve been hanging back a bit in buying part and materials for the build because I haven’t been sure the engine is in good order. The weather was beautiful this weekend so I made the time to diagnose the engine’s condition.

Major concerns centered on the upper end of the engine. I’d already looked in a few of the inspection ports and seen that the oil had kept the inside well lubed. However, it had been sitting for an unknown period of time with at least one set of valves open to the weather, although it did have exhaust pipes and carburetors attached fortunately. What was the inside of the cylinders like? Do the valves still seal?
I drained the oil and pulled the oil pan off the bottom of the engine. I examined the residue in the oil pan and found nothing alarming in the small amount that was there.

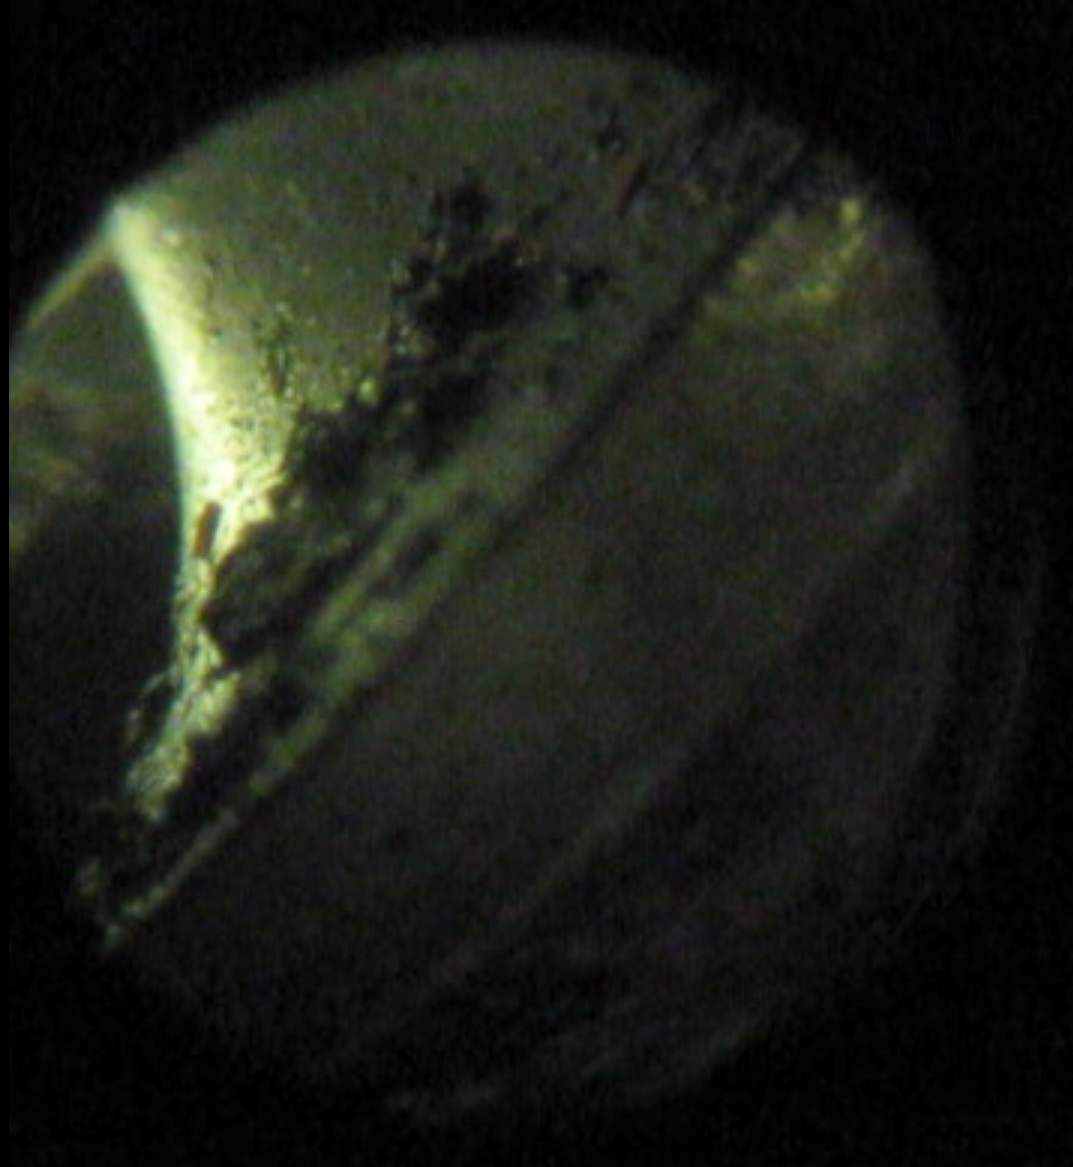
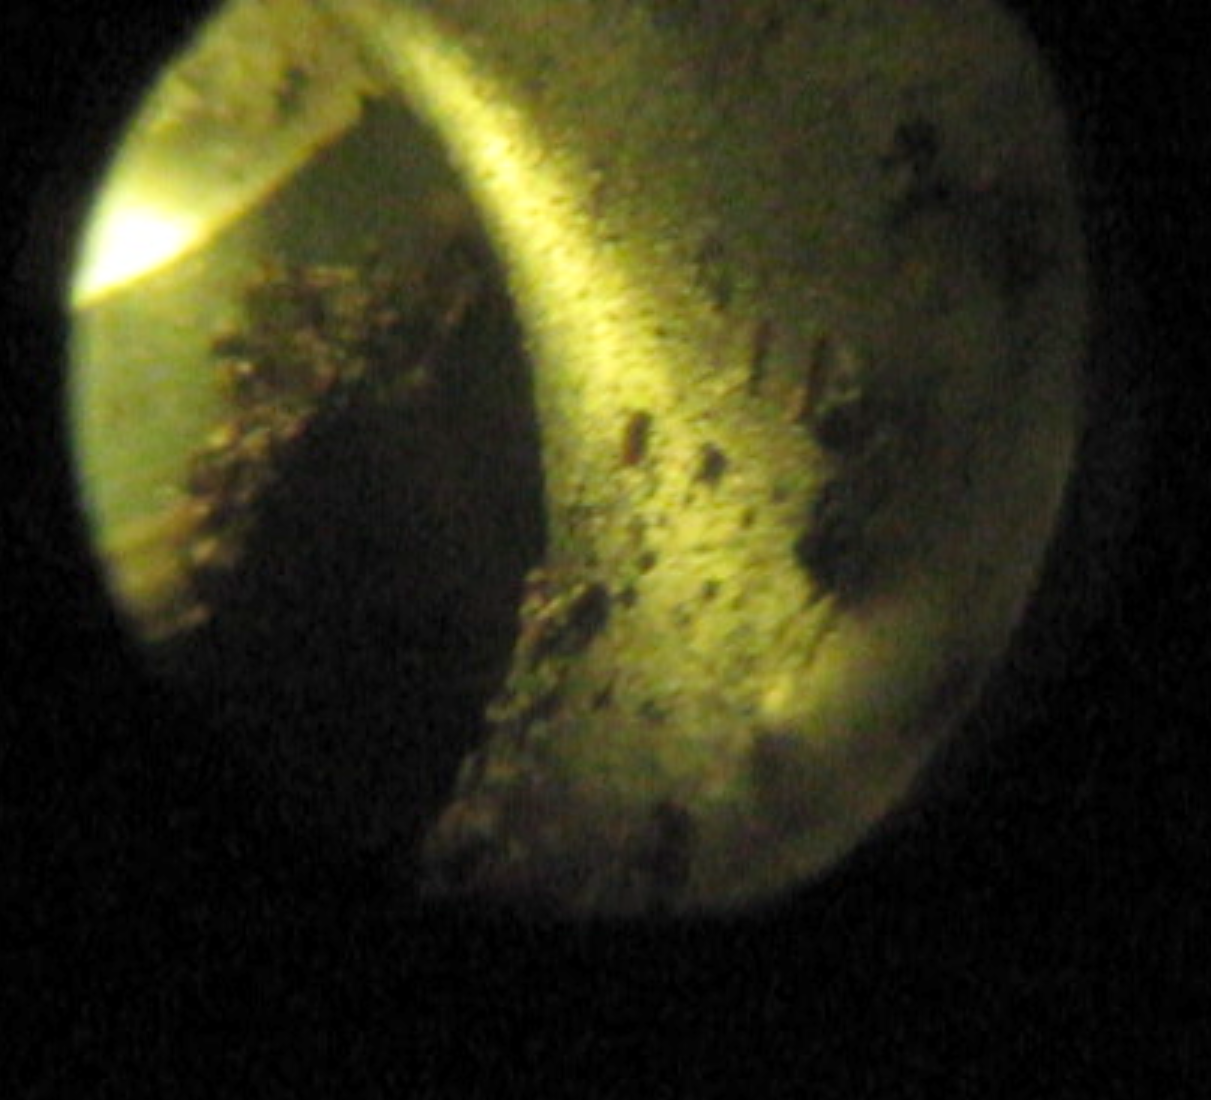
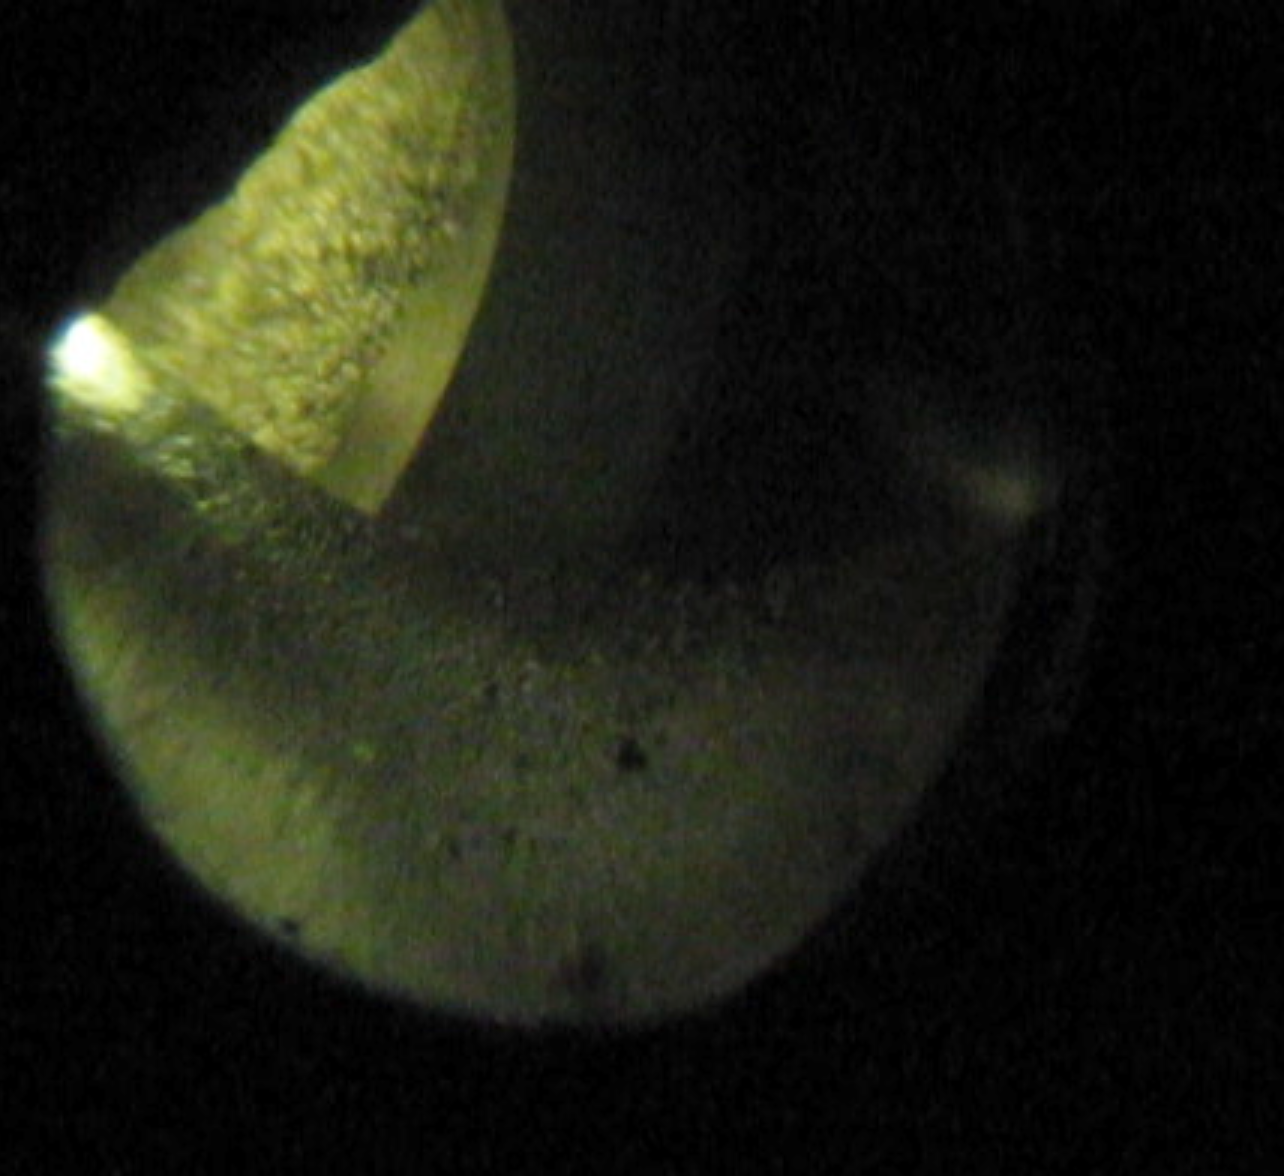
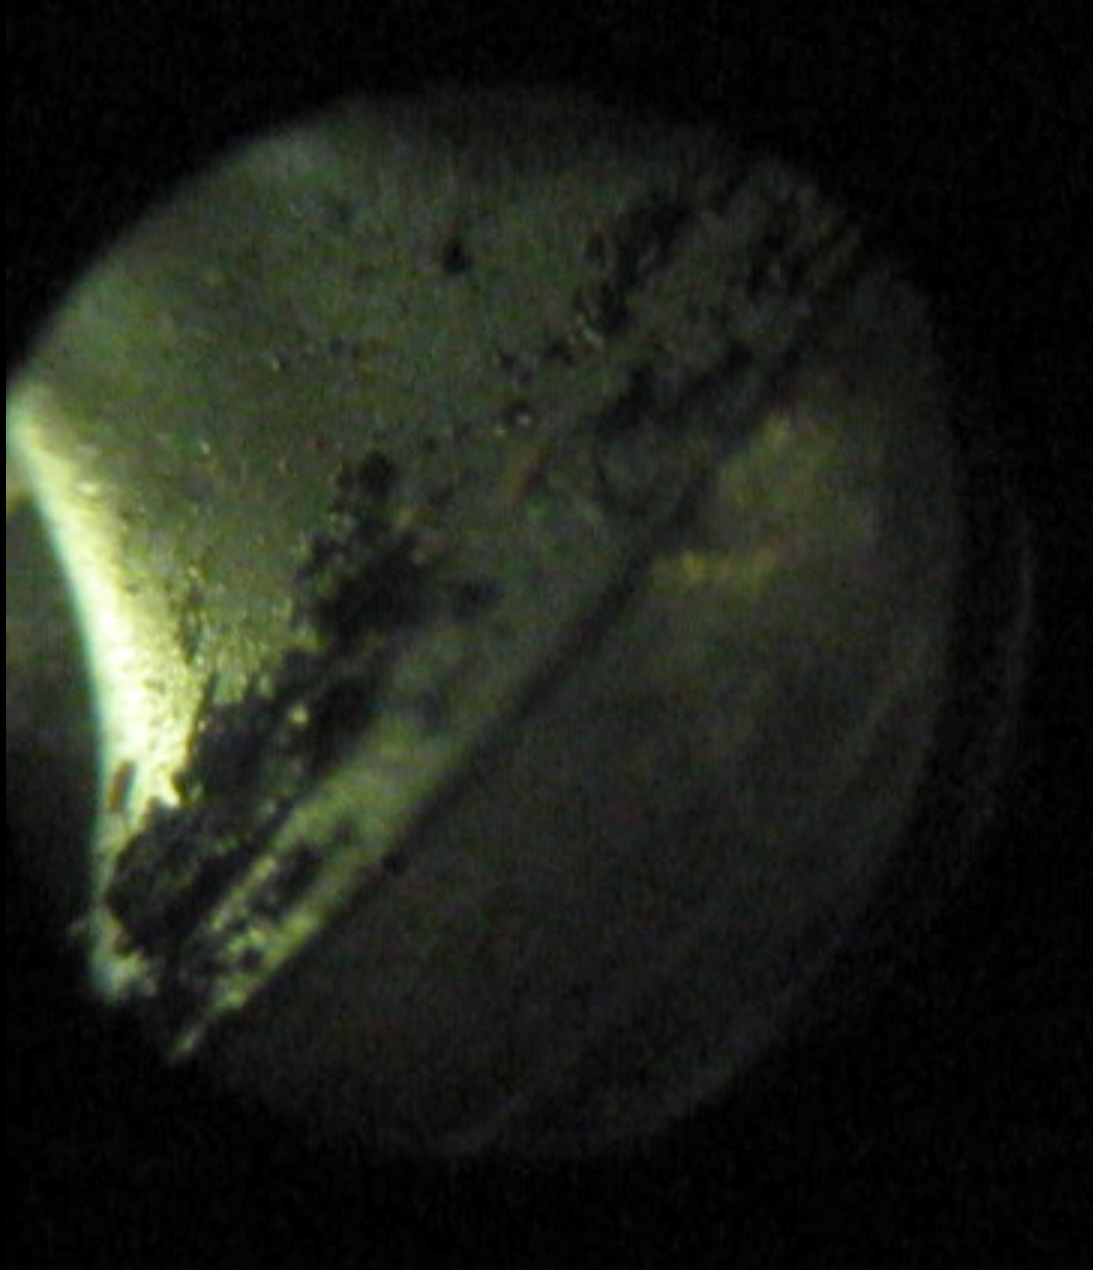
Turning the engine over with a 17mm socket on the timing gear on the front, I could feel that the pistons moved up and down smoothly. Excellent. But what about the cylinder walls and the valves? I have a rigid ureteroscope made for looking into your bladder, that was thin enough to put through the spark plug hole and could look at the cylinder walls and valves. I don’t have the light source that passes light out the end, but I put an LED on the tip and shined a strong flash light into  the open ports on the heads to light up the valves.

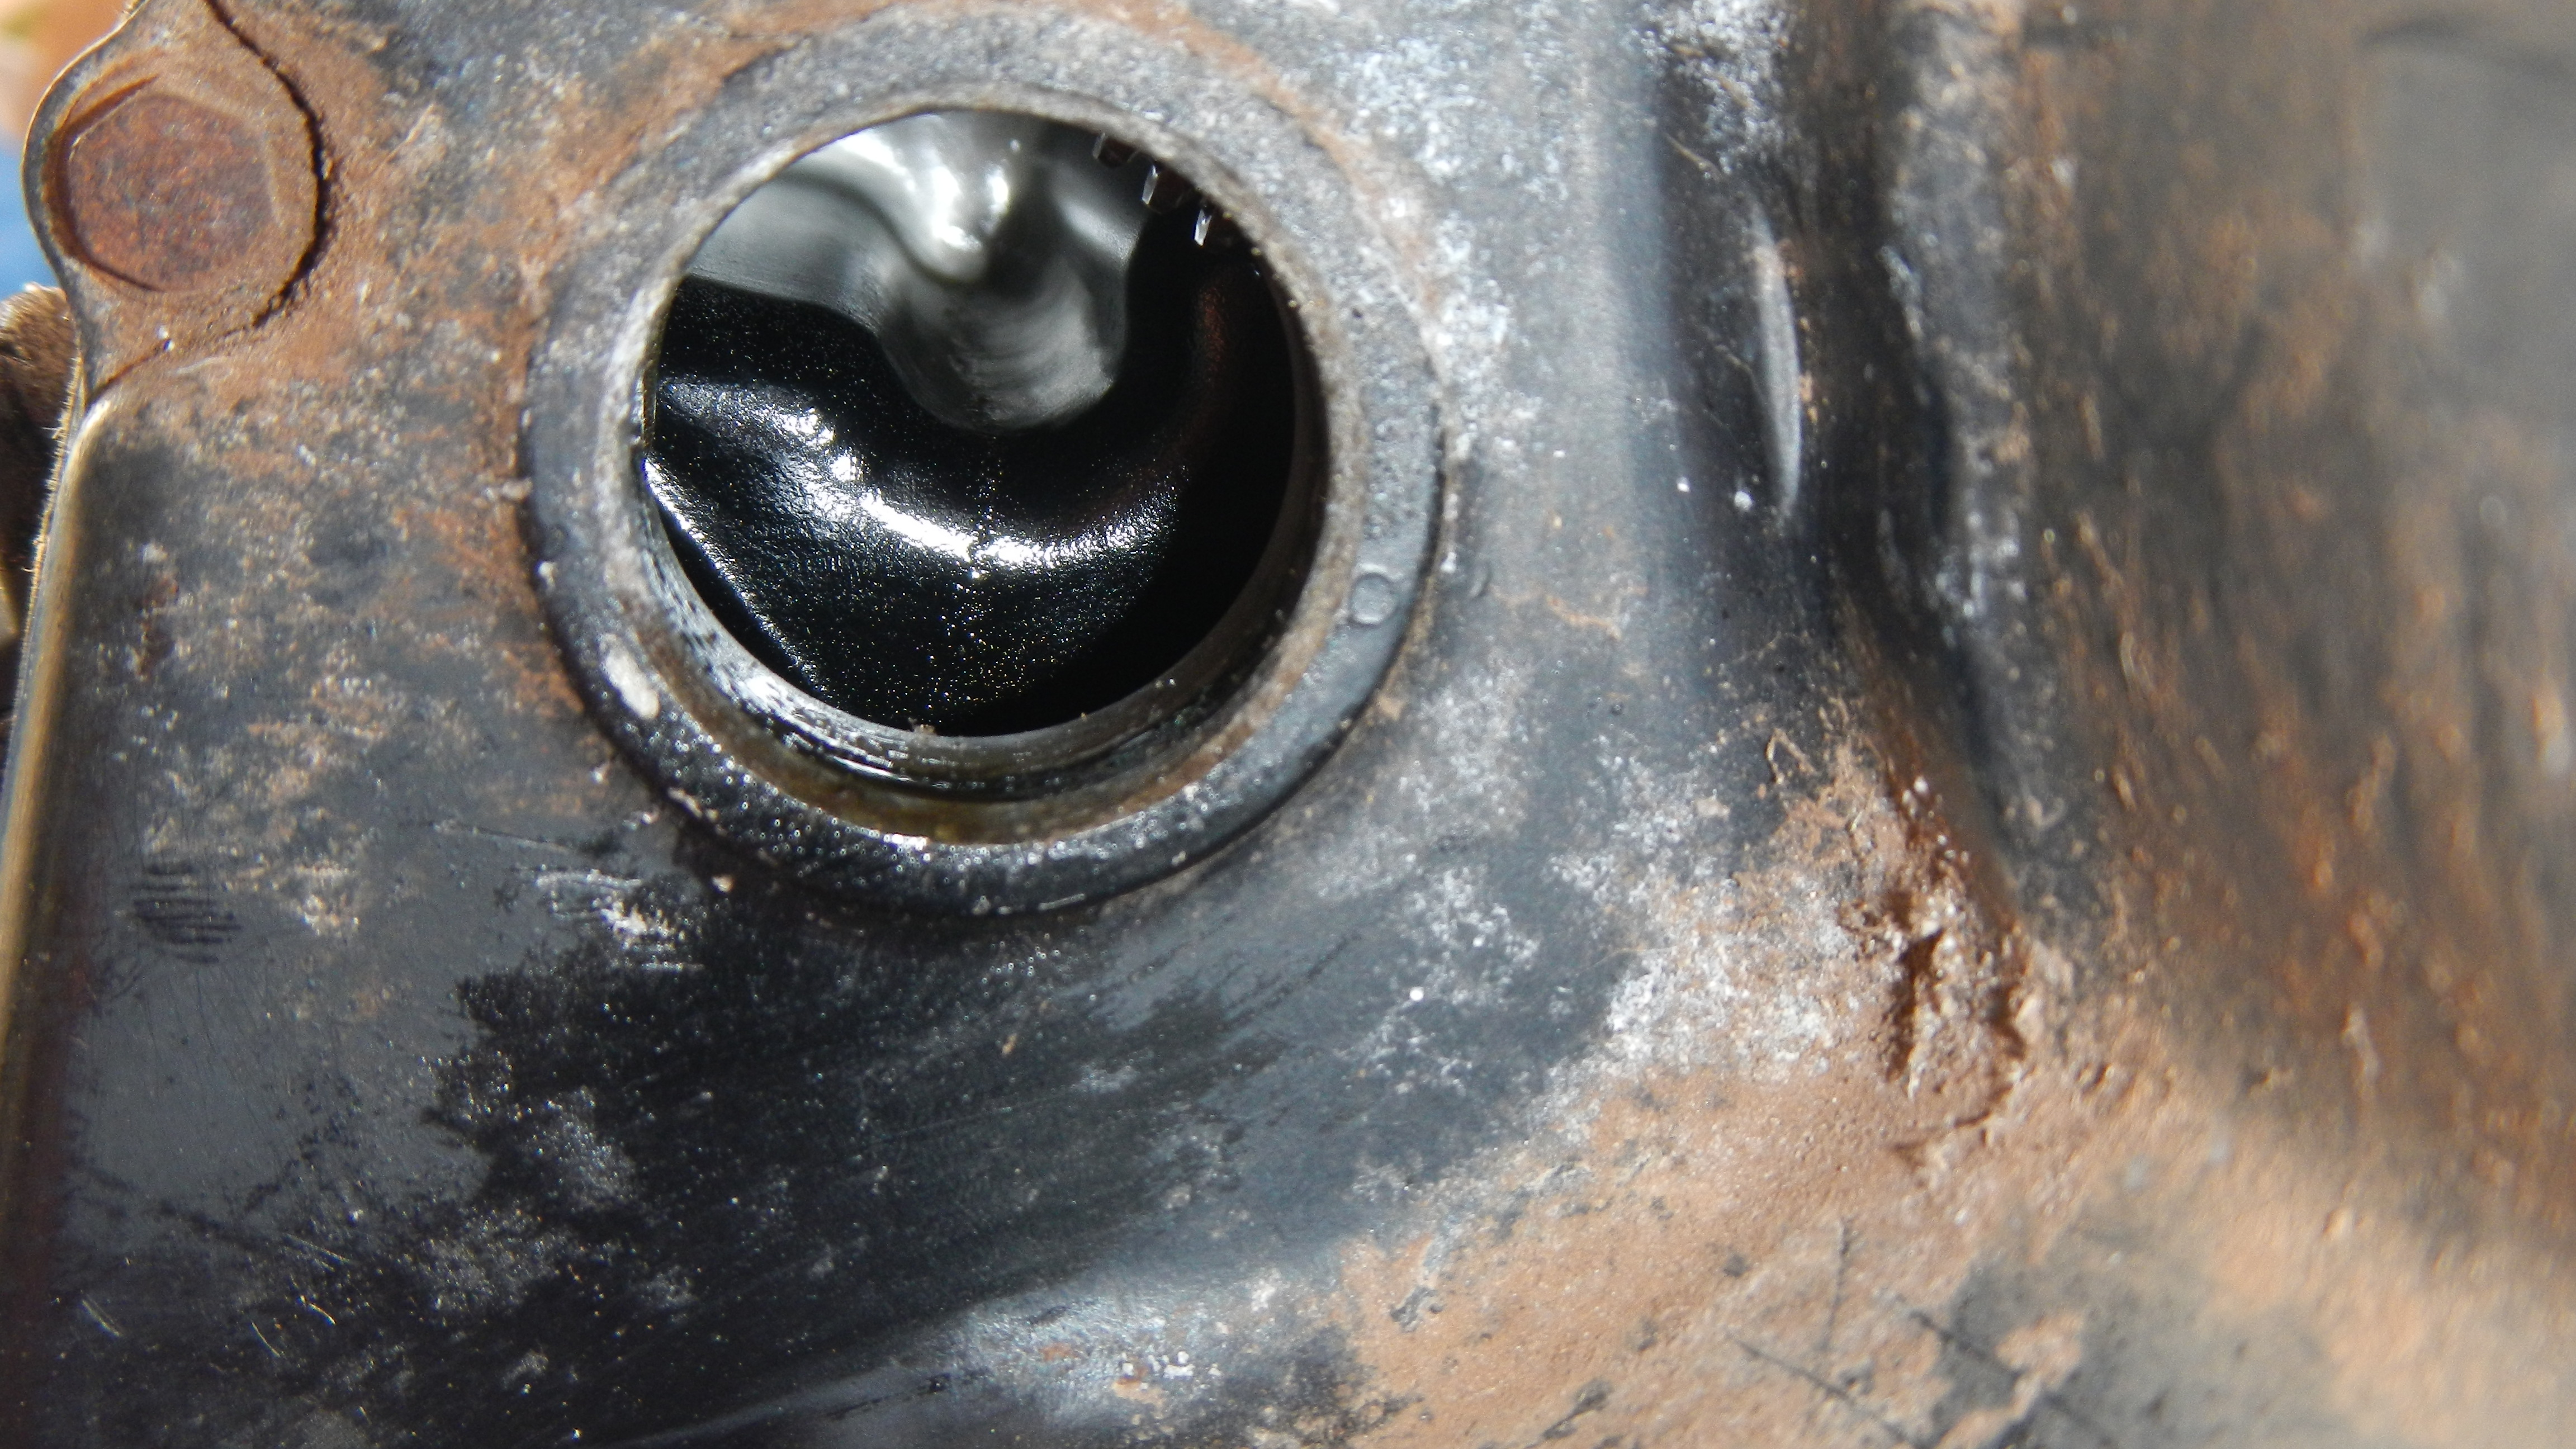
Good news! The intake valves all look good, although there was a fair amount of dirt on them. The sealing surfaces all look good. The sealing surfaces for the exhaust valves are darker and it was hard to tell if they were as uniform, but I didn’t see any great issues. I did see a small amount of spotting and pitting at the low side of the right cylinder where some water must have gotten in. And some small bits of scoring as well. Not good news, but not horrible either. I’ve elected to press forward and simply scope the engine from time to time to check that this issue stays minor.
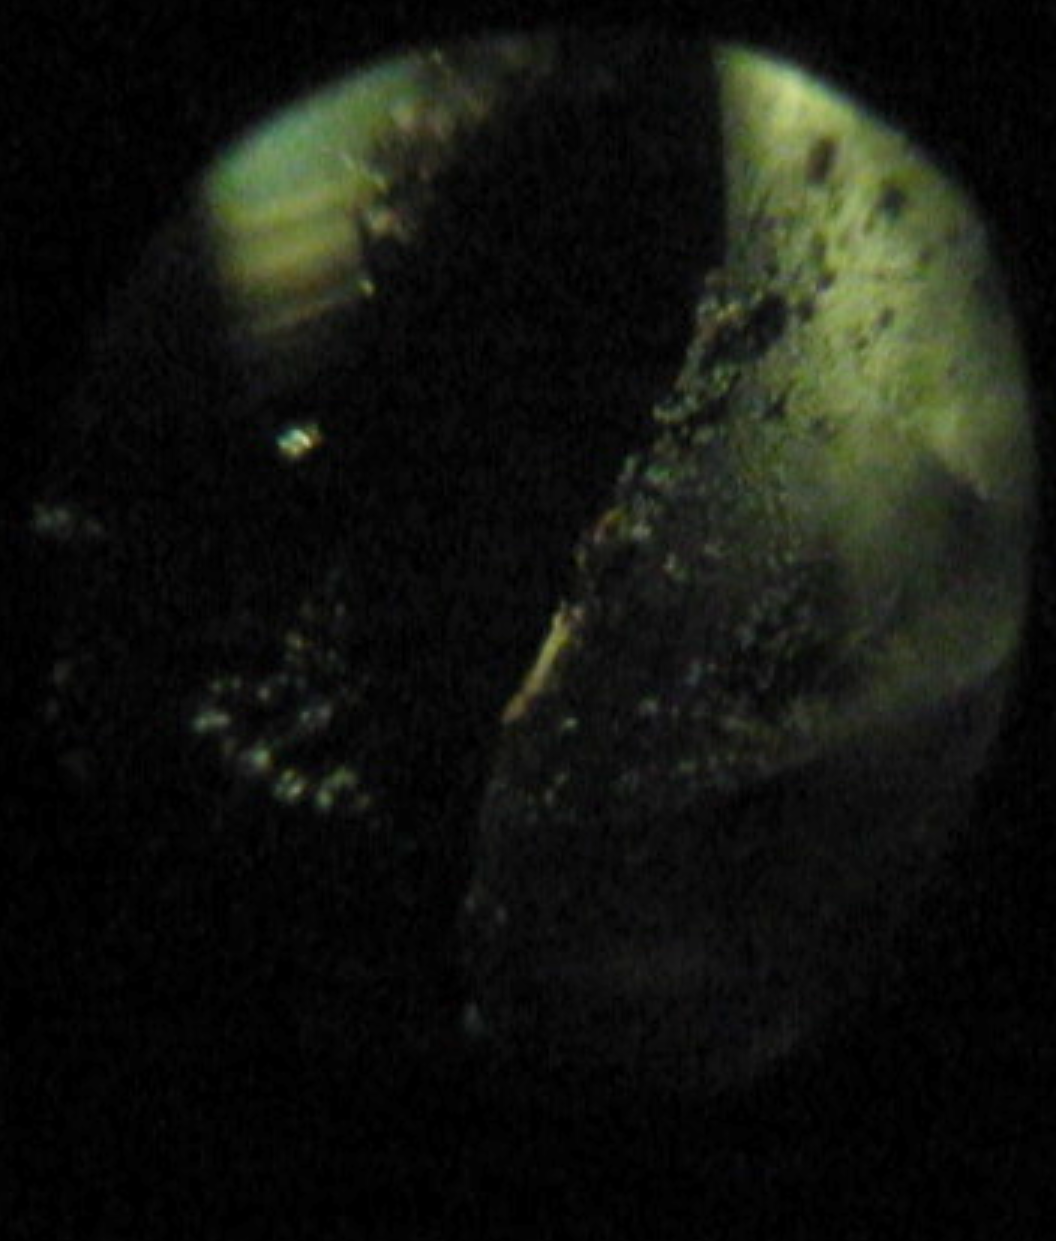
Intake valve side dirt and edge
Intake valve dirt and clean edge
Intake valve shoulder and seat dirt
Cylinder wall spotting
Intake valve shoulder and valve seat
Intake valve dirt and valve edge
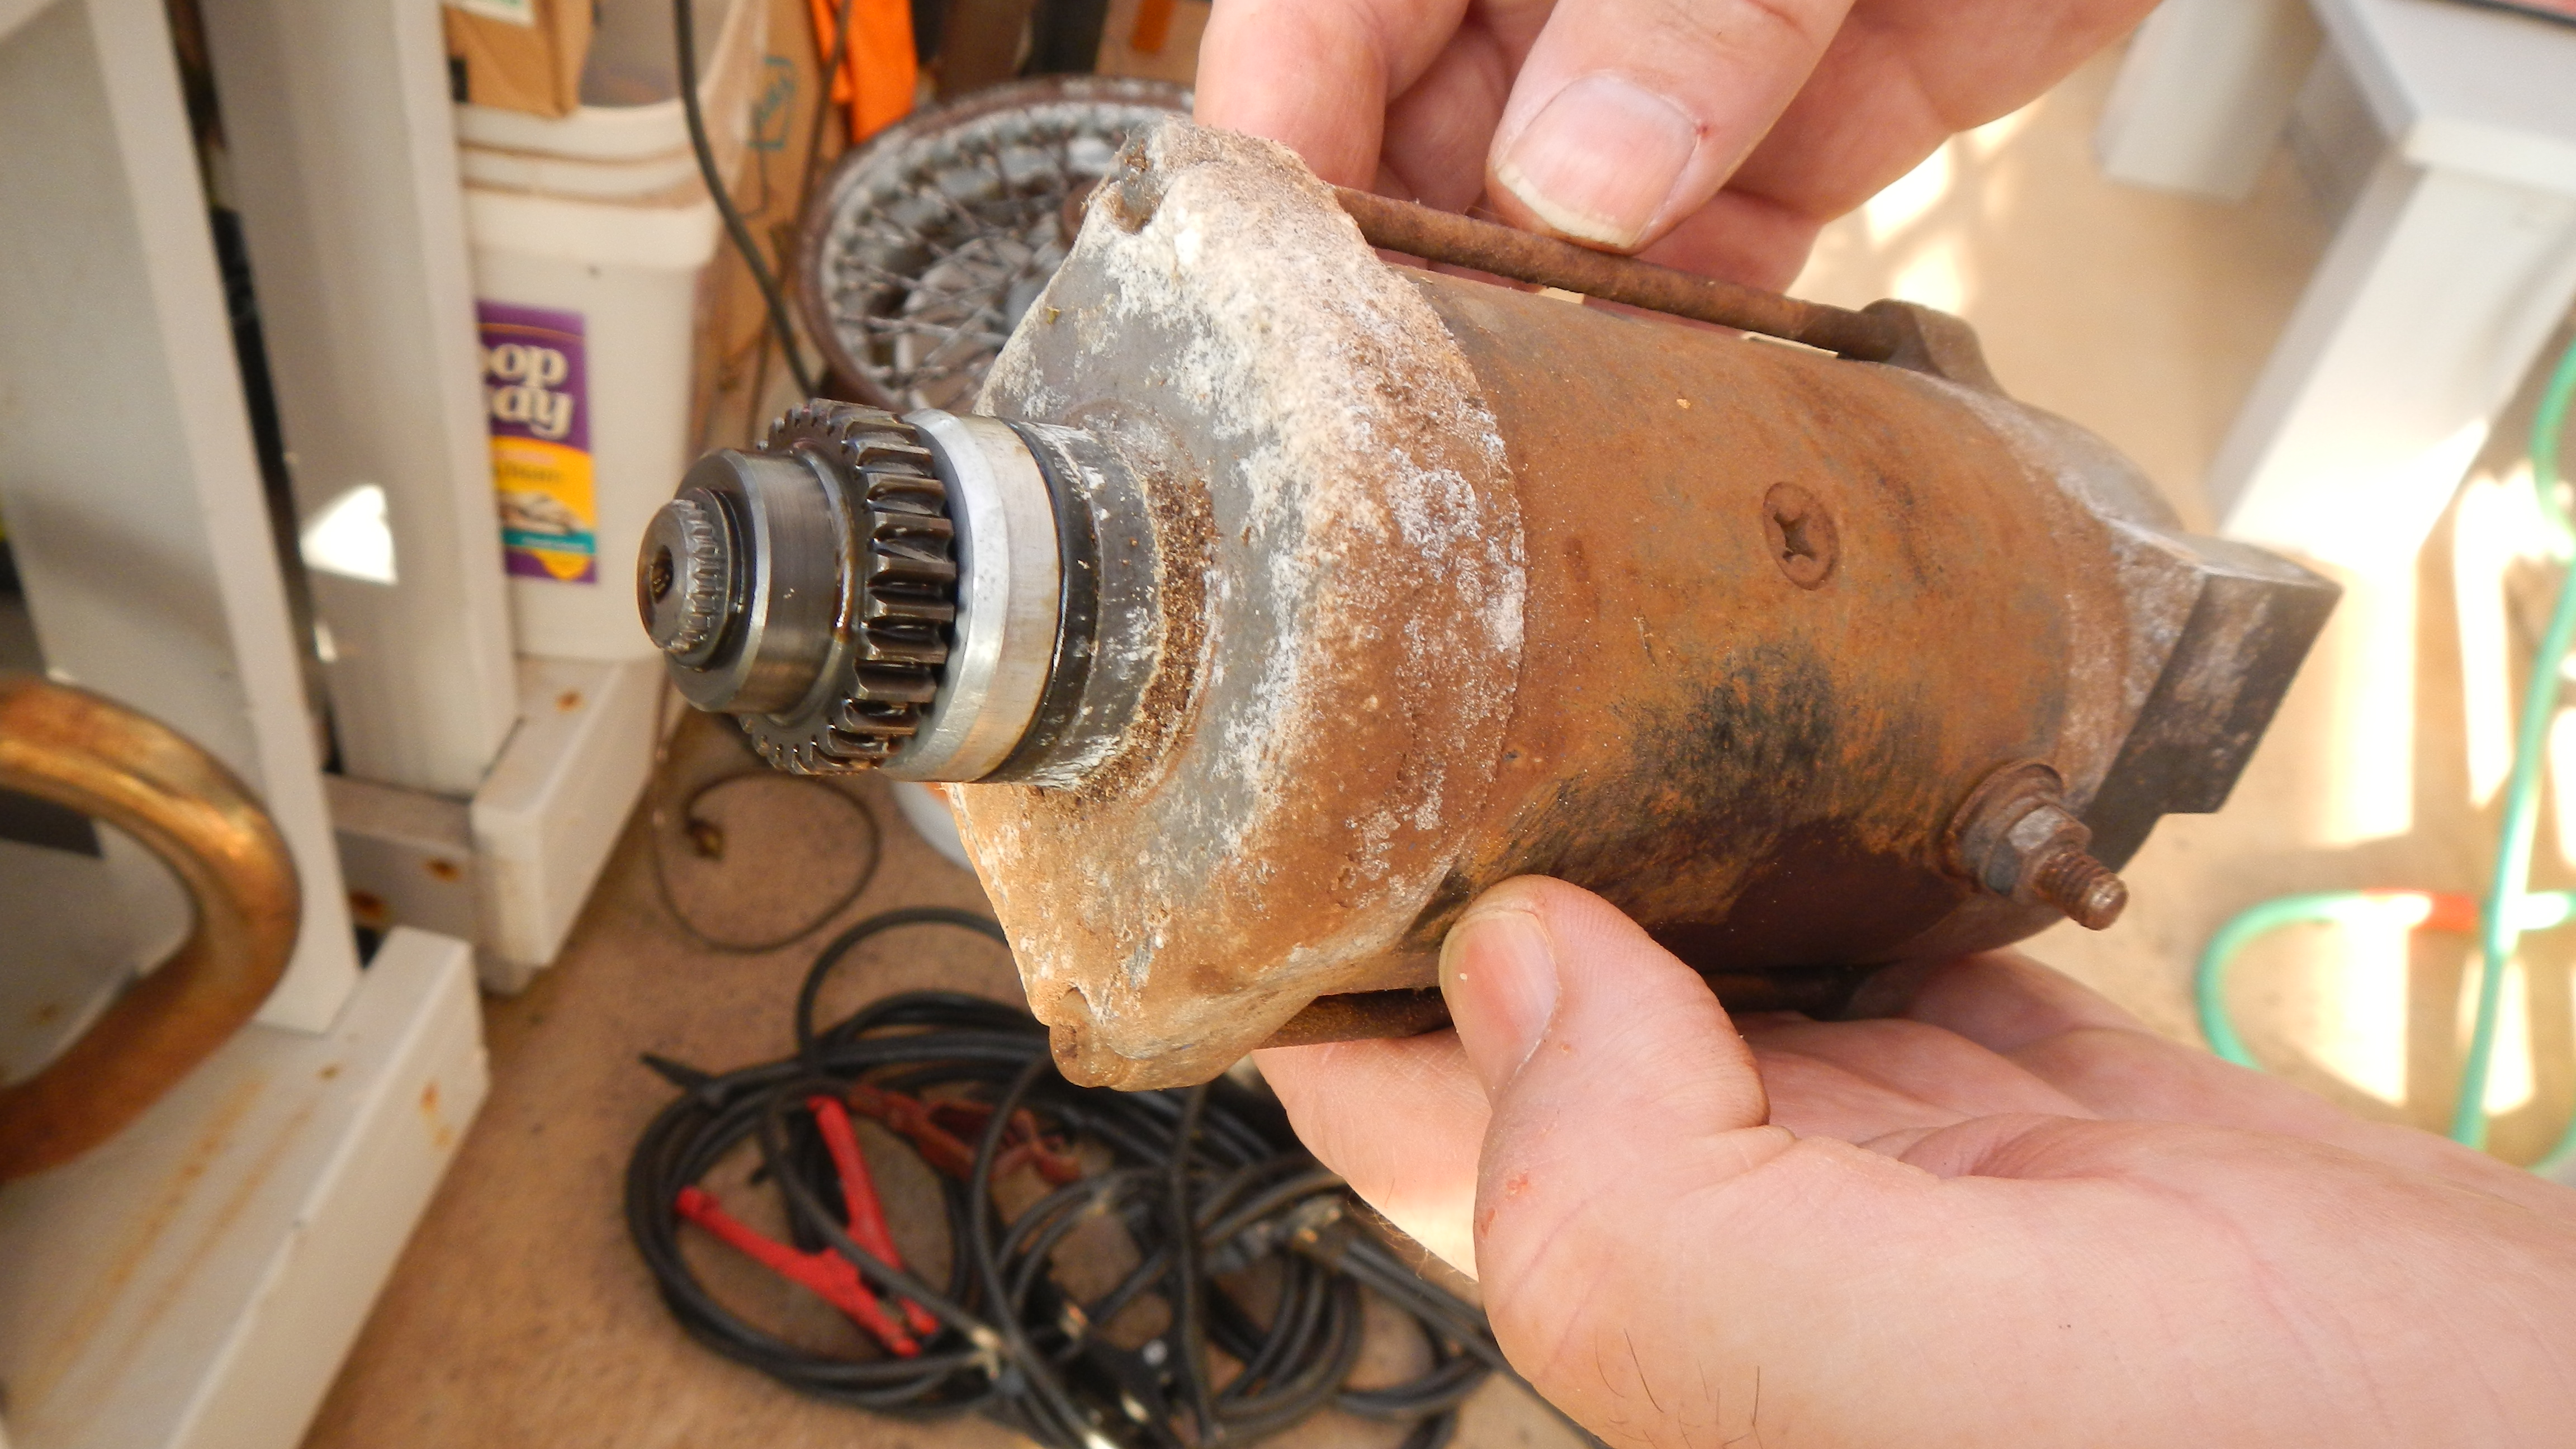
DSCN3965 starter removed and looking dirty
DSCN3970 Starter port and engaging gear

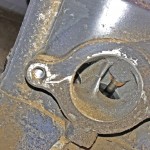
I took a couple of photos and videos through the scope. I also planned to run a compression test to see if I get a good seal. Pulling out a good battery and jumper cables, I applied power to the starter, but no joy. I was not rewarded with anything but a couple of sparks. I unbolted the starter and had to pry and jiggle it to get it out because of the corrosion holding it in. Applying power again got the same response, sparks but no spin. I grasped the gear end and found it binding, but able to turn with some force. After several turns, it seemed to work free, so I applied power and was rewarded. It spun up under power and made a nice hum. Back into the engine it went and I applied power again. The engine turns over nicely with no spark plugs installed. I didn’t want to stress the engine since it had no oil. I did put some oil in the cylinders to lube the rings. I was unable to run a compression test because of the small size of the spark plug hole. My tester doesn’t have the correct size fitting, so I’ll have to get one of those when I’m in town.

So far, good news. I’m looking forward to starting work on the frame now, though I can’t forget to make time to clean and rebuild the carbs.

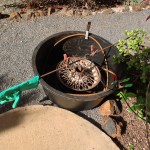
Back in a new bin

I’ve had a bit of a setback, the wheelbarrow has sprung a leak while working on the second wheel. I drained it and scraped out the several cups of rust in the bottom. Searching for a suitable replacement took me to several places in town. A 17 gallon bin from the discount store was not big enough to fit the wheel and clear the cable I’m using for the anode. I found a proper sized tub at the local farm supply store. Twenty Five gallons in size and made of 100% recycled plastic for a modest $21. Yay.
I set up the second wheel in the new bin and reconnected the battery charger. Unlike the first time when the ammeter showed a 6 amp draw, this time it only showed a 3 amp draw. Perhaps because I didn’t add as much of the OxyClean as before. Anyway, the process continued, although a bit more slowly. After leaving it in the bin overnight, I pulled the rim out and gave it a look. It was pretty clean considering the extent of the corrosion that was under the inner tube. About 20% of the rim still had corrosion on it.
I scrubbed the rim with a wire brush and hosed off the grey iron oxide. Not much of the red rust remained, but there was some left. Most of what remained had been turned into a black/grey form of iron oxide. Some parts of the wheel looked as clean and bright as brand new, other parts show substantial surface pitting. Since I’ll be running inner tubes, I’m not so concerned about absolute perfection of the rim. I believe that it will be quite satisfactory. I’m not sure how much the power will cost to derust all my wheels, but at 38 cents per KwH, it’s not insignificant. Still, it won’t be a deal breaker.
I’m thinking about paint options, what type of primer, what color to paint the wheels. I have a color scheme in mind, more on that later.

A great find!

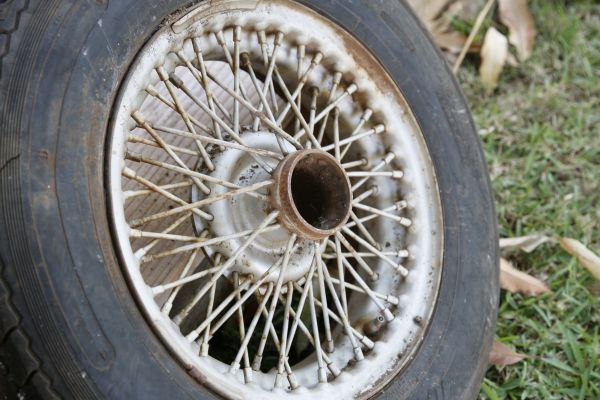
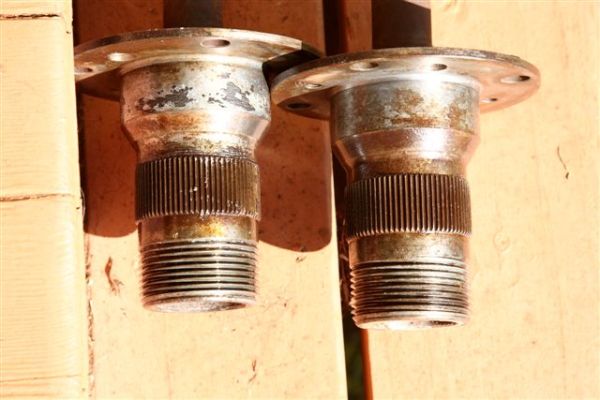
Today I purchased five wire wheels and hubs that I found on Craig’s List. Included were the chrome knock offs. They are 14″ rims from a MGB that have been sitting under the seller’s house for a few years. A bit rusty, but should clean up well. Aside from the difficulty of finding a set of wheels and hubs anywhere for a good price, I was pleased to find these a mile from my house for the sum of $150.
I was going to build the car with the slot style alloy wheels that I have from the Datsun truck donor and switch out to more authentic 19″ wire wheels when I could afford the $2000 plus cost that would entail. Now I can get a somewhat authentic look at a much lower cost. True, the taller wheels would look better, but I plan to drive this daily and so it will be good to have tires that are more easily available. The 165 SR 14 tires on the wheels I just bought should be more easily available, though I may look for taller ones to get a more period look. Either way, I can have a pair of spare wheels and tires on-hand to swap out when necessary.
This web site has excellent information on wheels and tyres, more than you will ever need to know. Ever wonder what all those marks on your tyres mean? He has the answers.
One issue with wire wheels is the fact that they need tubes in the tires. Having tried to find tubes for radial tires before and facing blank stares from all the 19 year old tire jockeys I’ve asked, I almost gave up hope that such things still exist. Yet exist they do and I’ve found an on-line retailer that carries them. Coker Tire has a nice range of historic tires and carries Michelin tubes. I’ll still have to find a garage that has worked with wire wheels and is willing to put in the talc power to keep them from over heating. Balancing wires is another issue as most tire machines don’t have the adapters to do a proper job. Surely someone here is willing or remembers the old days. It certainly won’t be Costco, as much as I like the store for modern things.
Previous to that, I’ll have to get the tires off, so I can get the rims sand blasted and painted. I’ll keep tires on two of them so I can use them for fitting and moving the build around when that time comes.
A lot of work remains to be done, but finding wires locally makes me quite happy since I’m keeping good parts from the steel scrapers, saving money and getting a more authentic look. An even happier fact is that these parts were basically free to me. I took a computer that was given to me that had a failed part, replaced that with another donated part and sold the computer for more than my new wheels and hubs cost. So, I converted computers that would have gone to the scrappers into working machines, found a home for them and got parts that I needed, again keeping them from the scrappers and bringing my project closer to reality. Sweet!

Hoisting to a new position

I’ve cleaned off the engine and am starting to losten rusted fasteners. It’s in pretty good shape inside, at least what I can see. I will probably have to have the valves tended to since they have been exposed to the weather a bit, but as long as the cylinders and rings are in good shape, the rest should be pretty straight forward.

Putting the engine up on the bench will allow me better access. I had to wait till we put a roof on the side lanai, keeping out rain from above. However as I’m finding tonight with heavy showers after months of no rain, that there’s quite a bit of blow-in from the side. Still, the eingine is covered and it’s not a big deal.

Here’s a quick video of the hoisting:

I'm putting the Honda engine on the bench to get at a bit easier than on the ground while I tend to its needs.

The noise that’s heard when I pull on the ropes is the horizontal, somewhat rusty, rod that passes through the engine mount arms spinning as the ropes pass over it. Not ideal, but better than buying more pulleys. I love moving things with block and tackle. I once moved several 600 lb cast iron radiators up to a second floor by myself with just some rope and pulleys. You get awesome power due to multiplication of your efforts, basically like a lever.

For now, I’ve gotten the exhaust system off and that’s a good start. Soon I’ll have the engine apart and have the heads looked at by a machine shop. I’ll probably buy new valves as these are showing some corrosion from the moist air.

It’s a New Year!

It’s a new year and I’ve taken the time to get to know the Honda engine a bit better. It’s been a while since this engine has seen a wrench and its missing a few nuts and bolts from its removal from the previous owner’s bike. I took off the coolant pipe and found that the coolant has dried up and left some residue on the inside of the pipes. I should be able to wash that out and dissolve the gunk easily enough. I also had a look down the intake ports at the valves and while I did see some surface rust, things looked pretty good. I’ll take the engine apart anyway to check it out and have bought a gasket set for that purpose. I’m worried about corrosion on the cylinder walls but things have looked pretty good so far otherwise. Both inspection ports show a very clean engine interior. That’s terrific.